Welcome to the Around The World On Wednesday April Blog Hop and this month our theme is "At the Market". We have been challenged to find a photo of a market and use it as inspiration for our project. You will be visiting with our talented team members as they share their ideas and projects to help inspire you.

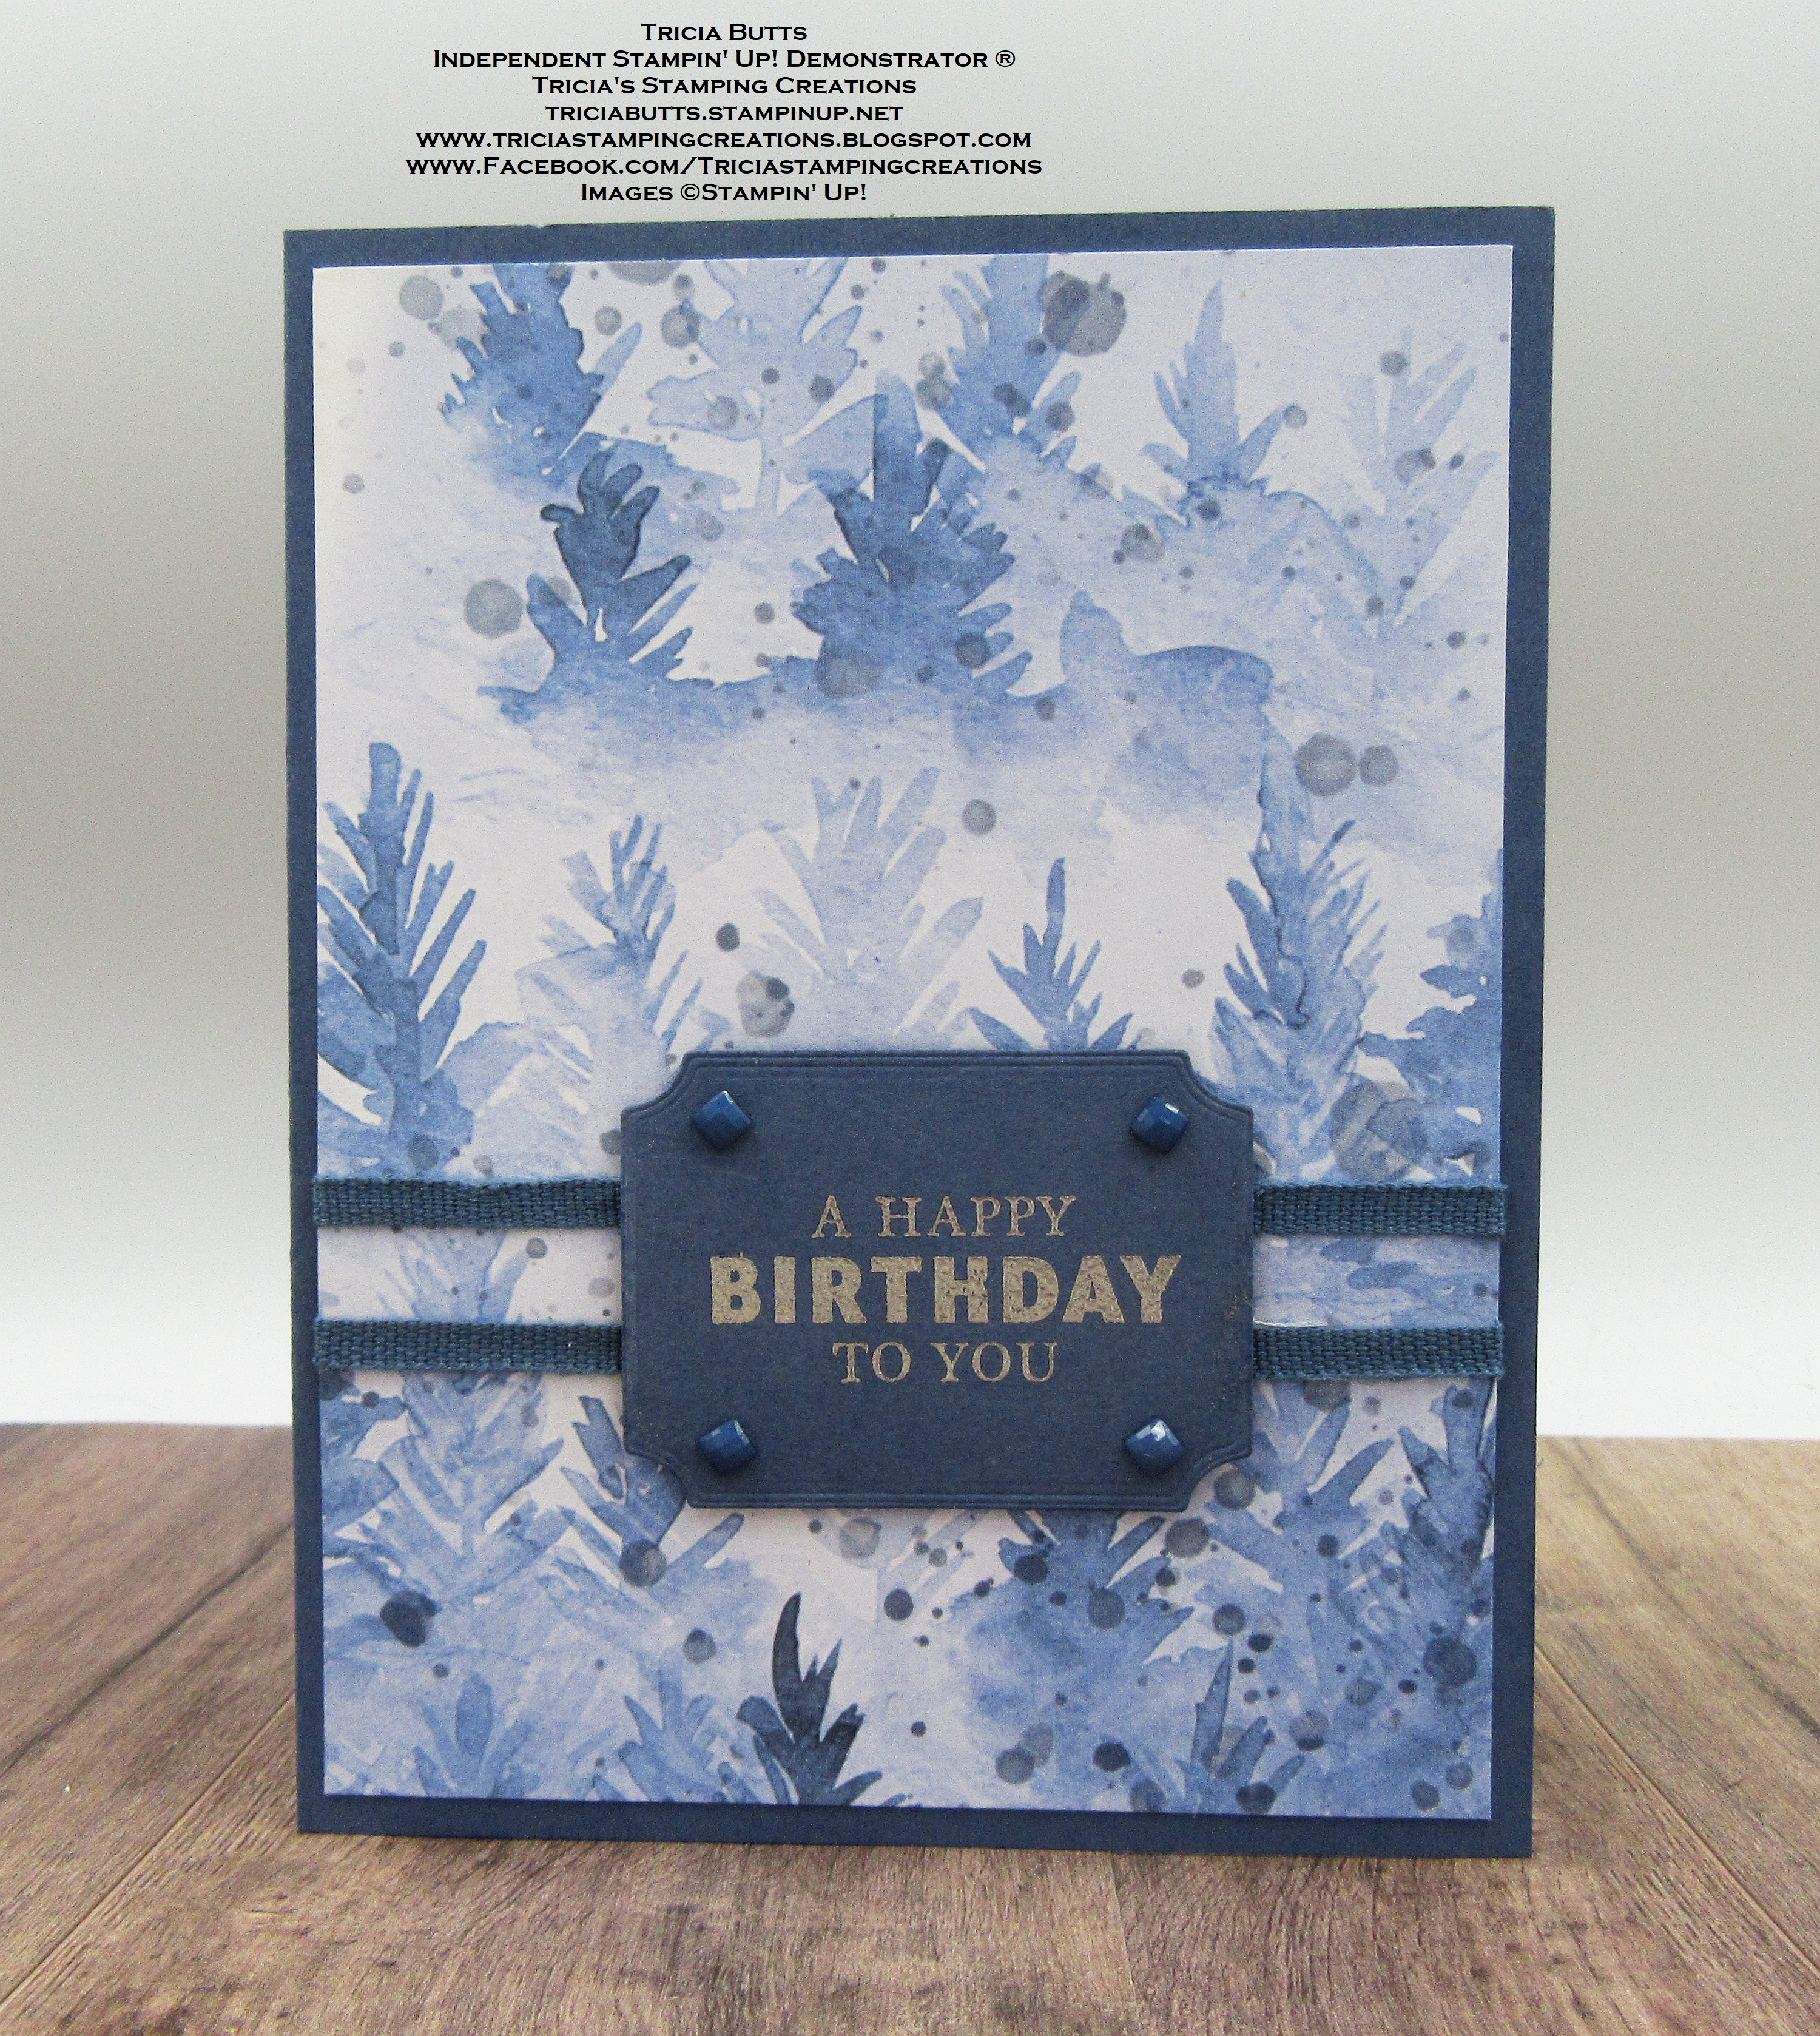
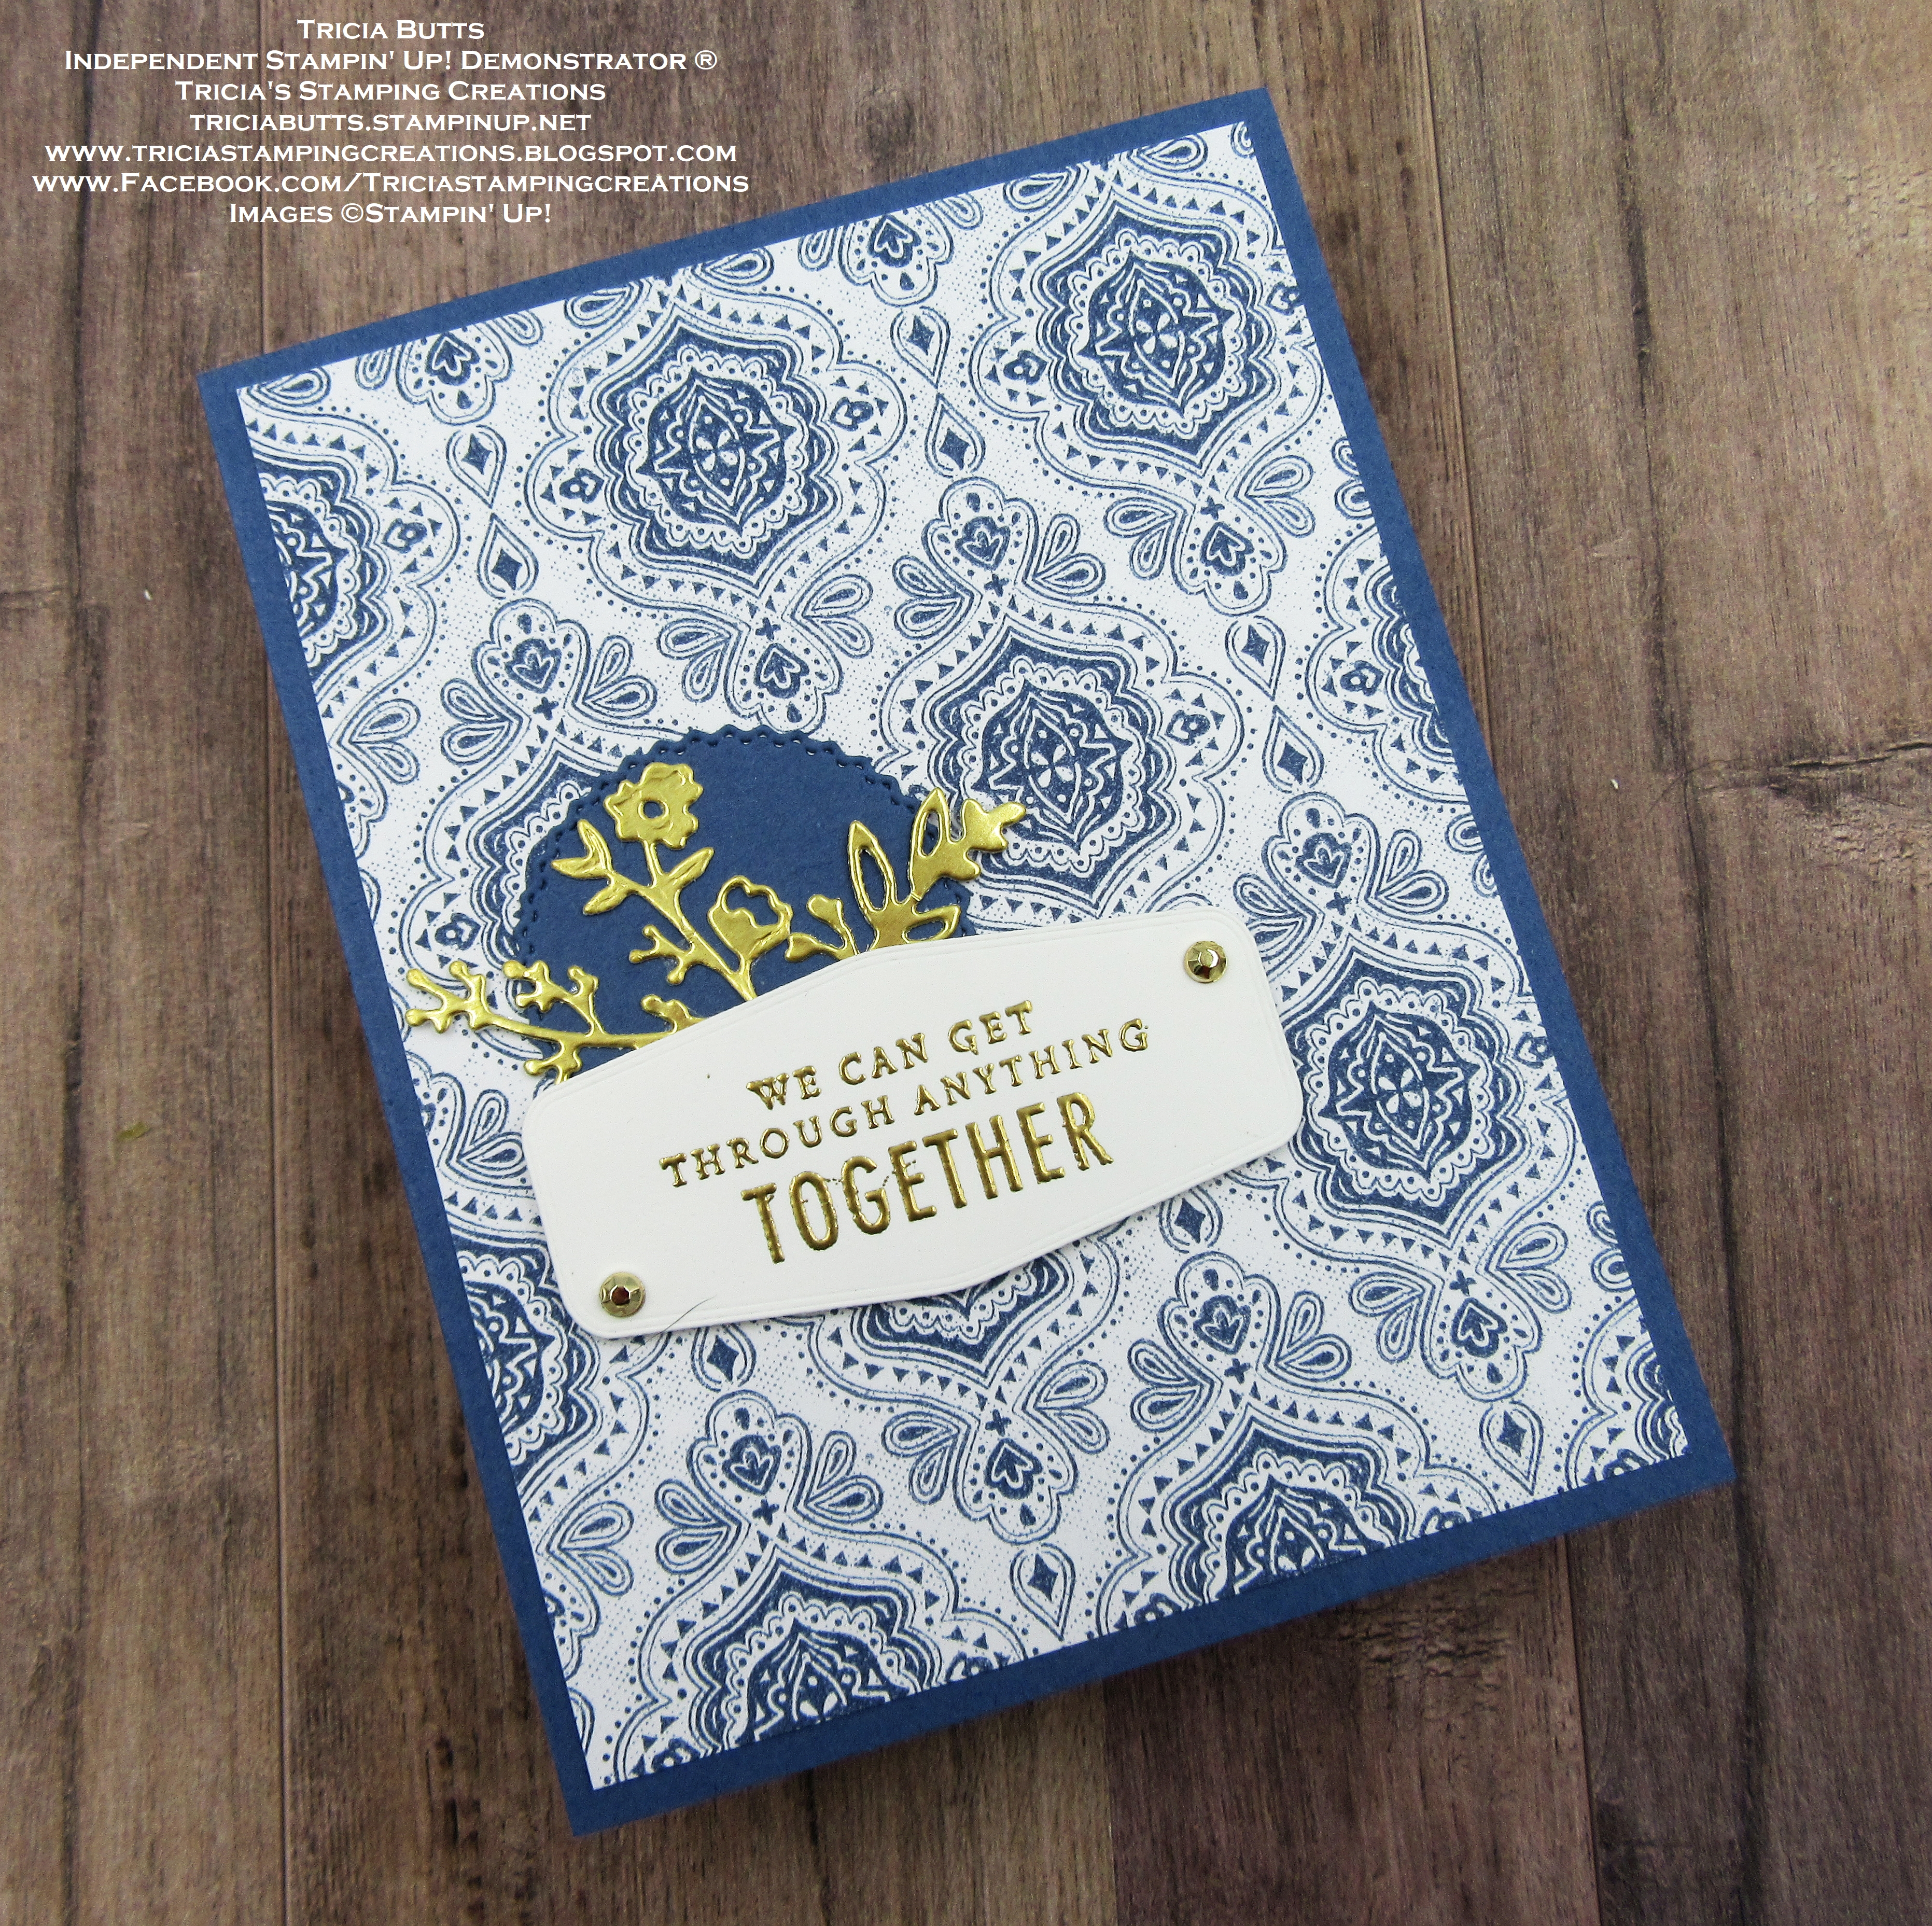
For my card design, I chose this photo taken at a marketplace in Instanbul, Turkey (shown above), as my inspiration. The focal image shows a coat with clean and simple lines with a wonderful pattern in blue and white. I was immediately reminded of one of the designs in the Heart & Home Designer Series Paper, and it became the basis for my card design. Instead of the bright yellow of the scarf, I chose to use Gold Foil and Gold embossing to embellish my card design.

Products Used:
Blessings of Home Bundle (item #157939)
Tasteful Labels Dies (item #152886) Retiring
Heart & Home Designer Series Paper (item #157928)
Misty Moonlight Cardstock (item #153081) Retiring
Basic White Cardstock (item #159276)
Gold Foil Sheets (item #132622)
Versamark Pad (item #102283)
Metallics Embossing Powders (item #155555)
Gilded Gems (#152478)
Stampin' Dimensionals (item #104430)
Measurements:
Misty Moonlight Cardstock
Card Base - 8 1/2" x 5 1/2" (Scored at 4 1/4")
Scalloped Circle die cut with the Tasteful Labels Dies
Heart & Home Designer Series Paper
Card Front - 5 1/4" x 4"
Basic White Cardstock
Sentiment Label die cut with Tasteful Labels Dies
Gold Foil Sheets
Detailed foliage die cut with the Flowers of Home Dies

I love how the designer series paper creates a similar flow with the curved detail of the design. While the Misty Moonlight I chose isn't the same blue as the coat design, I liked the way it created a similar feeling. The Gold Foil die cuts reminded me of the floral elements in the coat and along with the Gold embossing, provides a pop of color similar to the yellow scarf. I kept the details to a minimum to mimic the clean and simple lines of the coat. This card design would also work well as a masculine card design for a variety of occasions. I love how this card turned out and how it was inspired by finding a connection between a design on a coat and a pattern of a piece of designer series paper.

Thank you for taking the time to visit my blog. I hope that my card design will help inspire you to look at the world around you for inspiration to help you create your own beautiful projects.

Now it's time to visit Teri's wonderful blog and see what she has created for us. Just click the Next button to visit her blog or use the Roll Call List to find your way. We would appreciate it if you would leave us a comment and let us know what you liked about our projects. I hope you enjoy the rest of our blog hop.

Roll Call List

If you live in
the U.S. and do not have a Stampin' Up! Demonstrator, please contact me and I
would be happy to help you with your creative projects. You may also visit my
Online Store to place your order and have it shipped to you.

Until Next Time
Happy Stamping,
Tricia Butts
Independent Stampin' Up! Demonstrator
Like What You See? Visit My Online Store Here
Visit My Facebook Business Page for Updates & Ideas
Click here to Contact Me
Time Is Running Out
To Shop From The Last Chance Retirement List
Click Below To Visit My Online Store

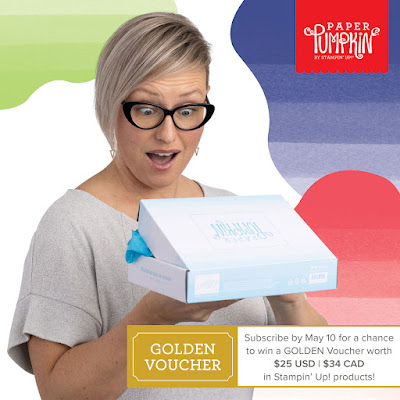
Celebrate In Color
With The May Paper Pumpkin Kit
Click Below To Subscribe By May 10th