Showing posts with label Fun Folds. Show all posts

Saturday, April 9, 2022

Stamping Inkspirations April Blog Hop Fun Folds

It's time to hop along with the Stamping Inkspirations April Blog Hop as we showcase beautiful fun fold card designs to help inspire you. Our wonderful Design Team Members will be sharing their amazing projects and ideas to help you step outside your comfort zone and take your cards to the next level. 
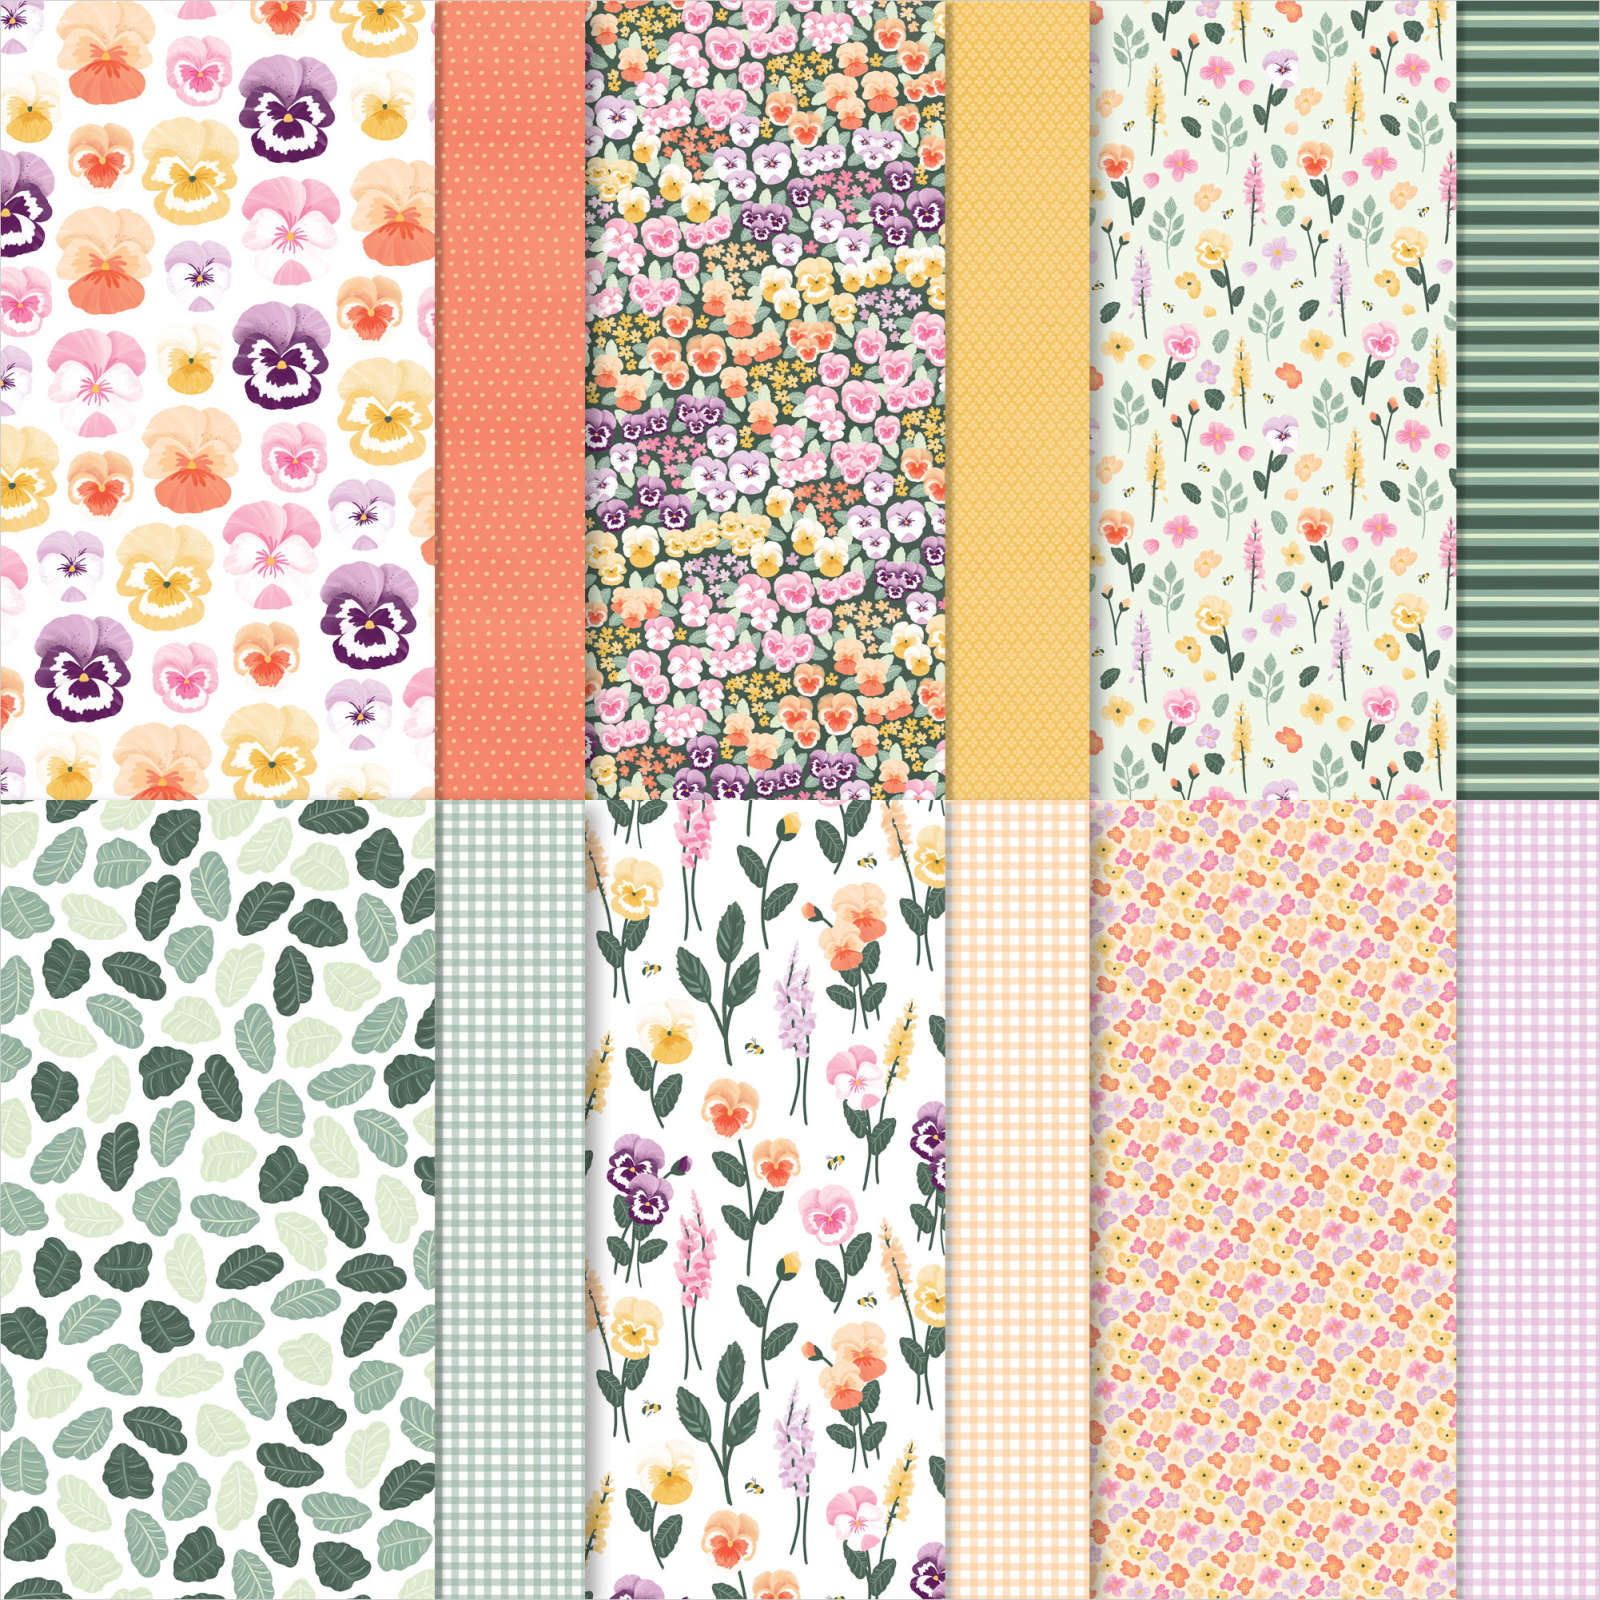
With Easter coming up soon, I thought I would create a simple fun fold to celebrate the occasion. For this card design I chose the Easter Friends stamp set with its wonderful images and sentiments and paired it with the pretty Pansy Petals Designer Series Paper. Isn't the bunny in this stamp set simply adorable? This simple fun fold is easy to create and is a wonderful way to step up a standard card base.
Products Used:
Easter Friends stamp set (item #157737)
Pansy Dies 155680)
Tasteful Labels Dies (item #152886) Retiring
Stitched So Sweetly Dies (item #151690) Retiring
Pansy Petals Designer Series Paper (item #155807) Retiring
Fresh Freesia Cardstock (item #155613)
Basic White Cardstock (item #159276)
Cinnamon Cider Classic Ink Pad (item #153114) Retiring
Soft Sea Foam Classic Ink Pad (item #147102)
Versamark Pad (item #102283)
Metallics Embossing Powders (item #155555)
Brushed Brass Butterflies (item #158136)
Stampin' Dimensionals (item #104430)
Blender Pens (item #102845)
Measurements:
Fresh Freesia Cardstock
Card Base - 5 1/2" x 7 1/2" (Scored at 4 1/4")
Pansy Petals Designer Series Paper
Card Front - 3" x 5 1/4" Side Strip - 1" x 5 1/4"
Two pansies die cut with the Pansy Dies
Basic White Cardstock
Focal Label die cut with the Stitched So Sweetly Dies
Sentiment Label die cut with the Tasteful Labels Dies
This cute fun fold is simple to create using a standard size card base (5 1/2" x 8 1/2") by simply cutting off 1" from the card front so that the base measures 7 1/2" x 5 1/2". You will still score the card base at 4 1/4" to create your fun fold. For the card front, I cut a 5 1/4" x 4" piece of the Pansy Petal Designer Series Paper and then cut a 1" strip off of one side to create two pieces measuring 3" x 5 1/4" and 1" x 51/4". I attached the larger piece to the card front and flipped the strip over so that the reverse side faces up. I attached the strip to the inside Basic White layer along the right side and then attached this layer to the inside of the card base. This way when the card is closed, you have that wonderful contrast between the two designs. For the bunny, I stamped it with Cinnamon Cider Classic ink onto the scalloped rectangle layer and used a Blender Pen to soften and lightly color the image. The Blender Pen helps to reactivate the ink to add that soft color to the image. For the grass, I used Soft Sea Foam Classic ink along the bottom to help ground the image and once again softened it with the Blender Pen. For the sentiment, I heat embossed the image with Gold embossing powder onto the sentiment label. To assemble the card front, I attached both the focal image and the sentiment label with Stampin' Dimensionals. I attached the two die cut pansies (from the designer series paper) to decorate the panels. To finish off the card design, I added several Brushed Brass Butterflies for a touch of bling. 
Thank you for taking the time to visit my blog. I hope that my fun fold card design will help inspire you to create your own beautiful cards and explore the variety of fun fold designs available. There are so many wonderful options to try. 
Now it's time to visit AurĂ©lie's wonderful blog to see what she has created for us. Just click the Next button below to visit her blog or use the Roll Call List to find your way. We would appreciate it if you would leave us a comment and let us know what you liked about our projects. I hope you enjoy the rest of our blog hop.
Roll Call List

If you live in the U.S. and do not have a Stampin' Up! Demonstrator, please contact me and I would be happy to help you with your creative projects. You may also visit my Online Store to place your order and have it shipped to you. 

Until Next Time

Happy Stamping,

Tricia Butts
Independent Stampin' Up! Demonstrator

Like What You See? Visit My Online Store Here

Visit My Facebook Business Page for Updates & Ideas

Click here to Contact Me


Stock Up On Your Favorite Retiring Products
Before They Disappear
Click Below To Visit My Online Store

Final Days To Sign Up
For The April Paper Pumpkin Kit
Click Here To Subscribe By April 10th


Friday, July 30, 2021

Silver To Silver Elite July Blog Hop Fun Folds


Welcome to the Silver to Silver Elite July Blog Hop as we showcase Fun Fold card designs to help inspire you to try something new. You will be visiting with talented Stampin' Up! Demonstrators as they share their ideas and projects. 
This simple fun fold design is a great way to showcase your beautiful designer series paper. So often we hate to cover up one side of the paper because both sides are so pretty, so this fun fold allows both pretty patterns to be on display. I chose to use the lovely Hand-Penned Designer Series Paper for this card design and I paired it with the coordinating Hand-Penned Petals stamp set. I chose colors from the designer series paper to create this design that included Mint Macaron cardstock and the pretty Pale Papaya Open Weave Ribbon. 
Products Used:
Hand-Penned stamp set (item #155070)
Hand-Penned Petals Designer Series Paper (item #155499)
Label Me Fancy Punch (item $151297)
Mint Macaron Cardstock (item #138337)
Basic White Cardstock (item #159276)
Mint Macaron Classic Ink Pad (item #147106)
Memento Tuxedo Black Pad (item #132708)
Pale Papaya 3/8" Open Weave Ribbon (item #155672)
Basic Rhinestone Jewels (item #144220)
Stampin' Dimensionals (item #104430)
Measurements:
Mint Macaron Cardstock
Card Base - 5 1/2" x 5 1/4" (Scored at 4 1/4")
Hand-Penned Designer Series Paper
Label punched with the Label Me Fancy Punch
Front Panel - 5 1/2" x 4"
Basic White Cardstock
Inside Panel - 5 1/4" x 4"
Sentiment Label punched with the Label Me Fancy Punch
This fun fold card is so simple to assemble and can be created with any of the beautiful designs in this pretty designer series paper pack. I attached a piece of the Pale Papaya Open Weave Ribbon along the narrow panel of the Mint Macaron card base and attached it to the back side with adhesive. I then attached the designer series paper panel so that it attaches to the back side of this panel so that it is flush against the score line. I stamped the Basic White cardstock with one of the floral images using Mint Macaron Classic ink and attached it to the inside of the card. To decorate the front of the card, I stamped the sentiment with Memento Tuxedo Black ink onto Basic White cardstock and punched it out with the Label Me Fancy Punch. I also punched out a label from Mint Macaron cardstock and cut it in half to attach to the back of the sentiment label to create a frame. I attached the sentiment label to the card front with Stampin' Dimensionals. To finish off the design, I added several small Basic Rhinestones for a touch of bling. This fun fold is a wonderful way to use up your pretty designer series paper and show off both sides of the paper. 
Thank you for taking the time to visit my blog. I hope that my fun fold card design will help inspire you to explore creating your own projects to send to family and friends. Using designer series paper to create your projects is a wonderful way to step up your designs.
Now it's time to visit Eva's blog and see what Fun Fold she has to share with us. Just click the Next button below to visit her blog or use the Roll Call List below to find your way. We would love it if you would leave us a comment and let us know what you like about our projects. I hope you enjoy the rest of our blog hop. 

Janice Piechowiak – Creating Treasures with Janice

Linda Moore – Moore Fun Stamping and Creating with Linda

Nedine Hunter DuPree – Craft Lounge Creations

Libby Fens – libbystamps

Kelly Taranto – The Late Night Stamper

Karen Egan – Crafty Karen Designs

Tricia Butts – Tricia’s Stamping Creations

Eva Dietz – Homemade with Heart – Stampin’ with Eva

Diane Marie – Creative Stamping

Cathy Rocca – FromTheStampStudio

Sue Kremer – NorthStar Stamper

Tracy Byers – Cards, Crafts and Stamps with Tracy

Laurie Bradshaw – Craft Coach Laurie

Nancy Reynolds – Stampin’ With Nutsy

Xenia Stanford – Heritage Stamp Arts

If you live in the U.S. and do not have a Stampin' Up! Demonstrator, please contact me and I would be happy to help you with your creative projects. You may also visit my Online Store to place your order and have it shipped to you. Remember, you have just a few days left to take advantage of the designer series paper sale and save 15% on select paper packs including the pretty Hand-Penned Designer Series Paper. 

Until Next Time

Happy Stamping,

Tricia Butts
Independent Stampin' Up! Demonstrator

Like What You See? Visit My Online Store Here

Visit My Facebook Business Page for Updates & Ideas

Click here to Contact Me


Final Days To Stock Up & Save 15%

During The Designer Series Paper Sale

Click Below To Visit My Online Store


Share A Box Of Hope
With The August Paper Pumpkin Kit
Click Below To Subscribe By August 10th

Explore Your Creativity
With The Kits Collection
Click Below To Visit My Online Store