Welcome to Kylie Bertucci's February Monthly International Blog Highlights as we showcase Thank You cards to help inspire you. You will have the opportunity to visit with talented Stampin' Up! Demonstrators from around the world as they share their projects and ideas to spark your creativity.
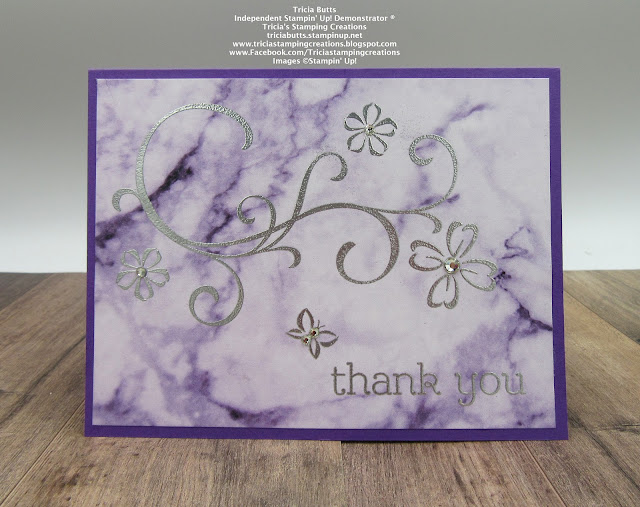
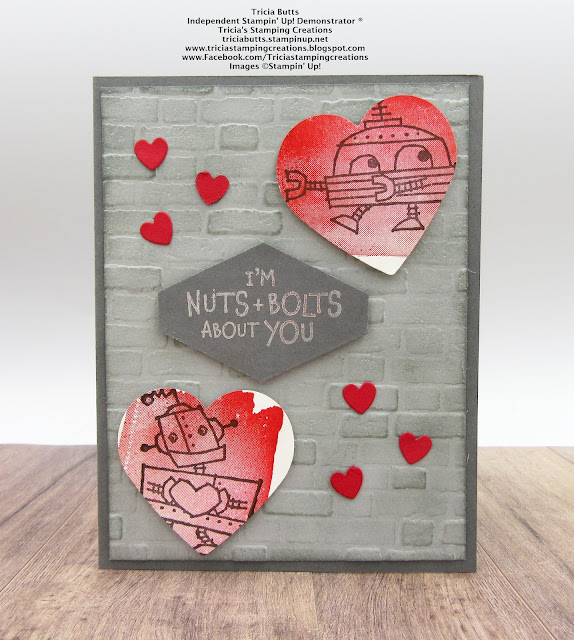
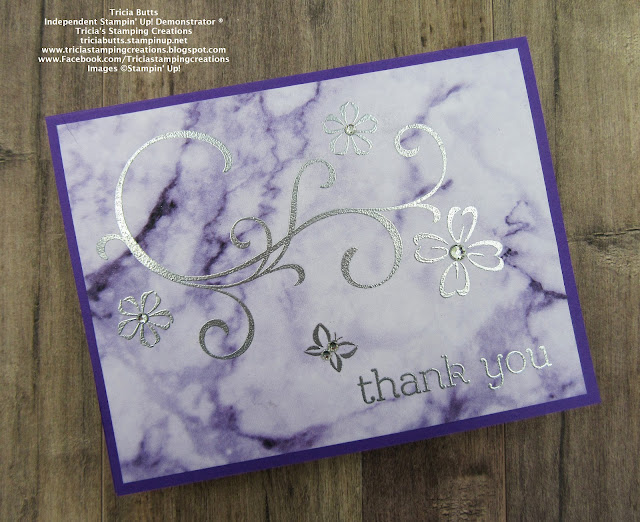
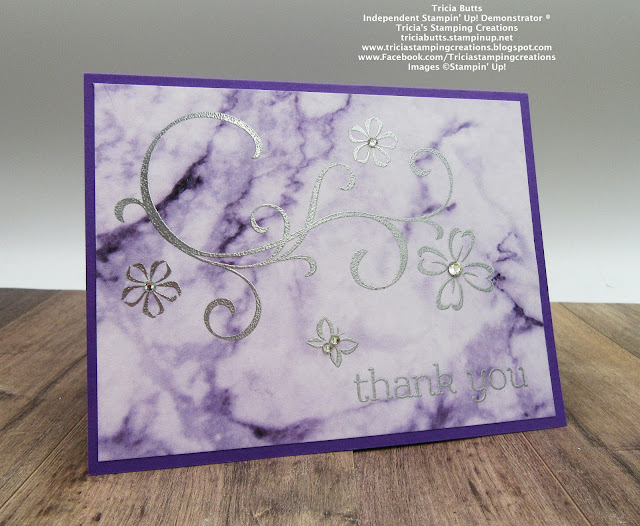
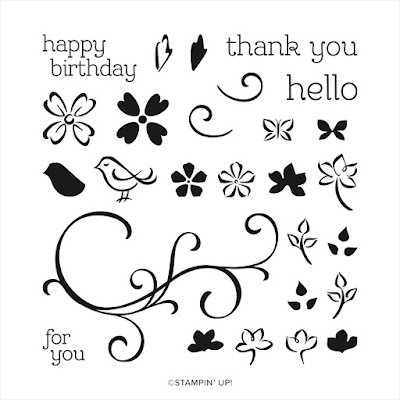
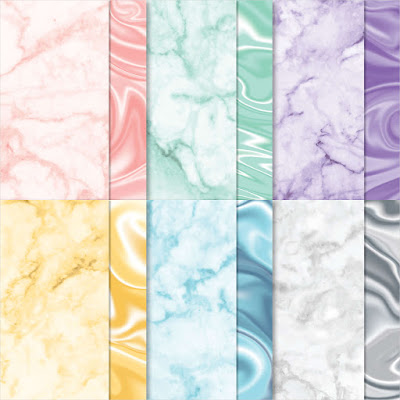
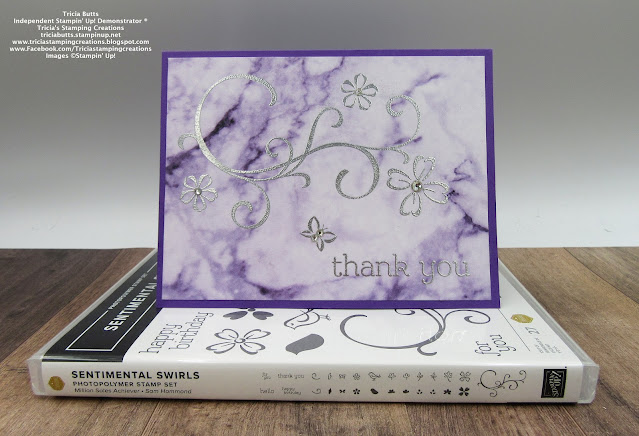
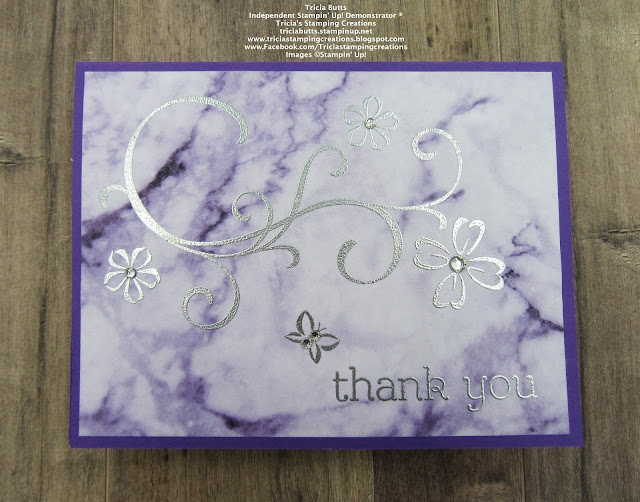
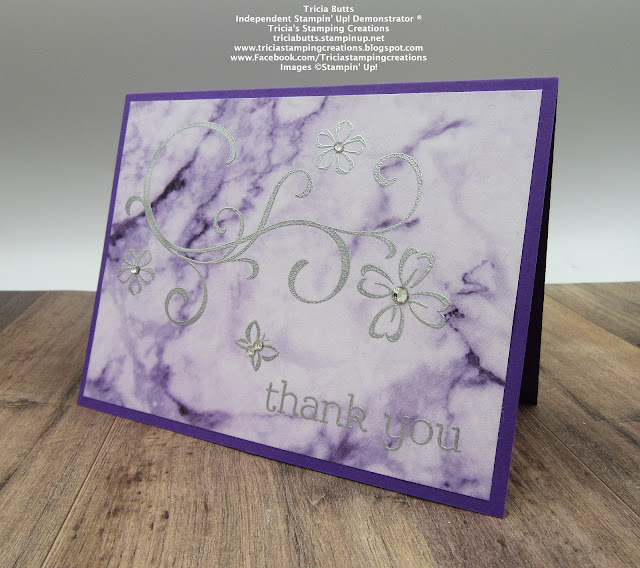
Clean and simple cards are my favorite to create and I the new Sentimental Swirls stamp set from the January-June 2022 Mini Catalog, is perfect for this style of card. I paired it with the pretty Simply Marbleous 6"x6" Designer Series Paper, which is one of the Sale-a-bration Rewards you can earn free with a qualifying $50 order. To create the design, I embossed the images and sentiment with Silver embossing powder onto the designer series paper. It creates a simply elegant design that is perfect for this Thank You card. This design would work beautifully with any of the colors in this designer series paper pack to create a wonderful set of cards.
Products Used:
Sentimental Swirls stamp set (item #157996)
Simply Marbleous 6"x6" Designer Series Paper (item #158128)
Gorgeous Grape Cardstock (item #146987)
Versamark Pad (item #102283)
Metallics Embossing Powders (item #155555)
Rhinestone Basic Jewels (item #144220)
Measurements:
Gorgeous Grape Cardstock
Card Base - 8 1/2" x 5 1/2"
Simply Marbleous Designer Series Paper
Card Front - 5 1/4" x 4"
Thank you for taking the time to visit my blog. I hope that my card design will help inspire you to create your own beautiful Thank You cards to send to family and friends. It is a wonderful way to show how much you appreciate them.
I would love it if you would take the time to vote for my card design this month. Just click the Vote button below and click on the small heart for my card (#36). You can vote for 5 cards each day over the next week, so please share the love and vote for my fellow demonstrators and their wonderful projects.

If you live in the U.S. and do not have a Stampin' Up! Demonstrator, please contact me and I would be happy to help you with your creative projects. You may also visit my Online Store to place your order and have it shipped to you.
Until Next
Time
Happy
Stamping,
Tricia Butts
Independent Stampin' Up!
Demonstrator
Like What You
See? Visit My Online Store Here
Visit My Facebook Business Page for Updates & Ideas
Click here to Contact Me
Explore Your Creativity
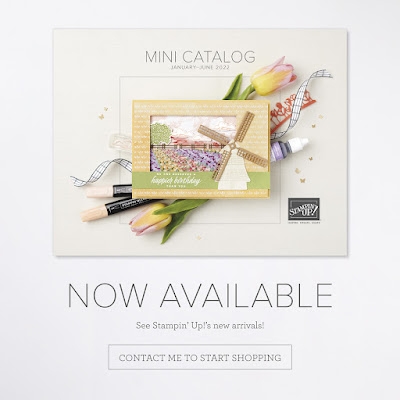
With The January-June 2022 Mini Catalog
Click Below To Visit My Online Store
With The January-June 2022 Mini Catalog
Click Below To Visit My Online Store

Earn Free Exclusive Products
During Sale-a-bration
Click Below For More Details