Showing posts with label Pansy Patch stamp set. Show all posts

Tuesday, August 10, 2021

Punch Techniques Blog Hop

Welcome to the Technique Tuesday Blog Hop and this month our theme is Punches. Hop along with us as we share ideas and techniques to help you incorporate punches into your projects. 
For my card design today, I wanted to show how you can create "windows" to frame focal elements and sentiments to step up your card design. I chose to use the Label Me Lovely Punch to create an opening that would frame a daisy created with the Medium Daisy Punch and an opening created with the Tailored Tag Punch for the sentiment. The color combination I chose was Fresh Freesia, Gray Granite and Basic White for a touch of Gold with the embellishments. The detailed background was created with the new Timber 3D Embossing Folder in the new July-December 2021 Mini Catalog.
Products Used:
Pansy Patch stamp set (item #154999)
Timber 3D Embossing Folder (item #156406)
Label Me Lovely Punch (item #151296)
Medium Daisy Punch (item #149517)
Tailored Tag Punch (item #145667)
Fresh Freesia Cardstock (item #155613)
Gray Granite Cardstock (item #146983)
Basic White Cardstock (item #159276)
Fresh Freesia Classic Stamp Pad (item #155611)
Gilded Gems (item #152478)
Stampin' Dimensionals (item #104430)
Measurements:
Fresh Freesia Cardstock
Card Base - 8 1/2" x 5 1/2" (Scored at 4 1/4")
Two medium daisies punched with the Medium Daisy Punch
Basic White Cardstock
Layer 1 - 5 1/4" x 4"
Gray Granite Cardstock
Layer 2 - 5" x 3 3/4" Embossed with the Timber 3D Embossing Folder
This fun card design is a great way to use your punches. To create the windows, I punched out an opening from the top of the embossed Gray Granite cardstock using the Label Me Lovely Punch and then punched an opening from the bottom using the Tailored Tag Punch. I attached the Basic White cardstock layer to the Fresh Freesia card base and then added the embossed Gray Granite layer to the Basic White layer with Stampin' Dimensionals to pop it up. For the daisy, I punched out two medium size daisies from Fresh Freesia cardstock and I sponged the petals with Fresh Freesia Classic ink. I layered the two daisies, attaching them together with Mini Glue Dots and attached the daisy to the center of the top window with a Stampin' Dimensional. I stamped the Happy Birthday sentiment from the Pansy Patch stamp set in the center of the bottom window using Fresh Freesia Classic ink. To add a touch of bling, I added a large Gilded Gem to the center of the daisy and two small Gilded Gems to the sentiment window to complete the design. I love that the windows protect the daisy and the Gilded Gems so that it can be mailed to a family member or friend to celebrate their special day. 
Thank you for taking the time to visit my blog. I hope that my card design will give you some ideas to help inspire you to use punches in your projects. There are so many wonderful ways to use them. 
Now it's time to visit with the talented Stampin' Up! Demonstrators taking part in today's Blog Hop. Just click the links in the Roll Call List below to see all the amazing projects and ideas they have to share. We would love it if you would leave us a comment and let us know what you enjoyed about our projects.

If you live in the U.S. and do not have a Stampin' Up! Demonstrator, please contact me and I would be happy to help you with your creative projects. You may also visit my Online Store to place your order and have it shipped to you. 

Until Next Time

Happy Stamping,

Tricia Butts
Independent Stampin' Up! Demonstrator

Like What You See? Visit My Online Store Here

Visit My Facebook Business Page for Updates & Ideas

Click here to Contact Me


Earn Free Exclusive Products
During Sale-a-bration
Click Below For More Details

Explore Your Creativity
With The July-December 2021 Mini Catalog
Click Below To Visit My Online Store

Last Day To Sign Up
For The August Paper Pumpkin Kit
Click Below To Subscribe by 11:59pm Mountain Time


Monday, August 9, 2021

Kylie Bertucci's Monthly International Blog Highlights August 2021

Welcome to Kylie Bertucci's Monthly International Blog Highlights for the month of August. We are a group of Stampin' Up! Demonstrators sharing our projects and ideas to help inspire you to get creative. Our theme is Thank You and who doesn't need Thank You cards to send out to people to show how much we appreciate them. 
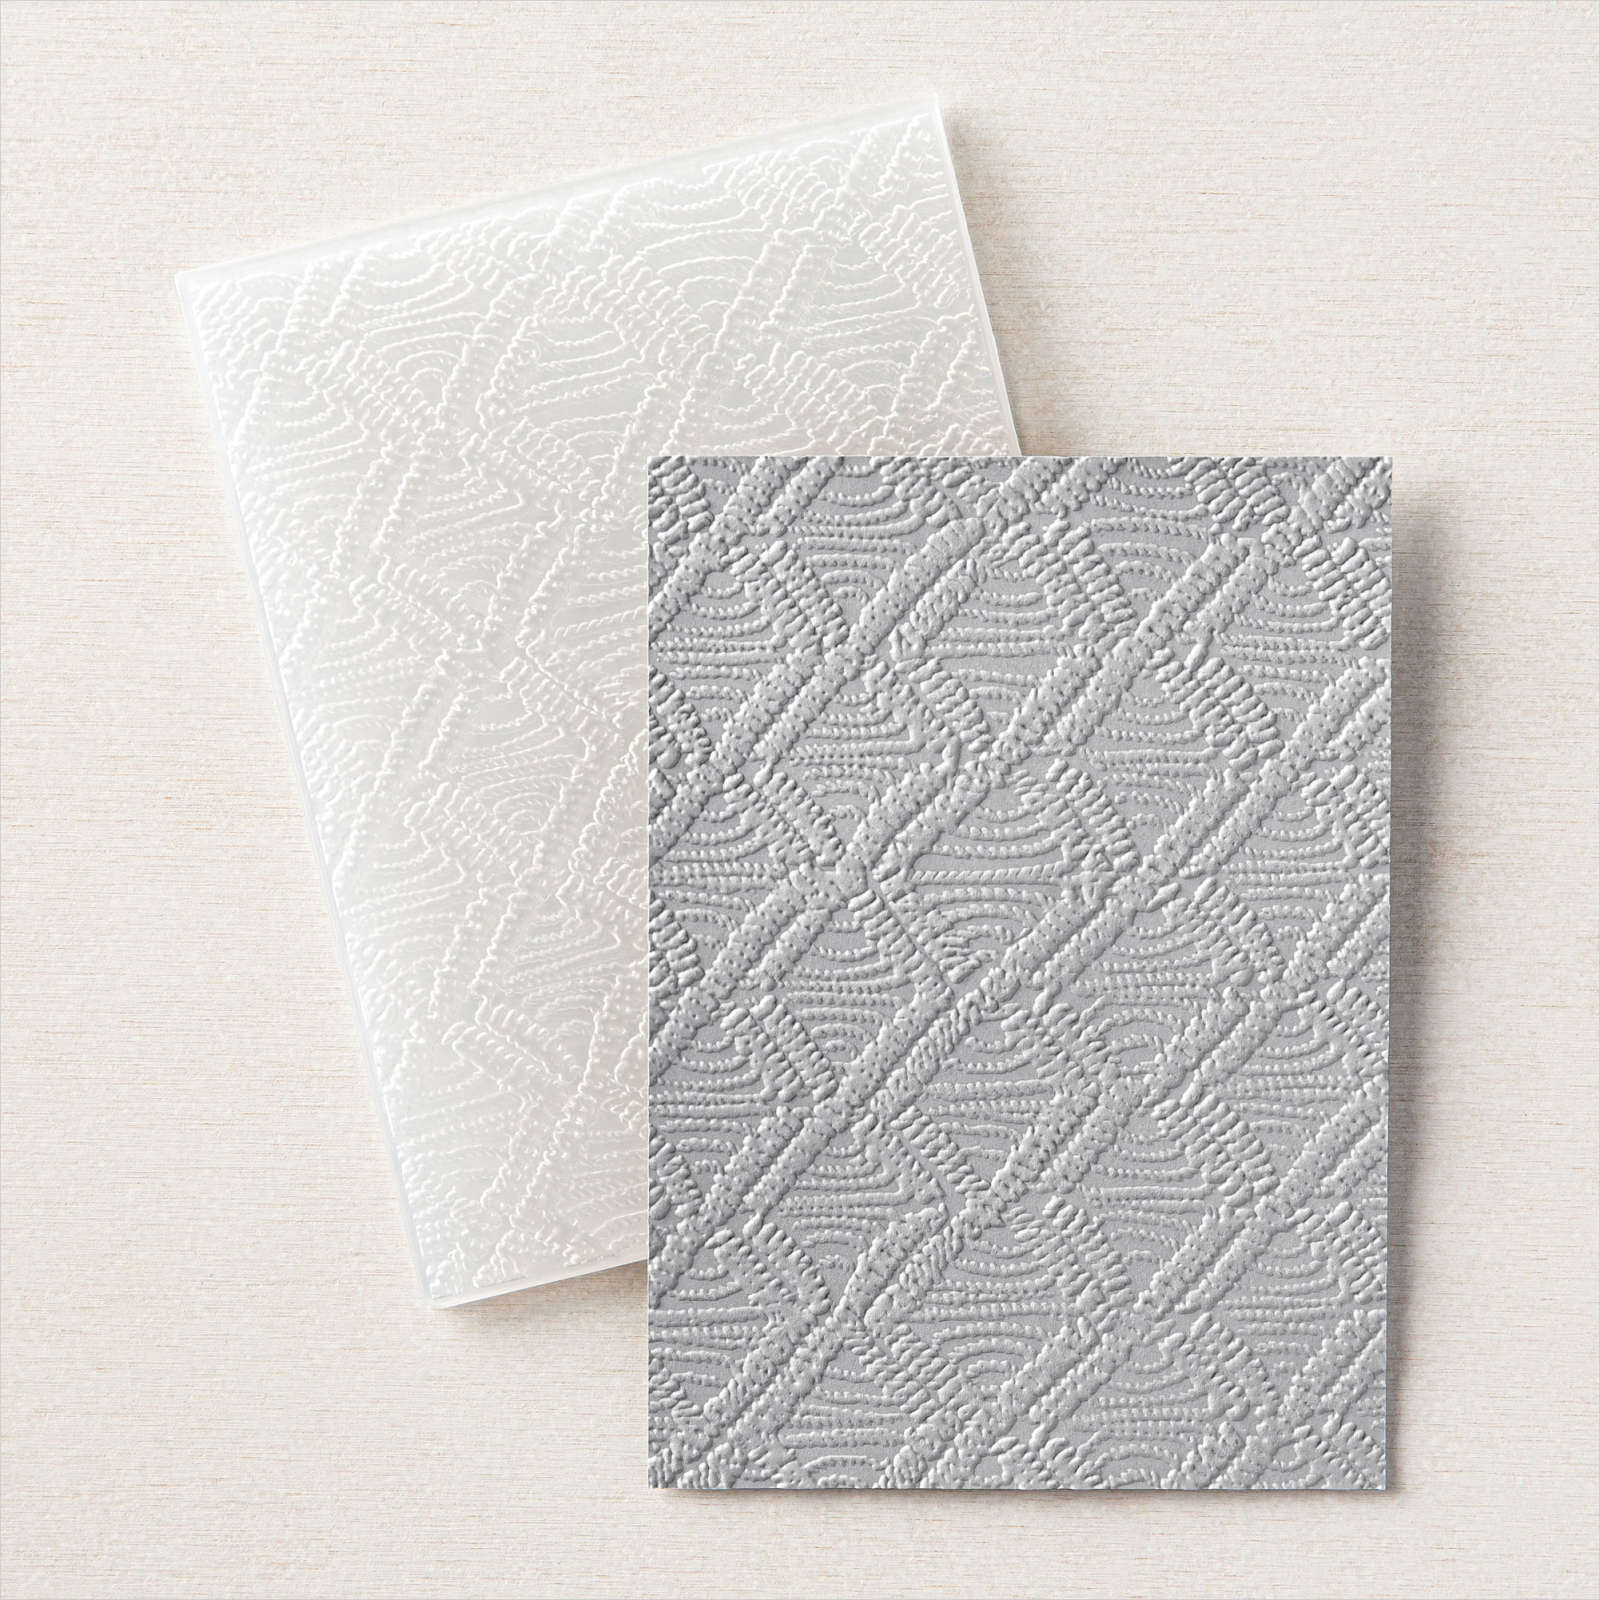
Fall is just around the corner, so I decided to create this Fall themed Thank You card using the Gorgeous Leaves Bundle from the July-December 2021 Mini Catalog. For the background, I used the Macramé 3D Embossing Folder to add some wonderful texture. This clean and simple card would be great for a masculine design. 
Products Used:
Gorgeous Leaves Bundle (item #158609) New
Macramé 3D Embossing Folder (item #155435)
Layering Circles Dies (item #151770)
Pansy Patch stamp set (item #154999)
Double Oval Punch (item #154242)
Cajun Craze Cardstock (item #119684)
Early Espresso Cardstock (item #119686)
Sahara Sand Cardstock (item #121043)
Gold Foil Sheets (item #132622)
Versamark Pad (item #102283)
Metallic Embossing Powders (item #155555)
Stampin' Dimensionals (item #104430)
Measurements:
Cajun Craze Cardstock
Card Base - 8 1/2" x 5 1/2" (Scored at 4 1/4")
Early Espresso Cardstock
Layer 1 - 5 1/4" x 4"
Large Circle die cut with Layering Circles Dies
Sentiment Oval die cut with Double Ovals Punch
Sahara Sand Cardstock
Background Layer - 5" x 3 3/4" Embossed with Macramé 3D Embossing Folder
Gold Foil Sheet
Detailed Leaf die cut with Intricate Leaves Dies (from Gorgeous Leaves Bundle)
For this card design, I chose warm colors suitable for Fall. I love the way that the Early Espresso, Cajun Craze and Sahara Sand work together and the touch of Gold foil and Gold embossing helps step up the card design. To create this card, I embossed the Sahara Sand cardstock layer with the Macrame 3D Embossing Folder. I heat embossed the sentiment from the Pansy Patch stamp set onto the Early Espresso oval and also heat embossed the splatter image from the Gorgeous Leaves stamp set randomly onto the large Early Espresso circle. I attached the Gold foil leaf onto the Early Espresso circle and attached both the circle and the sentiment oval to the embossed Sahara Sand cardstock layer. I attached the Sahara Sand cardstock layer to the Early Espresso layer and then attached it to the card front with Stampin' Dimensionals. I decided not to add any embellishments to the design, preferring to keep it nice and simple. 
Thank you for taking the time to visit my blog. I hope that my card design will help inspire you to create your own wonderful Thank You cards. There are so many wonderful products to explore in the new July-December 2021 Mini Catalog. 
I would love it if you would take the time to vote for my card design as part of this month's Blog Highlights. Just click the button below to vote by clicking on the small heart on the thumbnail for my card design (#32). You can vote for 5 different projects each day over the next week. I hope you will take the time to click through and visit with each of the wonderful demonstrators taking part this month. 

If you live in the U.S. and do not have a Stampin' Up! Demonstrator, please contact me and I would be happy to help you with your creative projects. You may also visit my Online Store to place your order and have it shipped to you.

Until Next Time

Happy Stamping,

Tricia Butts
Independent Stampin' Up! Demonstrator

Like What You See? Visit My Online Store Here

Visit My Facebook Business Page for Updates & Ideas

Click here to Contact Me


Earn Exclusive Free Products

During Sale-a-bration

Click Below For More Details


Explore Your Creativity
With The New July-December 2021 Mini Catalog
Click Below To Visit My Online Store

Last Days To Get Your Box Of Hope
With The August Paper Pumpkin Kit
Click Below To Subscribe By August 10th


Thursday, July 1, 2021

We Create July Blog Hop Pattern Play

Welcome to the We Create July Blog Hop as we showcase our theme "Pattern Play". This month we have been challenged to use patterns to create projects including Stampin' Up!'s wonderful designer series paper. You will be visiting with talented Stampin' Up! Demonstrators as they share their ideas and projects to help spark your creativity. 
One of my favorite new designer series paper packs in the 2021-2022 Annual Catalog is the beautiful Hand-Penned Designer Series Paper. I love the watercolor look to the designs and the pretty florals that are perfect for Spring and Summer card designs. For today's card, I paired it with the Happy Birthday sentiment from the Pansy Patch stamp set. I love the beautiful fonts in this stamp set and they work well with this pretty paper. This clean and simple design is easy to create in any of the designs in this paper pack and by changing the sentiments, you can create a variety of wonderful cards for all occasions.
Products Used:
Hand-Penned Designer Series Paper (item #155499) New
Pansy Patch stamp set (item #154999) New
Label Me Fancy Punch (item #151297)
Pale Papaya Cardstock (item #155668) New
Basic White Thick Cardstock (item #159229)
Pale Papaya 3/8" Open Weave Ribbon (item #155672) New
Basic Rhinestone Jewels (item #144220)
Stampin' Dimensionals (item #104430)
Measurements:
Basic White Thick Cardstock
Card Base - 8 1/2" x 5 1/2" (Scored at 4 1/4")
Sentiment Label punched with Label Me Fancy Punch
Pale Papaya Cardstock
Layer 1 - 5 1/4" x 4"
Label punched with Label Me Fancy Punch cut in half and attached to the back of the sentiment label
Hand-Penned Designer Series Paper
Card Front - 5" x 3 3/4"
This clean and simple card design is a great way to showcase your beautiful designer series paper. One of the hardest things to do is cut up your pretty paper, but when your cards display the wonderful designs instead of being hidden, it makes it easier to use it instead of hoarding it. The Pale Papaya cardstock adds a pretty frame to the design that helps make the pattern paper pop and the simple sentiment stamped with Memento Tuxedo Black ink coordinates with the paper. I used a piece of the Pale Papaya Open Weave Ribbon to step up the design and the Pale Papaya cardstock label adds a wonderful frame to the sentiment by cutting it in half and attaching it to the back of the sentiment label. The Basic Rhinestones add a touch of bling to finish off the design. 
Thank you for taking the time to visit my blog. I hope that my card design will help inspire you to explore creating with Stampin' Up!'s beautiful designer series paper to create your own fun projects. The Hand-Penned Designer Series Paper is just one of the amazing designs available on sale this month. Take the opportunity to stock up and save on your favorites. 
Now it's time to visit Jeanna's fabulous blog and see what she has created for us. Just click the Next button below to visit her blog. We would love it if you would leave us a comment and let us know what you liked about our projects. I hope you enjoy the rest of our blog hop. 

If you live in the U.S and do not have a Stampin' Up! Demonstrator, please contact me and I would be happy to help you with your creative projects. You may also visit my Online Store to place your order. Don't forget to take advantage of the wonderful Designer Series Paper Sale during the month of July and save 15% on select designer series paper packs. 

Until Next Time

Happy Stamping,

Tricia Butts
Independent Stampin' Up! Demonstrator

Like What You See? Visit My Online Store Here

Visit My Facebook Business Page for Updates & Ideas

Click here to Contact Me


July is Designer Series Paper Sale Month

Save 15% on select Designer Series Paper

Click Below To Shop For Your Favorites


Enjoy A Creative Adventure
With The July Paper Pumpkin Kit
Click Below To Subscribe By July 10th

Explore Your Creativity
With The Kits Collection
Click Below To Visit My Online Store


Wednesday, June 30, 2021

Silver To Silver Elite June Blog Hop Welcome The New and Cherish The Old

Welcome to the Silver to Silver Elite Journey To Silver Elite June Blog Hop. We are a group of Stampin' Up! Demonstrators with a common goal to support each other as we build our businesses. Our theme this month is "Welcome the New and Cherish The Old" and we have been challenged to use a product from the new 2021-2022 Annual Catalog, a carryover product from the previous catalog and a new color, to create our projects.
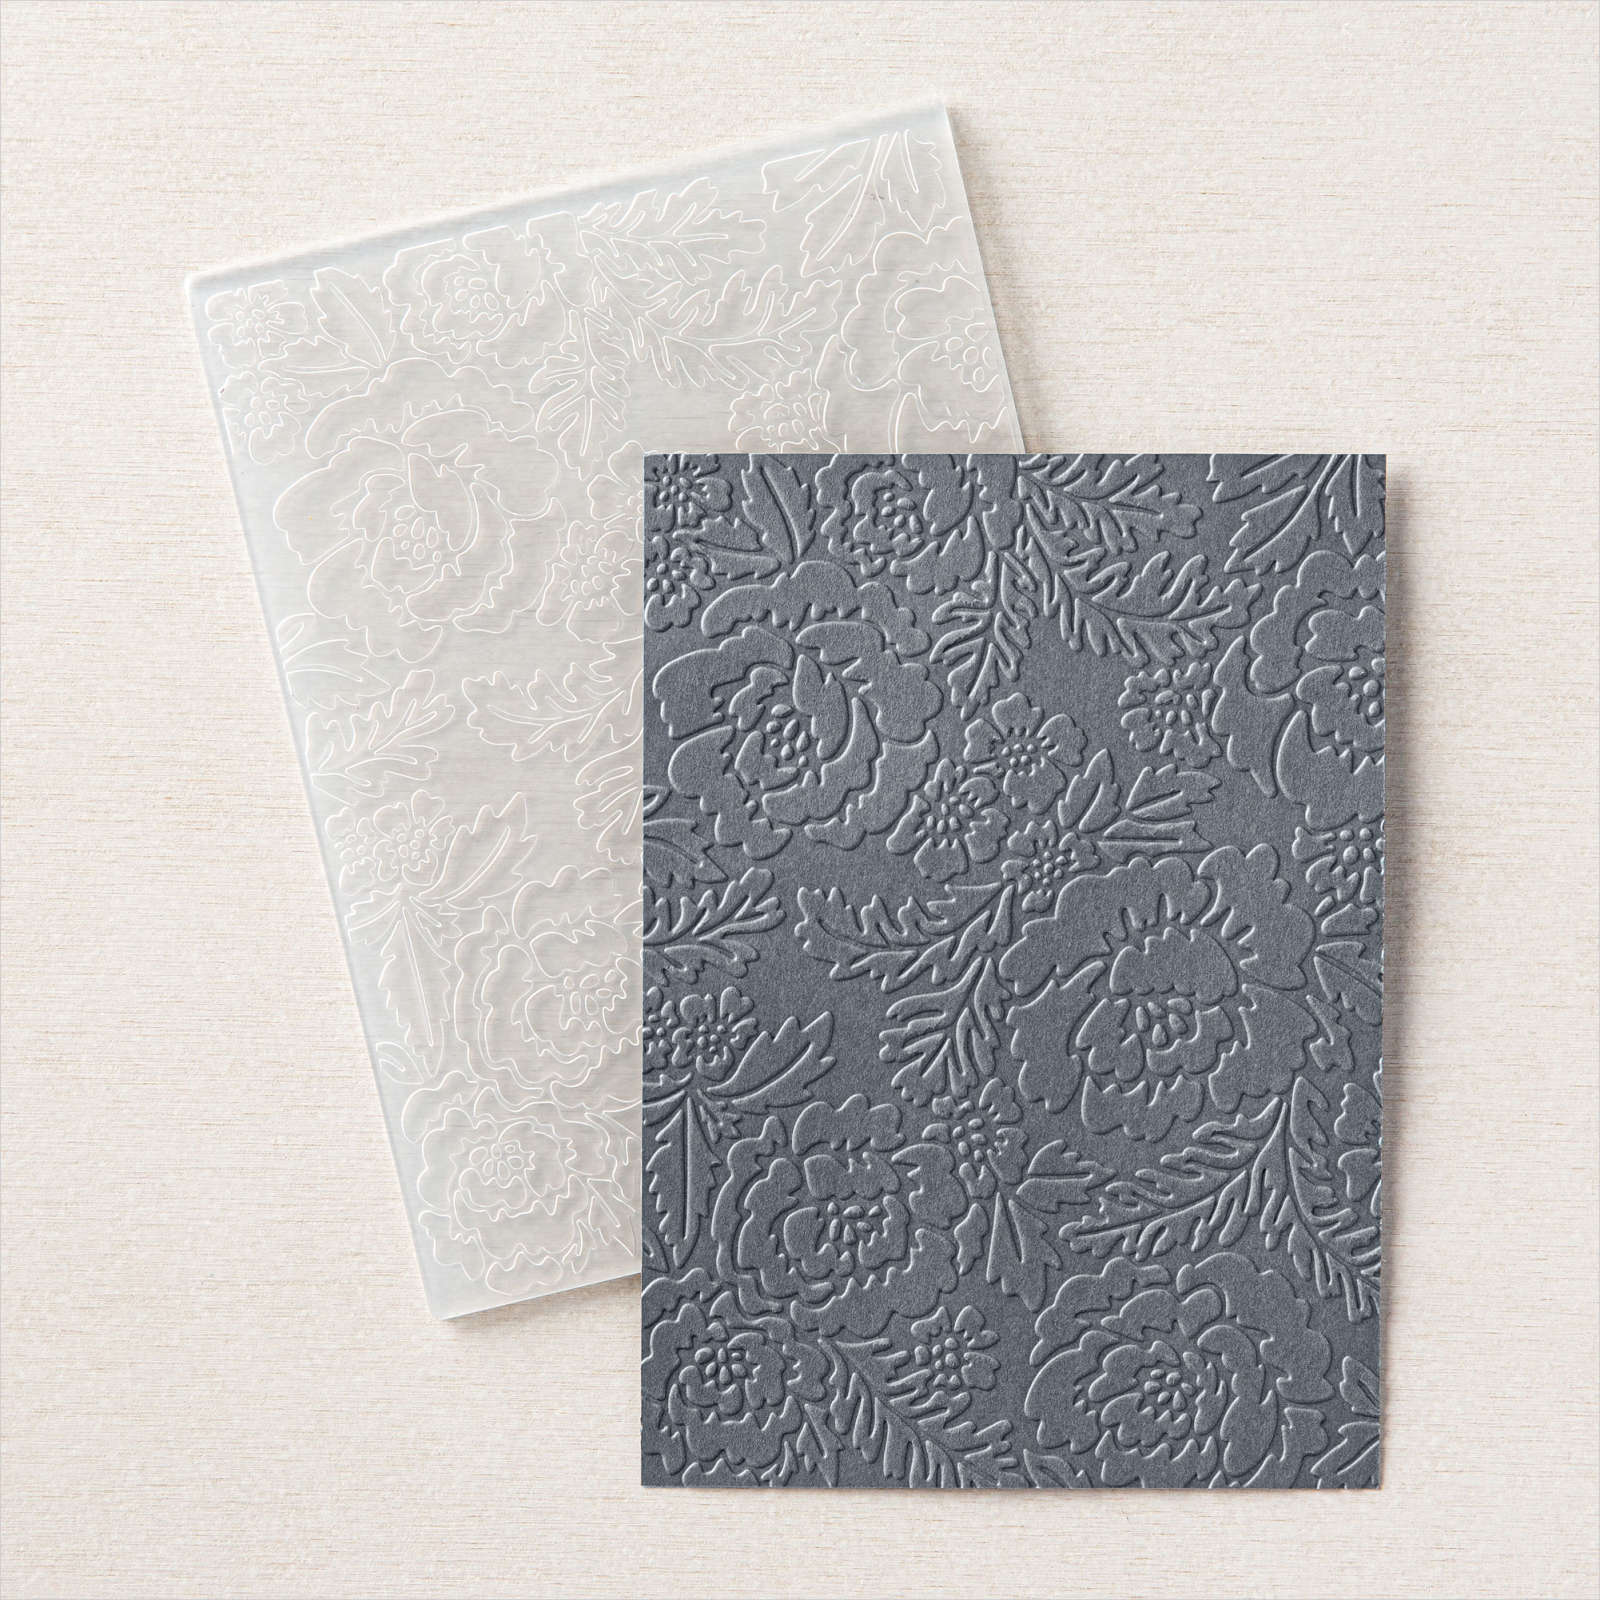
My favorite kind of cards are clean and simple designs. They are easy to create but can still have that look of elegance to make it extra special. For my card design today, I chose to use the new Pansy Patch stamp set for my sentiment and I heat embossed it with Silver embossing powder to step it up. I paired it with the Stitched So Sweetly Dies, a staple die set for me, which I am happy to say has carried over from the 2020-2021 Annual Catalog. The shapes of the dies are wonderful for framing sentiments of all sizes. I chose the beautiful Fresh Freesia 2021-2023 In Color as my new color and I love how it coordinates with Rich Razzleberry from the Regals Collection. I embossed the Fresh Freesia cardstock layer with the new Pretty Flowers Embossing Folder to give add texture to the background. The floral detail is stunning and turns a simple design into a simply Wow card. 
Products Used:
Pansy Patch stamp set (item #154999) New
Pretty Flowers Embossing Folder (item #155428) New
Stitched So Sweetly Dies (item #151690) 
Fresh Freesia Cardstock (item #155613) New
Rich Razzleberry Cardstock (item #115316)
Basic White Cardstock (item #159276)
Basic Rhinestone Jewels (item #144220)
Stampin' Dimensionals (item #104430)
Measurements:
Rich Razzleberry Cardstock
Card Base - 8 1/2" x 5 1/2" (Scored at 4 1/4")
Large Label die cut with Stitched So Sweetly Dies
Fresh Freesia Cardstock
Card Front - 5 1/4" x 4" Embossed with the Pretty Flowers Embossing Folder
Basic White Cardstock
Sentiment Label die cut with Stitched So Sweetly Dies

This beautiful card layout works well for a variety of occasions and by changing the colors, you can personalize it to suit the person receiving it. The dry embossed background adds subtle texture while the silver embossing for the sentiment adds a touch of elegance. The sparkle of Basic Rhinestone Jewels completes this clean and simple design. I love being able to combine my well loved Stampin' Up! supplies with the new products in the 2021-2022 Annual Catalog. It's a great way to add variety to my projects without breaking my budget.
Thank you for taking the time to visit my blog. I hope that my card design helps inspire you to explore combining the new products from the 2021-2022 Annual Catalog with your existing supplies. It's a great way to add a new creative twist to your projects. 
Now it's time to visit Tracy's blog and see what she has to share with us. Just click the Next button below to visit her blog or use the Roll Call List below to find your way. We would love it if you would leave us a comment and let us know what you liked about our projects. I hope you enjoy the rest of our blog hop. 

Roll Call List

Nancy Reynolds

Stampin' With Nutsy

Nedine Dupree

Craft Lounge Creations

Janice Piechowiak

Creating Treasures with Janice

Cathy Rocca

From The Stamp Studio

Julia Mazur

Simply She Stamps

Libby Fens

libbystamps

Polly Crouch

Stamp with Polly

Tricia Butts

Tricia's Stamping Creations

Tracy Byers

Cards, Craft and Stamps

Terri Hartley

Rustic Barn Cards

Theresa Tucker

Tucker Topnotch Designs

Sue Kremer

North Star Stamper

Kelly Taranto

The Late Night Stamper

Tammy Gill

Stampinkspired

Linda Moore

Moore Fun Stamping

Debra Norton

Stamping By The Lake

Jane Proffitt

Gal Friday Stamping

Sharon Jacobs

Stamped Inkspired Designs

If you live in the U.S. and do not have a Stampin' Up! Demonstrator, please contact me and I would be happy to help you with your creative projects. You may also visit my Online Store to place your order. 

Until Next Time

Happy Stamping,

Tricia Butts
Independent Stampin' Up! Demonstrator

Like What You See? Visit My Online Store Here

Visit My Facebook Business Page for Updates & Ideas

Click here to Contact Me


Enjoy A Creative Adventure
With The July Paper Pumpkin Kit
Click Below To Subscribe By July 10th


Explore Your Creativity
With The Kits Collection
Click Below To Visit My Online Store

Coming Soon!
Designer Series Paper Sale
Begins July 1st