Showing posts with label 2021-2023 In Colors. Show all posts

Tuesday, January 10, 2023

ICS January Blog Hop Introducing Sale-a-Bration

 
It's time to hop a long with the ICS January Blog Hop as we showcase products in the 2023 Sale-a-bration Catalog. Sale-a-bration is one of my favorite times of the year, with the opportunity to earn free products with a qualifying order. This year there are so many wonderful products to choose from and our wonderful Design Team members will be sharing their projects and ideas to help inspire you. 
For my card design today, I thought I would share the Beautifully Happy stamp set, which is a Level 2 Sale-a-bration Reward that you can earn free with a qualifying order. This pretty two step stamp set has a wonderful assortment of images and sentiments to help you create beautiful cards for a variety of occasions. Now if you are like me and struggle with two step stamping, I recommend that you use the Stamparatus to help take the stress out of creating with this versatile stamp set. I was able to line up and stamp all my images and restamp when necessary, to create a the focal design. I used Memento Tuxedo Black ink to stamp the outline and Soft Succulent and Polished Pink to stamp the leaves and flowers.
Products Used:
Beautifully Happy stamp set (item #160804) Level 2 Sale-a-bration Reward
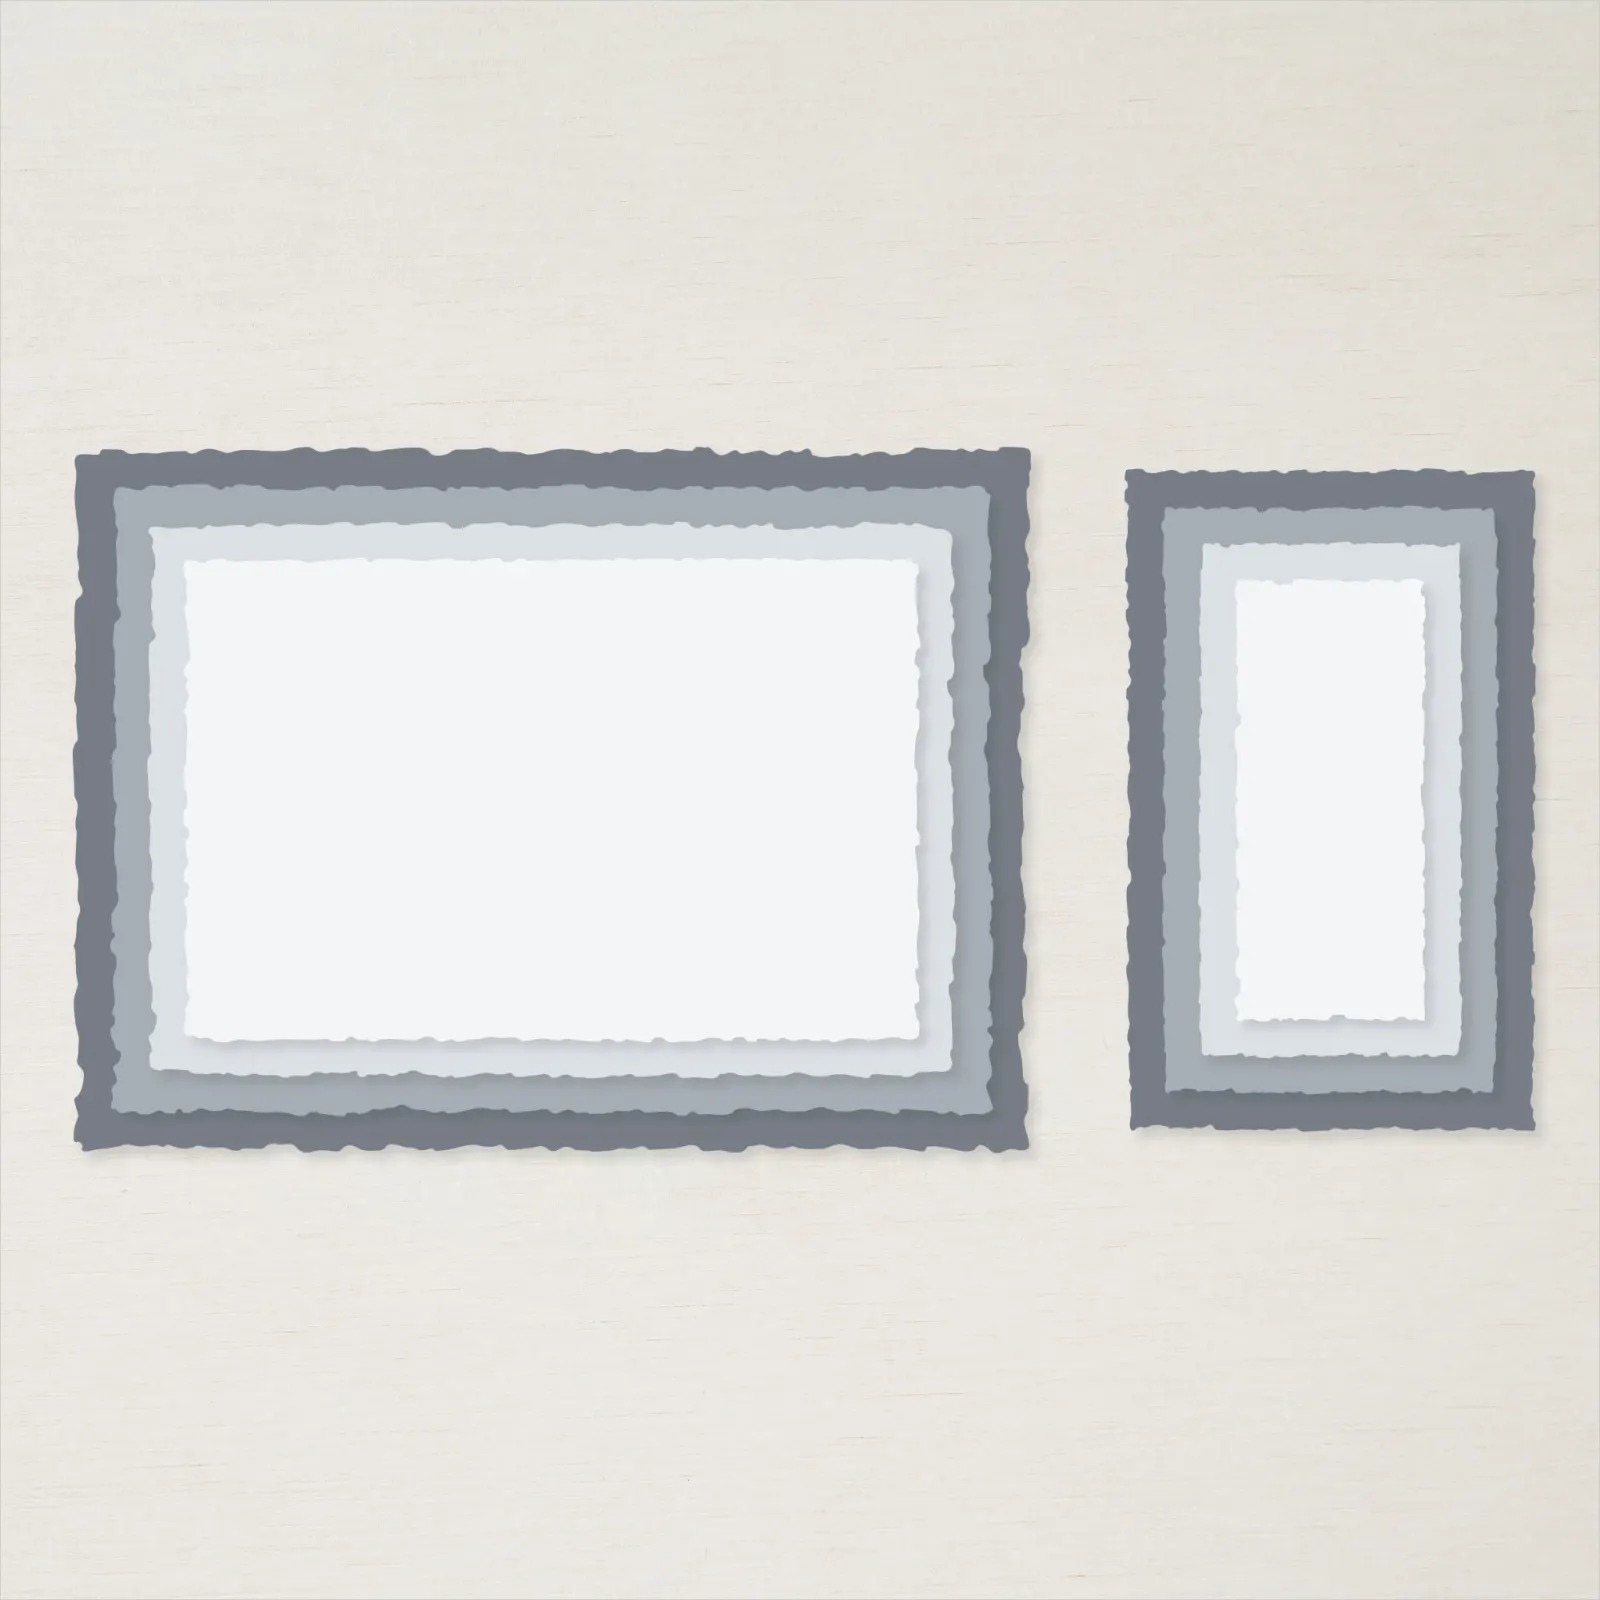
Deckled Rectangles Dies (item #159173)
Double Oval Punch (item #154242)
Stamparatus (item #146276)
Soft Succulent Cardstock (item #155776)
Very Vanilla Cardstock (item #101650)
Thick Very Vanilla Cardstock (item #144237)
Memento Tuxedo Black Pad (item #132708)
Polished Pink Classic Ink Pad (item #155712)
Soft Succulent Classic Ink Pad (item #155778)
2021-2023 In Color Opal Rounds (item #159185)
Polished Pink 3/8" Open Weave Ribbon (item #155714)
Stampin' Dimensionals (item #104430)
Mini Glue Dots (item #103683)
Measurements:
Thick Very Vanilla Cardstock
Card Base - 8 1/2" x 5 1/2" (Scored at 4 1/4")
Very Vanilla Cardstock
Focal Layer die cut with the Deckled Rectangles Dies
Sentiment Label punched out with the Double Oval Punch
Soft Succulent Cardstock
Matte Layer die cut with the Deckled Rectangles Dies
This pretty card design works well for a variety of occasions and is a great layout for creating multiple cards to restock your card stash. Using the Stamparatus also makes it a smoother and more efficient experience, because once you have set up the stamps, you can stamp multiple cards with the same design. The Stamparatus is a wonderful tool for helping to line up images for two step stamping and giving you the ability to restamp and image if you are not happy with it the first time around. I love how the stamps in this stamp set give the images the appearance of highlights and shading and it is perfect for people who don't like to color. The stamps really do all the work for you. To create the layers for the card design, I used the Deckled Rectangles Dies to cut a piece of Very Vanilla cardstock for the focal layer and a piece of Soft Succulent cardstock for the matte layer. I used the beautiful Polished Pink Open Weave Ribbon to create a loop for the top of the card and the tails at the bottom and attached them to the card base using Mini Glue Dots. I adhered the layered focal image over the top of the ribbon using Stampin' Dimensionals to add dimension to the design. For the sentiment, I stamped the sentiment image with Soft Succulent Classic ink and punched it out with the Double Oval Punch. I then attached it to the focal layer with Stampin' Dimensionals. To finish off the card design, I added one of the Pale Papaya Opal Rounds to the center of the large flower and several of the Polished Pink Opal Rounds to embellish the card front, for a touch of bling. 
Thank you for taking the time to visit my blog. I hope that my card design will help inspire you to explore the wonderful new products in the 2023 Sale-a-bration Catalog. It's a great way to spark your creativity for the New Year. Just a quick reminder that the 2021-2023 In Colors will be retiring soon, so if you love them as much as I do, I recommend stocking up on your favorite products before they disappear. 

Now it's time to visit Janey's blog and see what she has to share with us. Just click the Next button below to visit her blog. We would appreciate it if you would be leave us a comment and let us know what you liked about our projects. I hope you enjoy the rest of our blog hop. 


If you live in the U.S. and do not have a Stampin' Up! Demonstrator, please contact me and I would be happy to help you with your creative projects. You may also visit my Online Store to place your order and have it shipped to you. 


Until Next Time

Happy Stamping,

Tricia Butts
Independent Stampin' Up! Demonstrator

Like What You See? Visit My Online Store Here

Visit My Facebook Business Page for Updates & Ideas

Click here to Contact Me


Earn Free Exclusive Products
During Sale-a-bration
Click Below For More Details

Celebrate The New Year
With The January-April 2023 Mini Catalog
Click Below To Visit My Online Store

Join The Stampin' Up! Family
Choose From 3 Amazing Options
Click Below For More Details


Sunday, May 15, 2022

Kre8tors May Blog Hop 2022-2023 Annual Catalog

It's time to hop along with the Kre8tors May Blog Hop as we showcase products from the new 2022-2023 Annual Catalog. There are so many wonderful new products and our Design Team is excited to share their projects and ideas to help inspire you to explore this amazing new catalog. 
One of my favorite things about a new catalog is the pretty new designer series paper. For today's card, I decided to create my card with one of the designs from the Tea Boutique 6"x6" Designer Series Paper, to create a beautiful clean and simple card design. I paired it with the Nature's Prints Bundle, which has wonderful sentiments for a variety of occasions and great coordinating dies to make life easier. This card design has a wonderful Spring feel to it and with just a little embellishing, is easy to create.
Products Used:
Nature's Prints Bundle (item #158801) New
Tea Boutique 6"x6" Designer Series Paper (item #158659) New
Crumb Cake Cardstock (item #120953)
Basic White Cardstock (item #159276)
Versamark Pad (item #102283)
Metallics Embossing Powders (item #155555)
Fresh Freesia 3/8" Open Weave Ribbon (item #155615)
2021-2023 In Color Opal Rounds (item #159185) New
Mini Stampin' Dimensionals (item #144108)
Measurements:
Crumb Cake Cardstock
Card Base - 8 1/2" x 5 1/2" (Scored at 4 1/4")
Tea Boutique Designer Series Paper
Card Front - 5 1/4" x 4"
Basic White Cardstock 
Sentiment Label die cut with the Natural Prints Dies
This pretty card design is so simple to create and with all the beautiful designs in this paper pack, you can create a wonderful variety of cards for all occasions. I chose to use Crumb Cake cardstock for my card base to help make the designer series paper layer pop. I heat embossed the sentiment with Silver embossing powder to take the card design to the next level and added a piece of Fresh Freesia Open Weave Ribbon beneath the sentiment label to help it stand out against the background. The pretty new 2021-2023 In Color Opal Rounds have a wonderful sparkle to them and I added three of the Fresh Freesia Opal Rounds to add a touch of bling to complete the card design. This card design is a great example of how you can mix and match different products from different suites, to create beautiful cards. 
Thank you for taking the time to visit my blog. I hope that my card design will inspire you to explore the wonderful new products in this amazing new catalog to help you create your own beautiful projects.
Now it's time to visit Jacqui's blog and see what she has to share with us. Just click the Next button to visit her blog or use the Roll Call List below to find your way. We would appreciate it if you would leave us a comment and let us know what you liked about our projects. I hope you enjoy the rest of our blog hop. 

Roll Call List

If you live in the U.S. and do not have a Stampin' Up! Demonstrator, please contact me and I would be happy to help you with your creative projects. You may also visit my Online Store to place your order and have it shipped to you. 

Until Next Time

Happy Stamping,

Tricia Butts

Independent Stampin' Up! Demonstrator

Like What You See? Visit My Online Store Here

Visit My Facebook Business Page for Updates & Ideas

Click here to Contact Me


Explore The Amazing New Products
In The New 2022-2023 Annual Catalog
Click Below To Visit My Online Store


Take Advantage Of The In Color Starter Kit Promotion
During The Month Of May
Click Below For More Details


Thursday, October 7, 2021

Background Stamps Blog Hop


Welcome to the Background Stamps Blog Hop as we showcase ideas and techniques to help you make the most of these wonderful stamps. So often these large stamps are overlooked in the catalog, but they really can help to step up a project by adding texture and detail to the background. You will have the opportunity to visit with talented Stampin' Up! Demonstrators as they share their projects to help inspire you.
For my card design today, I chose to use the Stacked Stone stamp set to create my background. I love the natural look of this stamp image and the amazing detail adds so much texture to this card design without adding any additional layers. I paired it with the Strong Of Heart stamp set to create this uplifting and inspiring card. The Gold embossing adds a touch of elegance to the design without being too over the top. I love how soft and pretty this card design is and how the pop of color from the Polished Pink, Cherry Cobbler and Soft Succulent help to bring this design to life.
Products Used:
Strong Of Heart stamp set (item #156376)
Stacked Stone stamp set (item #152556)
Tailored Tag Punch (item #145667)
Very Vanilla Thick Cardstock (item #144237)
Very Vanilla Cardstock (item #101650)
Soft Succulent Cardstock (item #155776)
Sahara Sand Classic Ink Pad (item #147117)
Polished Pink Classic Ink Pad (item #155712)
Versamark Pad (item #102283)
Metallics Embossing Powders (item #155555)
Soft Succulent Stampin' Blends Combo Pack (item #155521)
Cherry Cobbler Stampin' Blends Combo Pack (item #154880)
Soft Succulent 3/8" Open Weave Ribbon (item #155780)
2021-2023 In Color Jewels (item #155571)
Stampin' Dimensionals (item #104430)
Measurements:
Very Vanilla Thick Cardstock
Card Base- 8 1/2" x 5 1/2" (Scored at 4 1/4")
Soft Succulent Cardstock
Layer 1 - 5 1/4" x 4"
Very Vanilla Cardstock
Card Front - 5" x 3 3/4"
Sentiment Label - 1/2" x 3"

This beautiful clean and simple card design showcases how the Stacked Stone stamp set can create a soft background which adds texture and detail to the design without adding layers. I chose Sahara Sand Classic ink to stamp the background design for a natural stone look that wasn't too dark for the focal design. I stamped the heart background image from the Strong Of Heart stamp set with Polished Pink Classic ink and heat embossed the detailed heart with Gold embossing powder over the top of the background heart. To color the leaves, I chose the Light Soft Succulent Stampin' Blends Marker and for the flowers I chose to use the Light Cherry Cobbler Stampin' Blends Marker so that they would stand out against the Polished Pink background. I attached a piece of Soft Succulent Open Weave Ribbon around the bottom of the card front and then attached the focal layer to the Soft Succulent cardstock layer. I used Stampin' Dimensionals to attach these layers to the card base to pop it up. To finish off the card design, I heat embossed the sentiment with Gold embossing powder onto a strip of Very Vanilla cardstock and I used the Tailored Tag Punch to create a banner to the right end of the label. I attached it to the card front across the heart with Stampin' Dimensionals and embellished it with two small Evening Evergreen Jewels from the 2021-2023 In Color Jewels. 

Thank you for taking the time to visit my blog. I hope that my card design will help inspire you to take a second look at the wonderful background stamps that Stampin' Up! has to offer. There are so many possibilities to explore. The Strong Of Heart stamp set is part of Stampin' Up!'s commitment to giving back to the community and for each Strong Of Heart stamp set purchased, Stampin' Up! will donate $3 to support heart health.
Now it's time to visit with the other talented Demonstrators participating in today's blog hop and see what projects they have to share. Please take the time to click on the links in the Roll Call List below to visit their blogs and we would appreciate it if you would leave us a comment and let us know what you liked about our projects.

If you live in the U.S. and do not have a Stampin' Up! Demonstrator, please contact me and I would be happy to help you with your creative projects. You may also visit my Online Store to place your order and have it shipped to you.

Until Next Time

Happy Stamping,

Tricia Butts
Independent Stampin' Up! Demonstrator

Like What You See? Visit My Online Store Here

Visit My Facebook Business Page for Updates & Ideas

Click here to Contact Me


Saturday, July 10, 2021

Stamping Inkspirations July Blog Hop Christmas In July

Welcome to the Stamping Inkspirations July Blog Hop as we showcase Christmas In July projects to help inspire you. Take a journey along our blog hop and visit with talented crafters as they share their fun ideas and projects to help you get creative.
I love creating Christmas cards and especially at this time of year. Why, you  might ask? Simply because it is less stress and more enjoyable because I have the time to create my cards without all the hustle and bustle that comes with the holidays. That's why I am so happy that Stampin' Up! has a wonderful selection of products for the holidays in the 2021-2022 Annual Catalog to help me get started with my Christmas card designs. I love the beautiful Tidings of Christmas Suite and I chose to use some of the products in this suite for my card design today. This clean and simple card is easy to duplicate and the pretty designs in the Tidings of Christmas 6"x6" Designer Series Paper create lovely backgrounds for this layout. For the layering of the sentiment, I chose the Stitches So Sweetly Dies, one of my favorite die sets in the catalog. The scalloped edges and stitching really help to step up the design and I love how the Gold embossing pops. 
Products Used:
Tidings & Trimmings Bundle (item #155716) New
Tidings of Christmas 6"x6" Designer Series Paper 
(item #155718) New
Evening Evergreen Cardstock (item #155574) New
Soft Succulent Cardstock (item #155776) New
Basic White Cardstock (item #159276)
Versamark Pad (item #102283)
Metallics Embossing Powders (item #155555) New
Cherry Cobbler Stampin' Blends Combo Pack (item #154880)
Basic Pearl Jewels (item #144219)
Stampin' Dimensionals (item #104430)
Measurements:
Evening Evergreen Cardstock
Card Base - 8 1/2" x 5 1/2" (Scored at 4 1/4')
Scalloped Rectangle Label die cut with the Stitched So Sweetly Dies
Basic White Cardstock
Sentiment Label die cut with the Stitched So Sweetly Dies
Soft Succulent Cardstock
Holly Leaves die cut with the Christmas Tidings Dies (from the bundle)
This classic design is easy to create and showcases the beautiful designs of the Tidings of Christmas Designer Series Paper. You could create a wonderful set of cards with a variety of patterns to quickly and simply with just a few supplies. I love how the Gold embossing steps up the card design and the Basic Pearls were colored with the Light Cherry Cobbler Stampin' Blends Marker to create holly berries that add a pop of color to the design. I used Stampin' Dimensionals to raise the scalloped rectangles layers to add dimension to the design. The Tidings of Christmas Suite is a wonderful collection of products that will make creating your Christmas cards simple and stress free, no matter what time of the year you decide to create them.
Thank you for taking the time to visit my blog. I hope that my card design will help inspire you to get an early start on your Christmas cards. There are so many wonderful products in the 2021-2022 Annual Catalog to choose from. 
Now it's time to visit Leonie's wonderful blog and see what Christmas projects she has to share with us. Just click the Next button below to visit her blog or use the Roll Call List to find your way. Please leave us a comment and let us know what you liked about our projects. I hope you enjoy the rest of our blog hop. 

Roll Call List
If you live in the U.S. and do not have a Stampin' Up! Demonstrator, please contact me and I would be happy to help you with your creative projects. You may also visit my Online Store to place your order and have it shipped to you. 

Until Next Time

Happy Stamping,

Tricia Butts
Independent Stampin' Up! Demonstrator

Like What You See? Visit My Online Store Here

Visit My Facebook Business Page for Updates & Ideas

Click here to Contact Me


Stock Up & Save

During The Designer Series Paper Sale

Click Below To Visit My Online Store


Last Days To Sign Up
For The July Paper Pumpkin Adventure Begins Kit
Click Below To Subscribe By July 10th

Explore Your Creativity
With The Kits Collection
Click Below To Visit My Online Store


Ink. Stamp. Share. July Showcase Blog Hop

Welcome to the Ink. Stamp. Share July Showcase Blog Hop as we showcase the projects we are currently working on. You will be visiting with talented Stampin' Up! Demonstrators from around the world as they share their ideas and projects to help inspire you to get creative. 
One of the things I love about a new catalog, is participating in catalog swaps. It is where you swap card designs with other Stampin' Up! Demonstrators and in return you get a bunch of different cards that are great for providing inspiration and ideas for the demonstrators and their customers. The card design I am sharing today is a card I created for a New Catalog Card Swap I participated in recently. I chose to use the beautiful Hand-Penned Petals Bundle and combined it with the lovely Pretty Flowers Embossing Folder to create this pretty clean and simple card design. I was inspired by a card design that I saw on Lyssa Zwolanek's blog and I made changes to create my own design. I chose to use several of the new 2021-2023 In Colors including Polished Pink, Soft Succulent and Evening Evergreen. 
Products Used:
Hand-Penned Petals Bundle (item #155492) New
Pretty Flowers Embossing Folder (item #155428) New
Ornate Frames Dies (item #150664)
Basic White Cardstock (item #159276)
Polished Pink Cardstock (item #155710) New
Evening Evergreen Cardstock (item #155574) New 
Memento Tuxedo Black Pad (item #132708)
Versamark Pad (item #102283)
Metallics Embossing Powders (item #155555) New
Polished Pink Stampin' Blends Combo Pack (item #155520) New
Soft Succulent Stampin' Blends Combo Pack (item #155521) New
Evening Evergreen Stampin' Blends Combo Pack 
(item #155517) New
Daffodil Delight Stampin' Blends Combo Pack (item #154883)
Polished Pink 3/8" Open Weave Ribbon (item #155714) New
Basic Pearl Jewels (item #144219)
Stampin' Dimensionals (item #104430)
Mini Glue Dots (item #103683)
Measurements:
Basic White Thick Cardstock
Card Base - 8 1/2" x 5 1/2" (Scored at 4 1/4")
Basic White Cardstock
Focal Layer - 4 1/4" x 3" 
Polished Pink Cardstock
Background Layer - 5 1/4" x 4" Embossed with the Pretty Flowers Embossing Folder
Evening Evergreen Cardstock
Sentiment Label die cut with the Ornate Frames Dies
Scalloped Edge Border die cut with the Penned Flowers Dies
I love the vibrant color combination I chose for this card design and the wonderful floral embossed background adds lovely texture to the design. I stamped the floral design with Memento Tuxedo Black ink onto the right side of the Basic White layer and colored the image with Polished Pink, Soft Succulent and Daffodil Delight Stampin' Blends Markers. I attached the die cut scalloped edge border to the back of the focal layer and added it to the front of the card. For the sentiment, I heat embossed the image with Silver embossing powder and die cut it with one of the small dies from the Ornate Frames Dies. I attached it to the left side of the Basic White layer with Stampin' Dimensionals and colored two small Basic Pearls with the Light Evening Evergreen Stampin' Blend Marker to embellish the label. To finish off the card design, I tied a small knot with a piece of Polished Pink Open Weave ribbon and attached it to the stem of the flowers with a Mini Glue Dot. 
Thank you for taking the time to visit my blog. I hope that my card design will help inspire you to create your own wonderful projects to share with family and friends. The new 2021-2023 In Colors work beautifully together and Stampin' Up! has a wonderful range of coordinating products to help take the stress out of creating. 
Now it's time to visit Karen's wonderful blog and see what she has to share with us. Just click the Next button below to visit her blog or use the Roll Call List to find your way. Please leave us a comment and let us know what you liked about our projects. We really appreciate the feedback. I hope you enjoy the rest of our blog hop.

Roll Call
If you live in the U.S. and do not have a Stampin' Up! Demonstrator, please contact me and I would be happy to help you with your creative projects. You may also visit my Online Store to place your order and have it shipped to you.

Until Next Time

Happy Stamping,

Tricia Butts
Independent Stampin' Up! Demonstrator

Like What You See? Visit My Online Store Here

Visit My Facebook Business Page for Updates & Ideas

Click here to Contact Me


Stock Up & Save

During the Designer Series Paper Sale

Click Below To Visit My Online Store


Final Days To Sign Up
For The July Paper Pumpkin Adventure Begins Kit
Click Below To Subscribe By July 10th

Explore Your Creativity
With The Kits Collection
Click Below To Visit My Online Store