Showing posts with label So Sentimental stamp set. Show all posts

Saturday, September 12, 2020

The Joy Of Stamps September Blog Hop Weddings

Welcome to The Joy of Sets September Blog Hop as we showcase Weddings as our theme for this month. You will be visiting with talented stampers from around the world as they share their projects and ideas to help inspire you. 
Today I am sharing an elegant clean and simple Wedding card design featuring the beautiful Ornate Garden Specialty Designer Series Paper (item #152488) paired with the So Sentimental Bundle (item #153828) from the 2020-2021 Annual Catalog. I love the gold foil detail in the pretty designer series paper and it was the inspiration for my card design. The die cut layers have been popped up using Stampin' Dimensionals to step up the design. 
Supplies Used:
Ornate Garden Specialty Designer Series Paper
So Sentimental Bundle
Gold Foil
Gold Embossing Powder
Whisper White 1/2" Faux Linen Ribbon (Flowers For Every Season Ribbon Combo Pack)
Thick Whisper White cardstock
Measurements:
Thick Whisper White cardstock card base - 8 1/2" x 5 1/2" 
(Scored at 4 1/4")
Ornate Garden Specialty Designer Series Paper layer - 5 1/4" x 4"
Gold Foil for Die Cut
Whisper White cardstock for sentiment label die cut
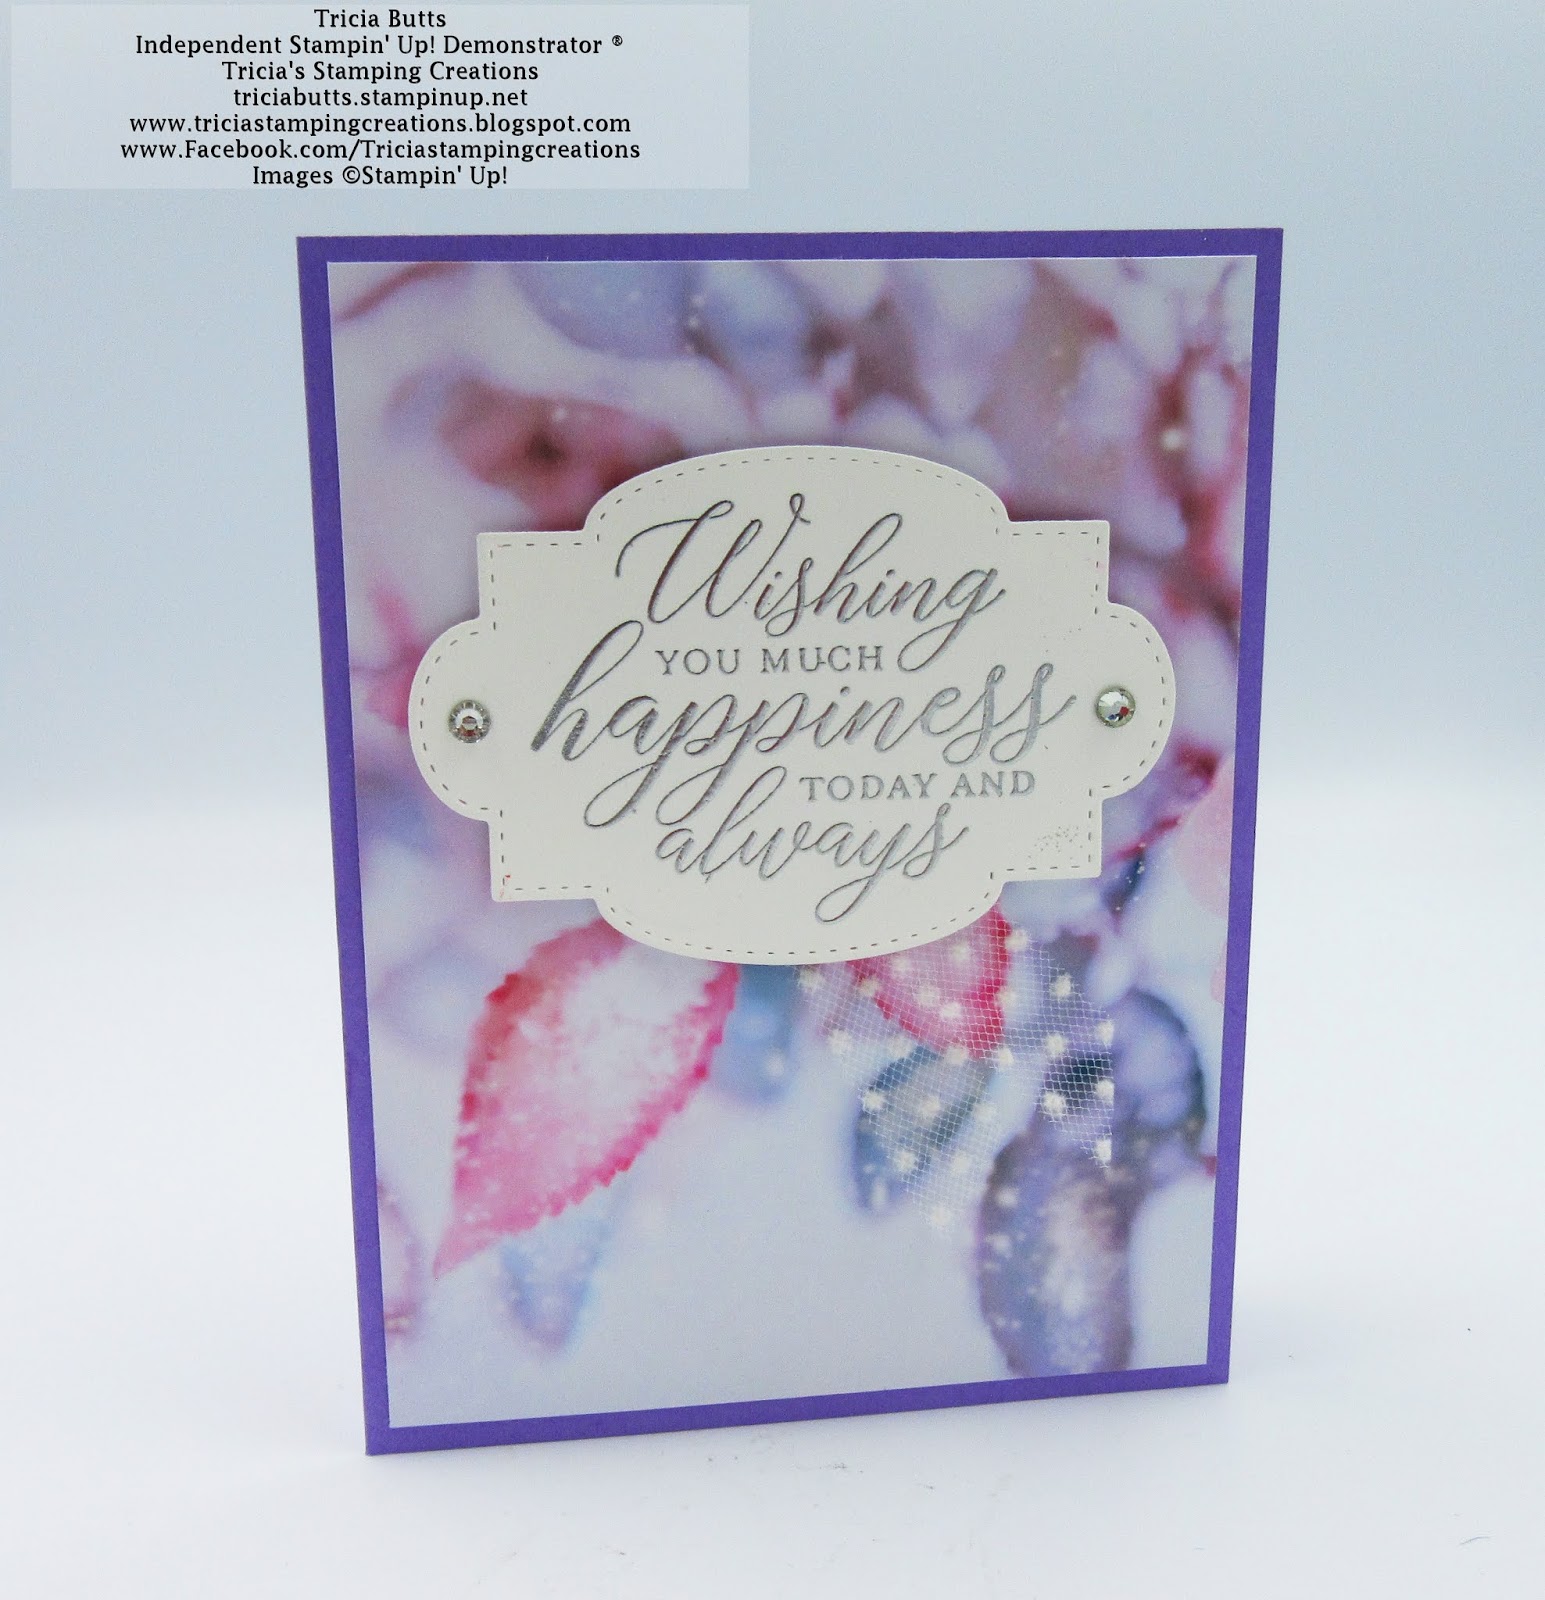
Thank you for taking the time to visit my blog today. I hope that my card design will inspire you to create your own wonderful wedding designs.

Now it's time to visit  Gez's blog and see what she has to share with us. Just click the Next button below or use the Roll Call List to find your way along our blog hop. I hope you enjoy our blog hop this month.  
Gez

If you live in the U.S. and do not already have a Stampin' Up! Demonstrator, please contact me and I would be happy to help you with your creative projects. 
Until Next Time
Happy Stamping,
Tricia Butts
Independent Stampin' Up! Demonstrator
Like What You See? Visit My Online Store Here
Visit My Facebook Business Page for Updates & Ideas
Click here to Contact Me


Monday, September 7, 2020

Kylie Bertucci's Monthly International Blog Highlights September 2020

Today I am taking part in Kylie Bertucci's Monthly International Blog Highlights for September. I am joining a wonderful group of talented Stampin' Up! Demonstrators as we share beautiful designs with the theme of Thank You. I hope that you are inspired by our ideas and projects. 
 Today I am sharing a fun Thank You card that I created with my son's teachers in mind. I discovered this wonderful Chalkboard Easel technique from fellow Demonstrator, Debbie Henderson, and I just had to create my own version. This clean and simple design features the So Sentimental stamp set (item #151691) and I used the Apple Builder Punch (item #150663) and the Sprig Punch (item #148012) to decorate the card. This card design works great for both male and female teachers. 
 Products Used: (can be found in the 2020-2021 Annual Catalog)
So Sentimental stamp set (item #151691)
Apple Builder Punch (item #150663)
Sprig Punch (item #148012)
Pinewood Planks 3D Embossing Folder (item #152320)
White Embossing Powder (item #109132)
Whisper White Stampin' Ink Pad & Refill (item #147277)
Sponge Daubers
Stampin' Seal Adhesive (item #152813)
Measurements:
Soft Suede Cardstock Card Base - 4 1/4" x 11" (Scored at 5 1/2")
Cut opening at the base of the card - 3/4" from each side up to the 1" mark with Paper Trimmer
Cut across from the 3/4" mark to 3 1/2" mark and remove rectangle (cut through both layers of card base)
Soft Suede Cardstock - 4 strips 3/4" x 5 1/2" (Embossed with the Pinewood Planks 3D Embossing Folder
Basic Black Cardstock piece - 3 3/4" x 3 3/4"

 The sentiment from the So Sentimental stamp set has been heat embossed with White Embossing Powder. I rubbed a small amount of Craft Whisper White ink across the Basic Black cardstock with a tissue to create the look of a chalkboard. The apple was punched from a scrap of Real Red cardstock and I used a Sponge Dauber to sponge the apple with Real Red Classic ink. The leaves were punched from Old Olive cardstock and sponged with Pear Pizzazz Classic ink. The stem was punched out from a scrap piece of the embossed Soft Suede cardstock and sponged with Crumb Cake Classic ink. The sprig was punched from Crushed Curry cardstock and sponged with Crushed Curry Classic ink. The Soft Suede cardstock strips were embossed with the Pinewood Planks 3D Embossing Powder and I sponged them with Crumb Cake Classic ink to bring out the detail of the wood grain. I attached the top and bottom strips to the card front first and trimmed off the excess cardstock. I then added the upright strips on top along the sides of the card front to complete the design. This clean and simple card fits in a standard size envelope and I love the way it stands up to look like an old fashioned chalkboard easel.
Thank you for taking the time to visit my Blog today. I hope that you have enjoyed my card design and I hope that it will inspire you to create your own beautiful Thank You cards. I would love it if you would click the button below and vote for my card design. You have the opportunity to vote for 5 card designs, so please share the love with my fellow Demonstrators. 

 Click Here To Vote For My Card

If you live in the U.S. and do not already have a Stampin' Up! Demonstrator, please contact me and I would be happy to help you with your creative projects. You may also visit my Online Store to place your order and have it shipped to you. 
Until Next Time
Happy Stamping,
Tricia Butts
Independent Stampin' Up! Demonstrator
Like What You See? Visit My Online Store Here
Visit My Facebook Business Page for Updates & Ideas
Click here to Contact Me

The New Stampin' Cut & Emboss Machine
Is Now Available!
Click Here To Order
 Click Here To Order


Join My Team
Enjoy The Wonderful Benefits
As A Stampin' Up! Demonstrator
Click Below For More Details
 Click Here For More Details


The August-December 2020 Mini Catalog
Is Now Available
Start Planning Your Holiday Projects
Click Here To Visit My Online Store
 Click Here To Visit My Online Store


Saturday, August 8, 2020

The Joy Of Sets August Blog Hop Reading Is FONTS-amental

Today we are hopping along with The Joy Of Sets August Blog Hop and this month's theme is Reading is FONTS-amental. You will be visiting blogs from around the world as we share our love of Fonts in our projects. 
 For me, Fonts are like the personality of a project. By changing the style of the Font you can alter the look and feel of your project and bring it to life. For today's card, I wanted my sentiment to be the main focus of my design and I wanted the style of Fonts to be elegant and classical to compliment the designer series paper. 
 To create my card, I started with Highland Heather cardstock for my card base and I added a piece of the Feels Like Frost 6"x6" Designer Series Paper (item #150444) for the background. I love how the Highland Heather helps bring out the colors in the photo realistic design, to create a soft and pretty card design. I am so happy that this designer series paper has returned and is in the new August-December 2020 Mini Catalog. It is so versatile and works well for so many occasions. 
 The So Sentimental stamp set (item #151691) is one of my favorite sentiment stamp sets because of the large, beautiful images and the stylish Fonts. I love how the different styles of Fonts in each of the sentiments work together to create beautiful sentiments. I chose to use a sentiment that would work for a variety of occasions and heat embossed the image onto a piece of Whisper White cardstock with Silver Embossing Powder. I die cut the sentiment using one of the dies from the coordinating Stitched So Sweetly Dies (item #151690). I love that these products carried over from the Spring Mini Catalog and you can still order both of these products as the So Sentimental Bundle and save 10%. I attached a piece of the Whisper White 5/8" Polka Dot Tulle Ribbon (item #146912) to the back of the bottom of the sentiment label with Mini Glue Dots and attached it to the card front with Stampin' Dimensionals. To complete the design, I added two large Basic Rhinestones to the sentiment label for a touch of bling. I love the simple elegance of this card and how the silver embossing steps up the look of the design to the next level. This card would work well as a birthday, anniversary or even as a simple wedding design. 
Thank you for taking the time to visit my blog today. I hope that my card design helps inspire you to explore the variety of Fonts available to help you create your own beautiful projects. 

Now it's time to visit Narelle's wonderful blog and see what she has created this month. Just click the Next button below to visit her blog or use the Roll Call List below to find your way. We would love it if you would leave us a comment and let us know what you enjoyed about our projects. I hope you enjoy the rest of our blog hop. 
 Narelle


August 2020 Blog Roll
Until Next Time
Happy Stamping,
Tricia Butts
Independent Stampin' Up! Demonstrator
Like What You See? Visit My Online Store Here
Visit My Facebook Business Page for Updates & Ideas
Click here to Contact Me

Wednesday, July 1, 2020

We Create Look At These Labels Blog Hop

Welcome to the We Create Look At These Labels Blog Hop as we showcase using Labels on our projects using current projects from the 2020-2021 Annual Catalog. You will be visiting with talented Stampin' Up! Demonstrators as they share their creative ideas to help inspire you. 
 Today I thought I would share this pretty card design featuring the Celebrate Sunflowers stamp set (item #152517) from the new 2020-2021 Annual Catalog and I combined it with one of my favorite label die sets, the Stitched So Sweetly Dies (item #151590) from the So Sentimental Bundle (item #153828). 
 My favorite color is blue, so I decided to create my card design using Misty Moonlight cardstock for the card base and added a layer of Whisper White cardstock to frame the background layer of  Seaside Spray cardstock. I stamped the large sunflower image from the Celebrate Sunflowers stamp set using Seaside Spray Classic ink onto the Seaside Spray cardstock layer to create a tone on tone design for the background. 
For the sentiment, I stamped the image from the So Sentimental stamp set (151691) with Versamark onto a scrap of Seaside Spray cardstock and heat embossed it with Silver embossing powder. I die cut the sentiment using one of the dies from the coordinating Stitched So Sweetly Dies and die cut the larger layer from Misty Moonlight cardstock to create the frame for the sentiment. 
To complete the card design, I attached the smaller sentiment label to the background label with Mini Stampin' Dimensionals and attached it to the stamped background layer with adhesive. I attached the background layer to the Whisper White cardstock layer with adhesive and then attached the card front to the card base with Stampin' Dimensionals. For a touch of bling, I added two medium Basic Rhinestones to the sentiment label to finish off the design. 
Thank you for taking the time to visit my blog today. I hope that my card design shows you how much fun it is to use labels in your projects to help step up the design. The So Sentimental Bundle is so versatile and when you purchase the bundle, you save 10%. 

Now it's time to visit Libby's wonderful blog and see what she has to share with us this month. Just click on the Next button below to visit her blog. We would love it if you would leave us a comment to let us know what you enjoyed about our projects. I hope that you enjoy the rest of our blog hop. 
 Libby

If you live in the U.S. and do not already have a Stampin' Up! Demonstrator, please contact me and I would be happy to help you with your creative projects. 


Until Next Time
Happy Stamping,
Tricia Butts
Independent Stampin' Up! Demonstrator
Like What You See? Visit My Online Store Here
Visit My Facebook Business Page for Updates & Ideas
Click here to Contact Me

Bonus Days Are Back!
Earn a $5 coupon code for every $50 You Order
Click Below To Shop From My Online Store
 Click Here

Celebrate Summer With The July Paper Pumpkin Kit
Click Below To Subscribe By July 10th
 Click Here To Subscribe


Order The Exclusive Summer Nights 
Add-On Kit 
While Supplies Last!
Click Below To Order
 Click Here To Order


Saturday, April 11, 2020

Colour Combo April Blog Hop

Welcome to the Colour Combo April Blog Hop and this month we have been challenged to use Grapefruit Grove, Highland Heather and Gray Granite together in our project. You will be visiting with Stampin' Up! Demonstrators from around the world as we share our ideas to help inspire you to explore new color combinations. 
 Today's card design features the Beautiful Friendship stamp set (item #149252) from the 2019-2020 Annual Catalog, combined with the So Sentimental Bundle (item #153828) from the January-June 2020 Mini Catalog to create this pretty Get Well card. The colors for this month's challenge worked beautifully for the floral background.
 For this card design, I chose Gray Granite cardstock for the card base and added a 5" x 3 3/4" layer of Grapefruit Grove cardstock to frame the Whisper White cardstock background layer. I stamped the images from the Beautiful Friendship stamp set using Highland Heather, Grapefruit Grove and Gray Granite Classic inks to create the background. 
The sentiment was created using the image from the So Sentimental stamp set from the bundle, which I heat embossed with Gold Embossing Powder onto Whisper White cardstock. I die cut the sentiment using one of the Stitched So Sweetly Dies (also from the bundle). 
 To decorate the card front, I used a piece of Whisper White 1/4" Crinkled Seam Binding Ribbon to go around the middle of the stamped background layer. I then added the sentiment label on top of the ribbon with Stampin' Dimensionals, centering it on the card front. To embellish the sentiment, I added small Basic Rhinestones on each side of the embossed sentiment and tied two small bows with the ribbon and attached them on either side of the label, using Mini Stampin' Dimensionals. I love the clean and simple design of this card and how simple it was to create. This soft and pretty design would work well as a Birthday or Thinking of You card. 
Thank you for taking the time to visit my blog today. I hope that my card design helps inspire you to try creating your own projects with this color combination. There are so many wonderful possibilities to try. 

Now it's time to visit Jo's blog and see what she has created for us this month. Just click the Next button below to visit her blog. I hope that you enjoy our blog hop this month. Please leave us a comment and let us know what you enjoyed about our projects.

If you live in the U.S. and do not already have a Stampin' Up! Demonstrator, please contact me and I would be happy to help you with your creative projects. 

Until Next Time
Happy Stamping,
Tricia Butts
Independent Stampin' Up! Demonstrator

Like What You See? Visit My Online Store Here
Visit My Facebook Business Page for Updates & Ideas
Click here to Contact Me