Welcome to the ICS February Blog Hop as we share wonderful projects using the incredible Sale-a-Bration products you can earn free with a qualifying order until February 28th. Our Design Team Members will be sharing their creative ideas to help inspire you to create your own wonderful projects.
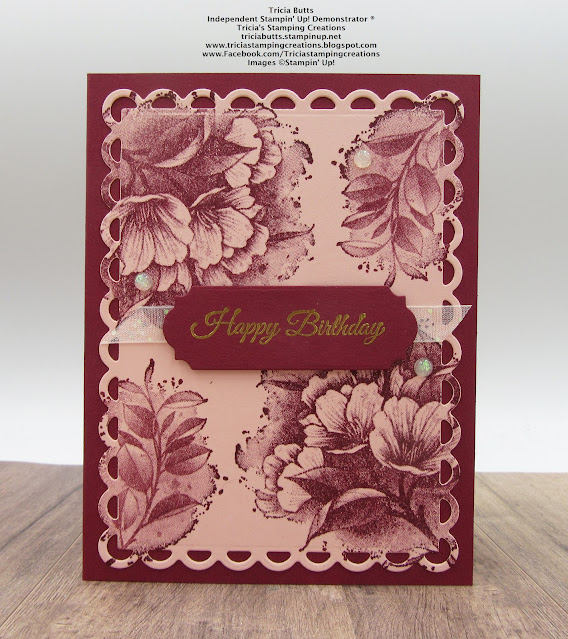
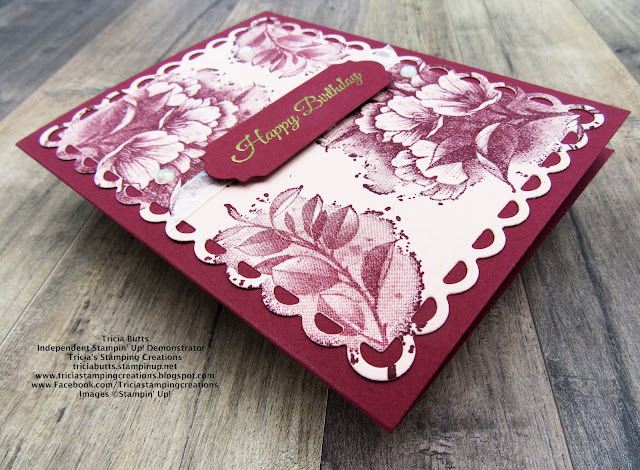
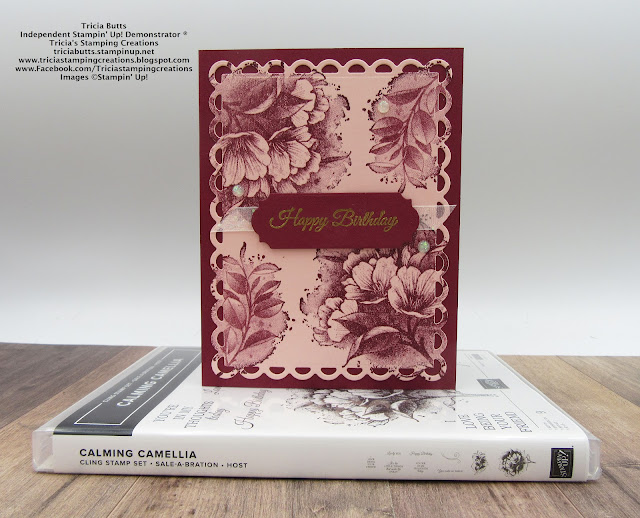
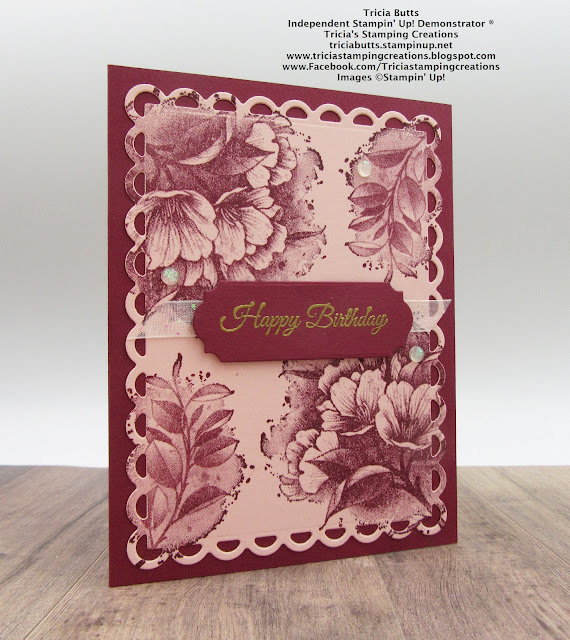
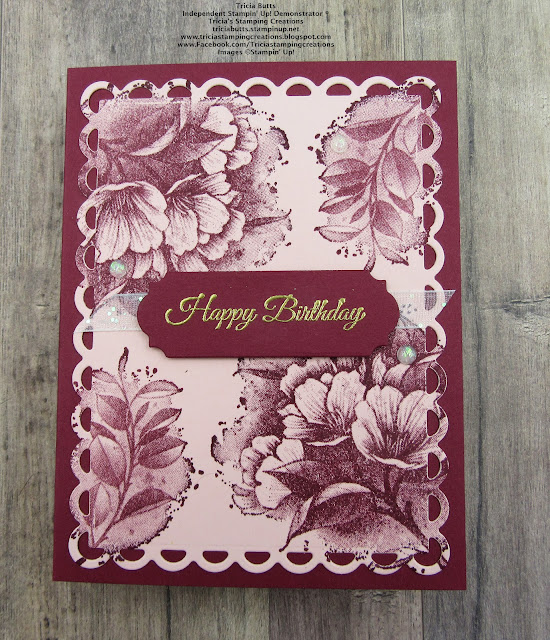
For my card design today, I wanted to share the beautiful Calming Camellia stamp set, which is the exclusive Host Sale-a-Bration Reward you can earn free with a qualifying party/order during Sale-a-Bration. The images in this distinktive stamp set are simply stunning and I love the beautiful sentiments that make it perfect for a variety of occasions. I chose to use the images to create a beautiful background design using Merry Merlot and Blushing Bride to create a clean and simple birthday card.
Products Used:
Calming Camellia stamp set (item #158117) Sale-a-Bration Host Reward
Scalloped Contours Dies (item #155560)
Ornate Frames Dies (item #150664)
Merry Merlot Cardstock (item #146979)
Blushing Bride Cardstock (item #131198)
Merry Merlot Classic Ink Pad (item #147112)
Versamark Pad (item #102283)
Metallics Embossing Powders (item #155555)
White 3/8" Glittered Organdy Ribbon (item #156408)
Opal Rounds (item #154289)
Mini Stampin' Dimensionals (item #144108)
Measurements:
Merry Merlot Cardstock
Card Base - 8 1/2" x 5 1/2" (Scored at 4 1/4")
Sentiment Label die cut with the Ornate Frames Dies
Blushing Bride Cardstock
Card Front die cut with the Scalloped Contours Dies
White Glittered Organdy Ribbon
1 piece approx. 4" long


Thank you for taking the time to visit my blog. I hope that my card design will help spark your creativity and help you to explore creating your own wonderful projects with these amazing Sale-a-Bration products.

If you live in the U.S. and do not have a Stampin' Up! Demonstrator, please contact me and I would be happy to help you with your creative projects. You may also visit my Online Store to place your order and have it shipped to you.
Until Next
Time
Happy
Stamping,
Tricia Butts
Independent Stampin' Up!
Demonstrator
Like What You
See? Visit My Online Store Here
Visit My Facebook Business Page for Updates & Ideas
Click here to Contact Me
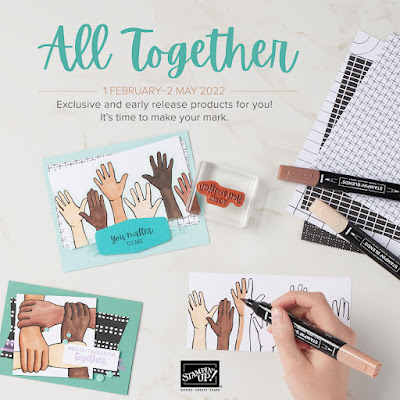
The New All Together Collection
Is Now Available To Order
Click Below To Visit My Online Store
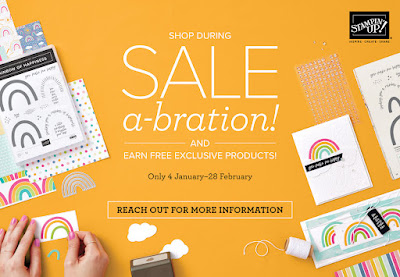
Earn Exclusive Free Products
During Sale-a-Bration
Click Below For More Details
Explore Your Creativity
With The January-June 2022 Mini Catalog
Click Below To Visit My Online Store


