

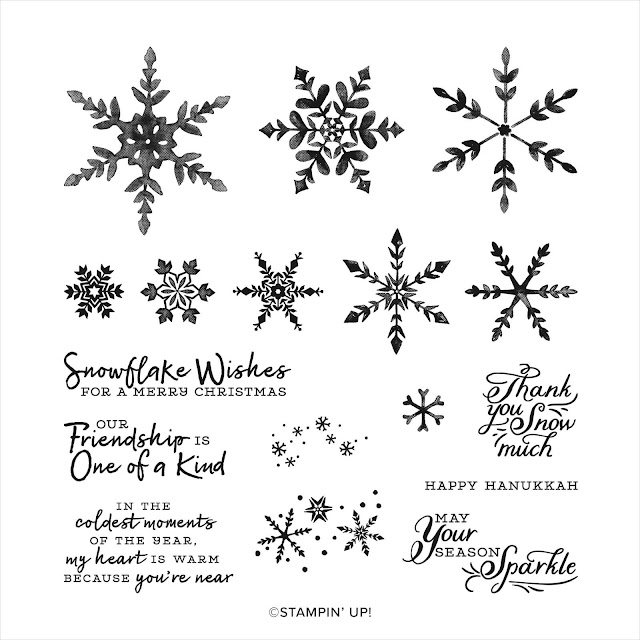
This month's color combination was quite a challenge and I decided to create a Winter themed card design using the Snowflake Wishes stamp set from the August-December 2020 Mini Catalog. I combined it with dies from the Snow Globe Scenes Dies and the In The Woods Dies to help create the Winter Scene as the focal image. I think that this design would work well as a masculine card for a variety of occasions.

Products Used:
Snowflake Wishes stamp set (item #153444)
In The Woods Dies (item #151809)
Snow Globe Scenes Dies (item #150655)
Layering Circles Dies (item #151770)
Bermuda Bay cardstock (item #131197)
Mossy Meadow cardstock (item #133676)
Whisper White cardstock (item #100730)
Smoky Slate Classic Ink Pad (item #131202)
Bermuda Bay Classic Ink Pad (item #147096)
Bermuda Bay Stampin' Blends Combo (item #154878)
Clear Wink Of Stella Glitter Brush (item #141897)
Basic Rhinestone Jewels (item #144220)
Sponge Daubers (item #133773)
Stampin' Dimensionals (item #104430)
Stampin' Seal (item #152813)

Bermuda Bay cardstock card base - 8 1/2" x 51/2" (scored at 4 1/4")
Mossy Meadow cardstock layer - 4" x 5 1/4"
Whisper White cardstock layer - 3 3/4" x 5"
Bermuda Bay cardstock for circle die cut
Whisper White cardstock for snow
Mossy Meadow cardstock for trees die cut
 The key to this card design is in the layers. I attached the Whisper White cardstock layer to the Mossy Meadow cardstock layer with Stampin' Seal and then added it to the Bermuda Bay cardstock card base using Stampin' Dimensionals. To create the focal image, I die cut a large circle from Bermuda Bay cardstock using the Layering Circles Dies and then die cut another circle from Whisper White cardstock and used the curved die from the In The Woods Dies to create the two layers for the snow. Using Bermuda Bay Classic ink, I sponged the edges of the snow layers with a Sponge Dauber to add a touch of color. The first layer of snow was attached to the Bermuda Bay circle with Stampin' Seal and then I attached the trees which were die cut from Mossy Meadow cardstock using the Snow Globe Scenes Dies with Stampin' Seal to the snow layer. I attached the second layer of snow with Stampin' Dimensionals to add dimension to the design. The sentiment and snowflakes were stamped with Smoky Slate Classic ink and I added Basic Rhinestones colored with the Light Bermuda Bay Stampin' Blends Marker for a touch of bling and added Clear Wink of Stella to the trees for shimmer.


Thank you for taking the time to visit my blog today. I hope that my card design will inspire you to try this color combination to help you create your own projects. 
If you live in the U.S. and do not already have a Stampin' Up! Demonstrator, please contact me and I would be happy to help you with your creative projects. You may also visit my Online Store to place your order and have it shipped to you.
Now it's time to visit Sigrid's blog and see what she has created with this month's color combination. Just click on the Next button below to visit her blog. Please leave us a comment and let us know what you enjoyed about our projects. I hope you enjoy the rest of our blog hop.

Until Next
Time
Happy
Stamping,
Tricia Butts
Independent Stampin' Up!
Demonstrator
Like What You
See? Visit My Online Store Here
Visit My Facebook Business Page for Updates & Ideas
Click here to Contact Me
Stock Up On Your Favorite Designs
Save 15% On Select Designer Series Paper
During The Month Of October
Click Below To Visit My Online Store

The New Stampin' Cut & Emboss Machine
Is Now Available
Click Below To Order

Create Your Own Wonderful Projects For The Holidays
With Projects From The August-December 2020 Mini Catalog
Click Below To Visit My Online Store


