Showing posts with label Come To Gather Designer Series Paper. Show all posts

Monday, December 16, 2019

Kylie's Demonstrator Training Program Monthly Blog Hop December 2019

Welcome to Kylie's Demonstrator Training Program December Blog Hop as we share projects to help inspire you. We are a group of Stampin' Up! demonstrators sharing a common goal to build strong, creative businesses that provide support and inspiration to our customers with Kylies' wonderful training program. I hope that you will find our project ideas helpful as you journey along our blog hop.
 My card design today is a very special Christmas card that I created for a friend of my son. My son and his friends wanted to do something special for their friend and I was honored to be asked to create the card they would all sign to give to him. 

I started with a Cherry Cobbler cardstock card base and added a layer of designer series paper from the Come To Gather Designer Series Paper pack (item #150454) from the 2019 Holiday Catalog.
 My son's friend loves pandas, so I used the image from the Wildly Happy stamp set (item #149408) from the 2019-2020 Annual Catalog to create the focal image. I stamped the image with Memento Tuxedo Black ink onto Whisper White card stock and die cut it with one of the dies from the Stitched Nested Labels Dies (item #149638).  I colored the image with Dark Smoky Slate and Light Basic Black Stampin' Blends Markers. I also stamped another image onto a scrap of Thick Whisper White cardstock and fussy cut the head, arm and paw and colored these pieces as well. To cover up the baby panda, I cut a small piece of Cherry Cobbler Designer Series Paper from the Regals 6"x6" Designer Series Paper Pack (item #149616) to create a gift that would cover that part of the stamped image. I attached the gift to the image using Snail adhesive and attached the arm, head and paw with Mini Stampin' Dimensionals so that they overlap the gift. Using the Gold 1/4" Shimmer Ribbon (item #152156), I tied a small bow and added it to the top of the gift with a Mini Glue Dot.
 To create the sentiment, I stamped the image from the Cup of Christmas stamp set (item #150491) onto a strip of Cherry Cobbler cardstock with Versamark ink and heat embossed it with Shimmer White embossing powder. I attached the sentiment underneath the panda on the label, with Mini Stampin' Dimensionals. 

For the inside of the card design, I used the group of meerkats image and sentiment from the new The Gangs All Meer stamp set, which is one of the wonderful choices you can earn for free during Sale-a-bration, beginning January 3rd, 2020. I stamped the images with Early Espresso Classic ink and colored the meerkats with a variety of Stampin' Blends Markers. My son loved this, as it represented his group of friends giving the gift.
I hope that you have enjoyed my card design today and I hope that it shows you how you can customize a card to make it unique for someone special. It's one of my favorite things about creating my own cards for people and it provides so many wonderful creative possibilities.  If you live in the U.S. and do not already have a demonstrator, please contact me and I would be happy to help you.
Thank you for taking the time to visit my blog today. I hope you will take the time to visit the other blogs listed below and enjoy the projects they have to share this month. Just click on the names in the blog hop list below to find your way along our blog hop. 

Until Next Time
Happy Stamping,
Tricia Butts
Independent Stampin' Up! Demonstrator
Like What You See? Visit My Online Store Here
Visit My Facebook Business Page for Updates & Ideas

Click here to Contact Me


Wednesday, December 4, 2019

ICS Blog Hop CASE the 2019 Holiday Catalog

Welcome to the ICS December Blog Hop as we CASE the 2019 Holiday Catalog. CASE stands for Copy And Share Everything or Copy And Selectively Edit and it is a great way to spark your creativity by encouraging you to copy project ideas featured in the Stampin' Up! catalogs. Each of the Stampin' Up! demonstrators participating in this blog hop will be CASEing a project idea that they found in the 2019 Holiday Catalog and sharing their own version of the project. 
For my inspiration, I chose the card on the left (found on page 34 of the Holiday Catalog) featuring the Cup of Christmas Bundle (item #153025) paired with the Come to Gather Designer Series Paper (item #150454). I was so sad to see that the Cup of Christmas Bundle is retiring as it is such a versatile bundle, so I wanted to showcase it to help you all see what a great addition it can be to your collection. 
 The first thing you may notice about my card design is that it is not exactly the same as the card I chose to CASE. This is one of the great things about CASEing. You can choose what elements what you want to keep the same and what you might want to change. I chose to use the same bundle, the same designer series paper and the same sentiment banner for my card design. I chose to change the color palette, the orientation of the card from portrait to landscape and I chose to used the Stitched Nested Labels Dies (item #149638) to create the background for my cups. In addition, I chose to change the layout of the cups and add an additional sentiment to my design. For me, the card I chose to CASE, was a great starting point to help me design my card.
 To create my card I chose to use Cherry Cobbler cardstock for my card base and added the layer of Come to Gather Designer Series Paper (item #150454) as the background. I love the way that Pretty Peacock and Cherry Cobbler look together and I think it gives this card design a Country Christmas feel to it. I chose to die cut the Stitched Nested Label from Whisper White cardstock and I added it to the card front using Stampin' Dimensionals. 
 The wonderful thing about the Cup of Christmas Bundle is that it provides you with options to have your cups facing left or right with both the Cup of Cheer dies and several of the stamp images from the Cup of Christmas stamp set. To create the cups for this card design, I die cut one from Cherry Cobbler and the other from Pretty Peacock cardstock so that the handles of the cups faced in opposite directions. I also used the dies to decorate the cups, alternating the colors of the cardstock to create the contrast in design. I attached them to the Whisper White Label using Snail adhesive, placing them at either side of the label, leaving a gap in the middle. 
For the circle sentiment between the cups, I heat embossed the Comfort & Joy sentiment with Gold embossing powder onto Whisper White cardstock and die cut it with the smallest circle die from the Stitched Shapes Dies (item #145372). To create a matte to frame it, I used the second smallest scallop circle die from the Layering Circles Dies (item #141705) to die cut the scalloped circle from Gold Foil. I used Snail Adhesive to layer them and attached it to the card front between the two cups using Stampin' Dimensionals.

To finish off the card design, I heat embossed the sentiment onto a strip of Cherry Cobbler cardstock with Gold embossing powder and created the banner ends using the Tailored Tag Punch (item #145667). I attached the sentiment to the card front with Stampin' Dimensionals. 
Thank you for taking the time to visit my blog today. I hope that you have enjoyed my CASEd card design from the 2019 Holiday Catalog and I hope it inspires you to try CASEing projects and ideas from the catalogs to help you create your own projects. When CASEing a project, you can copy it exactly or take elements and use the to create your own design. It's a great way to spark your creativity.

Now it's time to visit the very talented Darla and see what she has created for us this month. Just click on the Next button to visit her blog. I hope that you enjoy the rest of our blog hop.
Now is a great time to shop for your favorite products from the 2019 Holiday Catalog during the Year-End Closeout Sale. Choose from the retiring Holiday Favorites and Discounted Products before they disappear. If you live in the U.S. and do not already have a demonstrator, please contact me and I would be happy to help you. 

*Note: the Come to Gather Designer Series Paper is not retiring but it will not be available to order after January 2nd, 2020 until the new 2020 Holiday Catalog is released in September, 2020. If you would like to order this beautiful paper, I recommend that you do so soon.

Until Next Time
Happy Stamping,
Tricia Butts
Independent Stampin' Up! Demonstrator
Like What You See? Visit My Online Store Here
Visit My Facebook Business Page for Updates & Ideas

Click here to Contact Me

Shop from the Year-End Papercrafting Closeout Sale to shop for retiring products from the 2019 Holiday Catalog before they sell out!


Wednesday, October 16, 2019

What's New at SU October Blog Hop Fall & Halloween

It's time to hop along with the What's New at SU Blog Hop for October as we share projects for Fall and Halloween. You will be visiting with Stampin' Up! demonstrators as they share their ideas featuring products from Stampin' Up!'s Holiday and Annual Catalog to  help inspire you. I hope that you enjoy the creations we have to share.
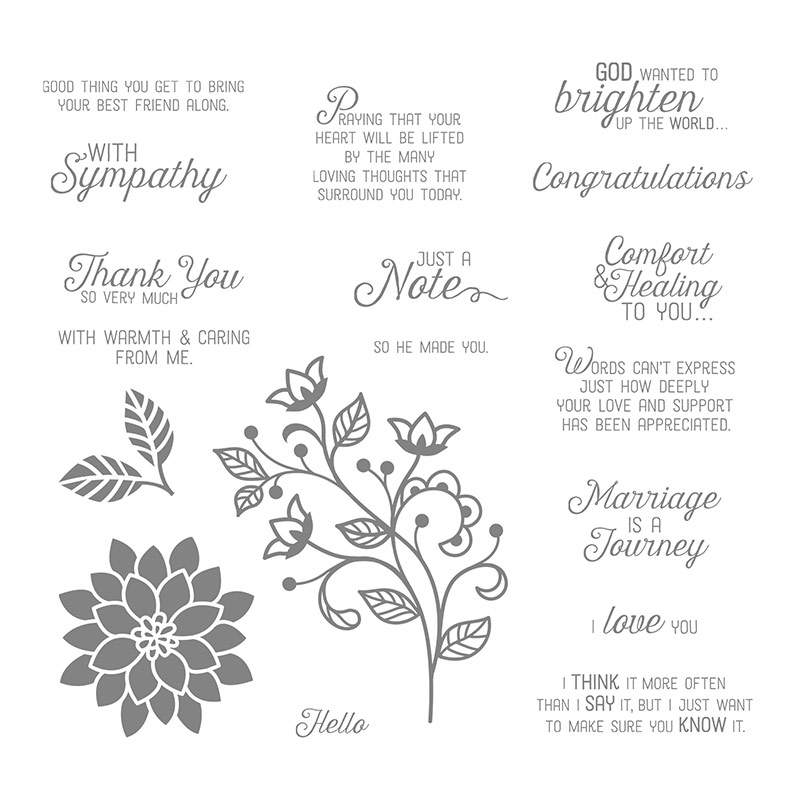
I am in love with the beautiful designs in the Come To Gather Designer Series Paper (item #150454) from the 2019 Holiday Catalog. They are perfect for Fall themed cards for all occasions and today I am creating a Thank You card using the Flourishing Phrases stamp set (item #151407) and the Frosted Bouquet Die set (item #147895) from the 2019-2020 Annual Catalog. 
 For this clean and simple card design, I chose to use Early Espresso cardstock for the card base and added the layer of designer series paper using Snail Adhesive to create the background. Using the dies from the Frosted Bouquet Dies, I die cut two of the detailed branches from Copper Foil to embellish the sentiment.
To create the sentiment, I heat embossed the image from the Flourishing Phrases stamp set onto a scrap of Very Vanilla cardstock using Copper embossing powder and die cut it using the smaller label die. I then die cut the larger label from Early Espresso cardstock to create the matte for the sentiment. Using some Snail Adhesive, I attached the Copper Foil branches to the back of the sentiment label and then attached the label to the card front with Stampin' Dimensionals to complete the card design. 
 This card design is very easy to assemble and you can create a variety of them with the beautiful designs in this designer series paper pack. In addition to creating thank you cards, this card design would be wonderful for masculine birthdays, Thinking of You and even Get Well cards. 

Thank you for taking the time to visit my blog today. I hope that my card design helps inspire you to create your own fun projects for the season. If you live in the U.S. and do not already have a demonstrator, please contact me and I would be happy to help you.

Now it's time to visit Judi's blog and see what amazing project she has to share this month. Just click on the Next button below to visit her blog or click the Previous button to visit Margriet's blog. I hope that you will enjoy our ideas. 

Roll Call List
Margriet Siekman - Creatiefmarsie
Anke Heim – Scraphexe Pia Gerhardt-Scraproomboom
Sharon Burkert – As the Ink Dries
Heather Cooper-Playing with Papercrafting
Loni Spendlove - Creative Juice by Loni
Diane Browning - 24-7 Inkspiration


Until Next Time
Happy Stamping,


Tricia Butts
Independent Stampin' Up! Demonstrator
Like What You See? Visit My Online Store Here
Visit My Facebook Business Page for Updates & Ideas


Click here to Contact Me