Showing posts with label Frosted Bouquet Dies. Show all posts

Tuesday, October 29, 2019

PPP October Blog Hop Winter Woods

Welcome to the PPP October Blog Hop as we showcase the Winter Woods October Kit. Isn't this kit just amazing? You will be visiting with Stampin' Up! Demonstrators as they share their wonderful alternative project ideas to help inspire you. I hope that you enjoy our creations.
 My alternative card design features the wonderful stamp set included in this month's kit. I just love the snowflake image and the sentiments are so beautiful. I heat embossed the snowflake image multiple times with the Shimmer White Embossing Powder onto a piece of Night of Navy cardstock to create a sparkly background. I attached this layer to the front of one of the cards from the Silver Foil Edged Cards and Envelopes Pack (item #147900) using Stampin' Dimensionals to raise it up. 
 To create the sentiment label, I heat embossed the image from the stamp set in the kit onto a piece of Night of Navy cardstock and heat embossed it with the Shimmer White Embossing Powder. I die cut the sentiment using one of the dies from the Frosted Bouquet Dies (item #151800) and layered it onto a die cut from the excess shimmer cardstock left over from the trees in the kit. I attached the two layers together with Snail adhesive and attached it to the card front with Stampin' Dimensionals. I added the small snowflake embellishments from the kit to the corners of the sentiment using a Mini Glue Dot that I cut into quarters so that it was small enough to fit behind each snowflake. The final touch was to add Basic Rhinestones that I colored with the Dark Night of Navy Stampin' Blends Marker to the center of the embossed snowflakes to add a little bling. 
Thank you for taking the time to visit my blog today. I hope that my alternative card idea helps you to see the amazing possibilities with this kit. This clean and simple card design has a classic elegance that I love and would be simple to mass produce as your main Christmas card design to send to family and friends. If you live in the U.S. and do not already have a demonstrator, please contact me and I would be happy to help you.

Now it's time to visit June's blog to see what she has created for us this month. Just click the Next button below to visit her blog. 
Until Next Time
Happy Stamping,


Tricia Butts
Independent Stampin' Up! Demonstrator
Like What You See? Visit My Online Store Here
Visit My Facebook Business Page for Updates & Ideas

Click here to Contact Me


Wednesday, October 16, 2019

What's New at SU October Blog Hop Fall & Halloween

It's time to hop along with the What's New at SU Blog Hop for October as we share projects for Fall and Halloween. You will be visiting with Stampin' Up! demonstrators as they share their ideas featuring products from Stampin' Up!'s Holiday and Annual Catalog to  help inspire you. I hope that you enjoy the creations we have to share.
I am in love with the beautiful designs in the Come To Gather Designer Series Paper (item #150454) from the 2019 Holiday Catalog. They are perfect for Fall themed cards for all occasions and today I am creating a Thank You card using the Flourishing Phrases stamp set (item #151407) and the Frosted Bouquet Die set (item #147895) from the 2019-2020 Annual Catalog. 
 For this clean and simple card design, I chose to use Early Espresso cardstock for the card base and added the layer of designer series paper using Snail Adhesive to create the background. Using the dies from the Frosted Bouquet Dies, I die cut two of the detailed branches from Copper Foil to embellish the sentiment.
To create the sentiment, I heat embossed the image from the Flourishing Phrases stamp set onto a scrap of Very Vanilla cardstock using Copper embossing powder and die cut it using the smaller label die. I then die cut the larger label from Early Espresso cardstock to create the matte for the sentiment. Using some Snail Adhesive, I attached the Copper Foil branches to the back of the sentiment label and then attached the label to the card front with Stampin' Dimensionals to complete the card design. 
 This card design is very easy to assemble and you can create a variety of them with the beautiful designs in this designer series paper pack. In addition to creating thank you cards, this card design would be wonderful for masculine birthdays, Thinking of You and even Get Well cards. 

Thank you for taking the time to visit my blog today. I hope that my card design helps inspire you to create your own fun projects for the season. If you live in the U.S. and do not already have a demonstrator, please contact me and I would be happy to help you.

Now it's time to visit Judi's blog and see what amazing project she has to share this month. Just click on the Next button below to visit her blog or click the Previous button to visit Margriet's blog. I hope that you will enjoy our ideas. 

Roll Call List
Margriet Siekman - Creatiefmarsie
Anke Heim – Scraphexe Pia Gerhardt-Scraproomboom
Sharon Burkert – As the Ink Dries
Heather Cooper-Playing with Papercrafting
Loni Spendlove - Creative Juice by Loni
Diane Browning - 24-7 Inkspiration


Until Next Time
Happy Stamping,


Tricia Butts
Independent Stampin' Up! Demonstrator
Like What You See? Visit My Online Store Here
Visit My Facebook Business Page for Updates & Ideas


Click here to Contact Me

Sunday, September 8, 2019

2019 Kre8tors Blog Hop Brides & Babies

Welcome to the 2019 Kre8tor's Blog Hop as we celebrate with projects for Brides and Babies. These special occasions can often be a challenge, so I hope the projects and ideas that we have to share with you today will help inspire you to create your own designs for that special occasion. 
Today I thought I would share a Wedding card design created using the beautiful new Feels Like Frost 6"x6" Designer Series Paper (item #150444) from the new 2019 Holiday Catalog. This simply gorgeous paper has photo realistic designs on one side and Silver Foil designs on the other. For today's card, I chose to use this pretty paper to create a classically elegant card design.
 I chose to use Seaside Spray cardstock to create the card base and added another layer of Seaside Spray cardstock that I embossed using the Stylish Scroll Embossing Folder (item #150665) to create a delicate texture to the background. I added a 2" x 5 3/8" strip of the designer series paper to a layer of Whisper White cardstock and attached it to the card front with Snail adhesive. To embellish the card front, I took a piece of the Seaside Spray 1/4" Metallic Ribbon (item #150446) and attached it along the edge of the Whisper White cardstock. I then tied a bow with another piece of the ribbon and attached it with Mini Glue Dots.
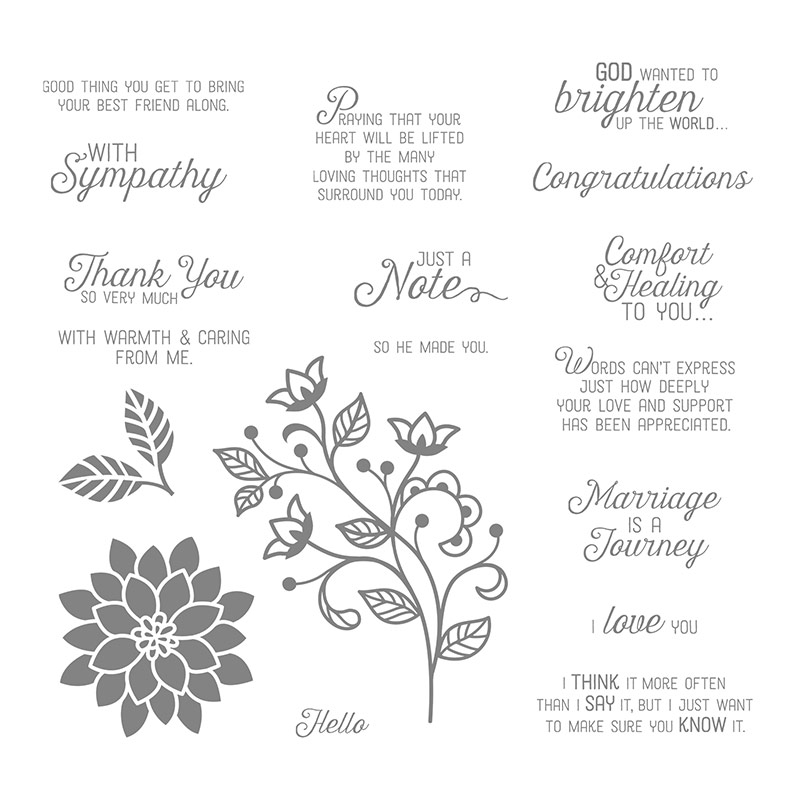
For the label, I heat embossed the sentiment from the Flourishing Phrases stamp set (item #151407) using Shimmer White Embossing powder for a touch of sparkle, onto Seaside Spray cardstock. I die cut the label using the Frosted Bouquet Dies (item #151800) and die cut a piece of Silver Foil with the slightly larger die to create the matte for the sentiment. 
 I embellished the card front using several of the dies from the Frosted Bouquet Dies from Sparkle Glimmer Paper (item #146957) and attached them to the back of the label with Snail adhesive. I then attached the label to the card front with Stampin' Dimensionals. To finish off the card, I attached the card front to the card base with Stampin' Dimensionals and added Basic Rhinestones to the sentiment label for a touch of bling. I really love how this beautiful paper transforms this Wedding card into something very special to commemorate a milestone event.

Thank you for taking the time to visit my blog today and I hope that my card design will help inspire you to create your own creation for that someone special. Most of the products I used to create this card design, can be found in the new 2019 Holiday Catalog and it just goes to show that they are suitable for so many wonderful occasions beyond the obvious. If you live in the U.S. and do not already have a demonstrator, please contact me and I would be happy to help you.

Now it's time to visit Su's amazing blog to see what she has to share with us this month. Just click on the Next button below to visit her blog or use the Roll Call List to find your way. I hope that you enjoy the rest of our blog hop.

Roll Call List
Until Next Time
Happy Stamping,


Tricia Butts
Independent Stampin' Up! Demonstrator
Like What You See? Visit My Online Store Here
Visit My Facebook Business Page for Updates & Ideas