Showing posts with label Best Wishes. Show all posts

Saturday, July 8, 2023

Ink. Stamp. Share. July Showcase Blog Hop

Today I am taking part in the Ink. Stamp. Share. July Showcase Blog Hop and I love taking part in this blog hop as it gives me an opportunity to explore and create with new products. Our wonderful Design Team members will be sharing what they are currently working on to help inspire you to get creative this Summer. 
I recently ordered the new Delightfully Eclectic Designer Series Paper and I wanted to create a clean and simple card with one of the designs. This pretty daisy pattern felt like the perfect background for a Summer card design and I paired it with one of the sentiments from the Layering Leaves stamp set and the coordinating Bough Punch. The Parakeet Party leaves add a wonderful pop of color and the Gold embossing for the sentiment helps step up this simple design.  I love creating cards that let the designer series paper do all the hard work to create beautiful designs. 
Products Used:
Layering Leaves stamp set (item #161277)
2 3/8" Circle Punch (item #161354)
Bough Punch (item #157711)
Delightfully Eclectic Designer Series Paper (item #161640)
Thick Basic White Cardstock (item #159229)
Basic White Cardstock (item #159276)
Parakeet Party Cardstock (item #159259)
Versamark Pad (item #102283)
Metallic Embossing Powders (item #155555)
White 3/8" Glittered Organdy Ribbon (item #156408)
Festive Pearls (item #159963)
Stampin' Dimensionals (item #104430)
Measurements:
Thick Basic White Cardstock
Card Base - 8 1/2" x 5 1/2" (Scored at 4 1/4")
Delightfully Eclectic Designer Series Paper
Card Front - 5 1/4" x 4"
Basic White Cardstock
Large Circle punched out with the 2 3/8" Circle Punch
Parakeet Party Cardstock
2 each of the leaves & buds punched out with the Bough Punch
This pretty card is so simple to create and works well for a variety of occasions. I love that the Layering Leaves stamp set has a variety of sentiments to choose from to help you create beautiful cards. I chose to use Thick Basic White cardstock for the card base to help make the designer series paper card front pop. I heat embossed the sentiment onto the circle die cut for a touch of elegance and added it to the card front with Stampin' Dimensionals over a piece of the pretty White Glittered Organdy Ribbon. I added the die cut leaves and buds underneath the circle before I attached the circle to the card front. I love how the Parakeet Party cardstock looks with the Petal Pink background and white daisies. To finish off the design, I added several Gold Pearls from the Festive Pearls for a touch of bling. This simple layout would work well with so many of the designs in the Delightfully Eclectic Designer Series Paper pack and is a great way to create a stash of cards suitable for a variety of occasions. 
Thank you for taking the time to visit my blog. I hope that my card design will help inspire you to create your own beautiful cards using products from the new 2023-2024 Annual Catalog. It's so much fun to mix and match products to create new designs. Make sure to take advantage of the Bonus Coupons you can earn when placing a qualifying order in July and redeem in August. It's a great way to stretch your creative budget. 
Please take the time to visit with my fellow Design Team members as they share their wonderful projects with you. Just click on the links in the Roll Call List below to find your way. We would appreciate it if you would leave us a comment and let us know what you enjoyed about our projects. 

If you live in the U.S. and do not have a Stampin' Up! Demonstrator, please contact me and I would be happy to help you with your creative projects. You may also visit my Online Store to place your order and have it shipped to you. 

Until Next Time

Happy Stamping,

Tricia Butts
Independent Stampin' Up! Demonstrator

Like What You See? Visit My Online Store Here

Visit My Facebook Business Page for Updates & Ideas

Click here to Contact Me


Bonus Coupons Are Back
Earn A $5 Coupon For Every $50 You Spend
Redeem Your Coupons In August
Click Below To Start Shopping

New Online Exclusive Products
Now Available While Supplies Last
Click Below To Visit My Online Store

Last Chance To Sign Up
For The July Paper Pumpkin Kit
Click Below To Subscribe By July 10th


Saturday, April 22, 2023

Ink. Stamp. Share. April Blog Hop Showcase

Welcome to the Ink. Stamp. Share. April Monthly Blog Hop as we showcase projects we are currently working on. You will be visiting with our talented Design Team members as they share their projects and ideas, which may include Sneak Peeks of new products from the upcoming 2023-2024 Annual Catalog as well as projects featuring retiring products that we are saying goodbye to. 
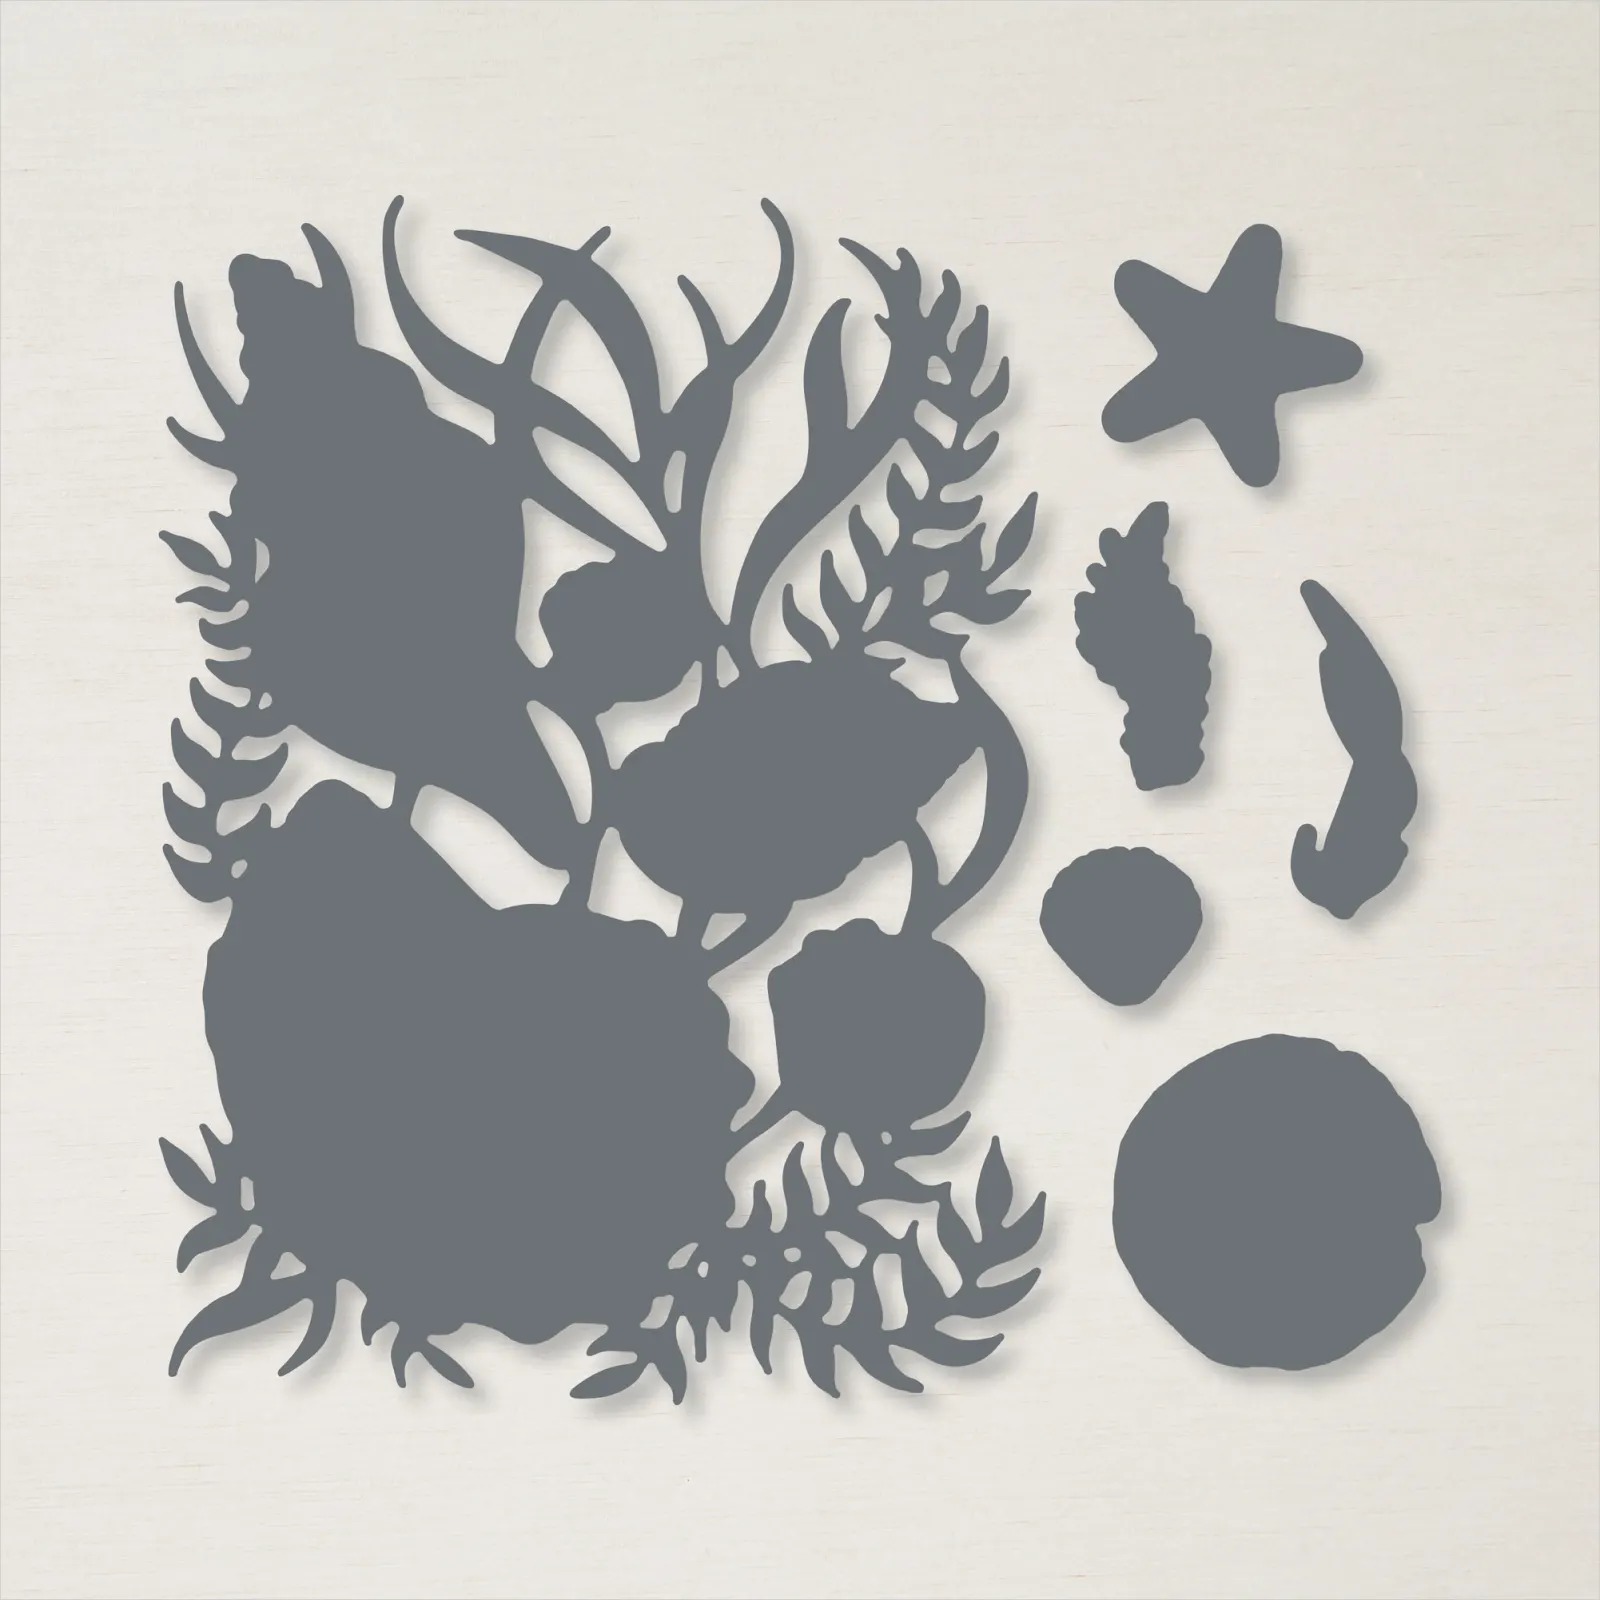
Today's card design features some of my retiring favorites from both the 2022-2023 Annual Catalog and January-April 2023 Mini Catalog. I love the ocean and going to the beach, so I wanted to create a design reflecting these places. The Friends Are Like Seashells stamp set and coordinating Seaside Seashells Dies are wonderful for beach theme cards and I paired them with the beautiful By The Bay 6"x 6" Specialty Designer Series Paper to create that had a calm, peaceful feel to it. I love this soft color combination and the subtle shimmer of the Clear Wink of Stella on the seashells adds a touch of sparkle. 
Products Used:
Friends Are Like Seashells stamp set (item #154368) Retiring
Seaside Seashells Dies (item #156095) Retiring
Harvest Dies (item #156504) Retiring 
By The Bay 6"x 6" Specialty Designer Series Paper (item #160434) Retiring 
Pool Party Cardstock (item #154894) 
Basic White Cardstock (item #159276)
Sahara Sand Cardstock (item #121043) Retiring
Pool Party Classic Ink Pad (item #147107)
Petal Pink Classic Ink Pad (item #147108)
Sahara Sand Classic Ink Pad (item #147117) Retiring
Versamark Pad (item #102283)
Metallics Embossing Powders (item #155555)
Clear Wink of Stella Glitter Brush (item #141897)
Basic Pearl Jewels (item #144219) Retiring
Stampin' Dimensionals (item #104430)
Measurements:
Pool Party Cardstock
Card Base - 8 1/2" x 5 1/2" (Scored at 4 1/4")
Sentiment Label die cut with the Harvest Dies
Basic White Cardstock
Background Layer - 3 1/4" x 4 5/8"
Seashells stamped and die cut with the Seaside Seashells Dies
Sahara Sand Cardstock
Sand Dollar image stamped and die cut with the Seaside Seashells Dies
By The Bay Specialty Designer Series Paper
4 Strips - 1" x 3"
This strip technique is a great way to use up scraps for designer series paper and I was able to cut 4 strips of 1"x 3" from a scrap piece of the designer series paper that I had left over from another project. I attached them to the Basic White cardstock layer, spacing them evenly before adhering them. I stamped the Pool Party card base with the "sand" image stamp around the edge of the front of the card using Pool Party Classic ink for a tone on tone design to add some texture. I attached the focal layer to the center of the card base with Stampin' Dimensionals to pop it up. For the sentiment, I heat embossed the image with Gold embossing powder onto Pool Party cardstock, to coordinate with the Gold accents on the designer series paper strips. I used a die from the Harvest Dies to die cut the long sentiment. I stamped the Sand Dollar stamp image onto Sahara Sand cardstock with Sahara Sand ink and then die cut it with the coordinating dies. I also stamped the seashells, one in Petal Pink Classic ink and one in Sahara Sand Classic ink onto Basic White cardstock and then fussy cut them both out. To create the design on the card front, I added the long sentiment label towards the bottom of the focal layer. I added the shells to the card front, popping the Petal Pink seashell up with Stampin' Dimensionals, overlapping them slightly over the sentiment label. Using Clear Wink of Stella, I added some shimmer to the seashells. To finish off the design, I added some Basic Pearls for a touch of bling. 
Thank you for taking the time to visit my blog. I hope that my card design will inspire you to take another look at the retiring products from the 2022-2023 Annual Catalog and January-April 2023 Mini Catalog. You will love the way they mix and match to help you create your own beautiful projects. 
Now it's time to visit with my fellow Design Team members and see what they have to share with us. Just use the Roll Call List below to visit their blogs to see their wonderful projects. We would appreciate it if you would leave us a comment and let us know what you liked about our projects. I hope you enjoy the rest of our blog hop.

If you live in the U.S. and do not have a Stampin' Up! Demonstrator, please contact me and I would be happy to help you with your creative projects. You may also visit my Online Store to place your order and have it shipped to you. Don't forget to check the Last Chance Retiring Products Sale and take advantage of up to 60% off select retiring products. These products are available only while supplies last, so don't delay in placing your order. 

Until Next Time

Happy Stamping,

Tricia Butts
Independent Stampin' Up! Demonstrator

Like What You See? Visit My Online Store Here

Visit My Facebook Business Page for Updates & Ideas

Click here to Contact Me


Save Up To 60% Off Select Retiring Products
From The Last Chance Products Sale
Click Below To Shop From My Online Store


Sunday, April 16, 2023

Stamptastic Friends April Blog Hop Favorite Tools

Welcome to the Stamptastic Friends April Blog Hop as we share projects created with our Favorite Tools. This is my first time hopping with this wonderful group of talented Demonstrators and I am excited to be a part of this Blog Hop. I hope that you will find the projects and ideas that we share, helpful and inspiring. 
One of my favorite techniques would have to be heat embossing, so I decided to showcase a project that I created using my Heat Tool. I love Stampin' Up!'s Heat Tool as it has two heat settings, which allows me to control the temperature for my projects. Today's card design features the beautiful Cottage Rose Bundle from the 2022-2023 Annual Catalog and I chose to heat emboss the images with Gold embossing powder, one of my favorites. For heat embossing, I use the #2 setting on my Heat Tool and it does a wonderful job of heating the embossing powder to create beautiful designs. 
Products Used:
Cottage Rose Bundle Retiring
 - Cottage Rose stamp set (item #159040) Retiring
 - Cottage Flowers Dies (item #159047) Retiring 
Something Fancy Dies (item #160424)
Sahara Sand Cardstock (item #121043)
Very Vanilla Cardstock (item #101650)
Thick Very Vanilla Cardstock (item #144237)
Versamark Pad (item #102283)
Metallics Embossing Powders (item #155555)
Iridescent Pearls Basic Jewels (item #158987)
Stampin' Dimensionals (item #104430)
Measurements:
Thick Very Vanilla Cardstock 
Card Base - 8 1/2" x 5 1/2" (Scored at 4 1/4")
Card Front - 5" x 3 3/4"
Sentiment Label die cut with the Something Fancy Dies
Sahara Sand Cardstock
Layer 1- 5 1/8" x 3 7/8"
Label die cut with the Something Fancy Dies
2 Detailed Leaves die cut with the Cottage Flowers Dies
This beautiful card design showcases the detailed floral images from the Cottage Rose stamp set and I love how the Gold embossing brings them to life. I stamped the images with Versamark ink onto the Very Vanilla card front and used the Heat Tool to emboss the Gold embossing powder for the designs. I also heat embossed the sentiment onto the Very Vanilla sentiment label to coordinate with the card front. To help frame the focal design and sentiment, I chose Sahara Sand cardstock to help make the embossing pop. I also die cut and added two detailed leaves that were die cut with the Cottage Flowers Dies. Sahara Sand is one of my favorite Neutral colors and I am sad to see it retire. It adds a soft contrast to this card design that works well with the Gold embossing. The only embellishment I added were two small Iridescent Pearls to add a touch of bling. 
Thank you for taking the time to visit my blog. I hope that my card design will inspire you to create your own wonderful projects using your favorite tools. For me, the Heat Tool is a must have in my craft room and is one of my most used tools. 
Please take the time to visit with our talented Design Team members by using the Roll Call List below to visit their blogs. We would appreciate it if you would leave us a comment and let us know what liked about our projects. I hope you enjoy our blog hop this month.

If you live in the U.S. and do not have a Stampin' Up! Demonstrator, please contact me and I would be happy to help you with your creative projects. You may also visit my Online Store to place your order and have it shipped to you.

Until Next Time

Happy Stamping,

Tricia Butts
Independent Stampin' Up! Demonstrator

Like What You See? Visit My Online Store Here

Visit My Facebook Business Page for Updates & Ideas

Click here to Contact Me


Save Up to 60%
On Select Retiring Products
During The Last Chance Sale
Click Below To Visit My Online Store


Saturday, April 8, 2023

Ink. Stamp. Share. April Showcase Blog Hop

Welcome to the Ink. Stamp. Share. April Showcase Blog Hop as we share projects and ideas that we are currently working on. While I am waiting for my preorder to arrive full of great new products from the 2023-2024 Annual Catalog, I have been keeping busy showing some love to some old favorites before they retire.
One of my favorite cards to create are clean and simple designs using designer series paper. There is something so beautiful about letting the design on a pretty piece of paper be the star of the show. One of my favorite designer series paper packs in the 2022-2023 Annual Catalog would have to be the Pretty Prints Designer Series Paper. The combination of beautiful colors and botanical designs just makes my heart happy and I am so sorry to see it retire. So I decided to create a clean and simple card using one of the Bermuda Bay sheets to create my card design. I used Basic White for the sentiment and the layer to frame the designer series paper to make it pop and bring it to life. This style of card works so well for so many occasions and it is a great way to create a lot of beautiful cards in a short amount of time.
Products Used:
Nature's Prints Bundle (item # 158801)
Pretty Prints Designer Series Paper (item #159245) Retiring
Bermuda Bay Cardstock (item #131197) Retiring
Basic White Cardstock (item #159276)
Bermuda Bay Classic Ink Pad (item #147096)
Iridescent Rhinestones Basic Jewels (item #158130)
Stampin' Dimensionals (item #104430)
Measurements:
Bermuda Bay Cardstock 
Card Base - 8 1/2" x 5 1/2" (Scored at 4 1/4")
Basic White Cardstock
Layer 1 - 5 1/4" x 4"
Sentiment Label stamped & die cut with the Nature's Prints Bundle
Pretty Prints Designer Series Paper
Card Front - 5" x 3 3/4"
To create this card, I started with a Bermuda Bay cardstock card base to coordinate with the designer series paper layer. I added the focal layer to the Basic White cardstock to create a frame and then added it to the card base using Stampin' Dimensionals. For the sentiment label, I stamped the sentiment with Bermuda Bay Classic ink onto the Basic White cardstock label and added it to the card front with Stampin' Dimensionals. To finish off the design, I added several Iridescent Rhinestones for a touch of bling. This layout would work well with so many of the retiring designer series paper packs, so make sure to check out the Last Chance Sale to stock up on your favorites. 
Thank you for taking the time to visit my blog. I hope that my card design will inspire you to show some love to your retiring favorites and maybe even encourage you to take a look at the many wonderful products on the Last Chance Sale List to see if there is anything you just can't live without. Remember, these retiring products are available only while supplies last, so don't wait too long to place your order.
Now it's time to visit with my fellow Design Team members and see what they have been working on lately. Just use the Roll Call List below to visit their blogs and show them some love by leaving a comment and letting us know what you liked about our projects. We appreciate your feedback.

If you live in the U.S. and do not have a Stampin' Up! Demonstrator, please contact me and I would be happy to help you with your creative projects. You may also visit my Online Store to place your order and have it shipped to you. 

Until Next Time

Happy Stamping,

Tricia Butts
Independent Stampin' Up! Demonstrator

Like What You See? Visit My Online Store Here

Visit My Facebook Business Page for Updates & Ideas

Click here to Contact Me


Save Up To 60% Off Select Retiring Products
From The Last Chance Retirement Lists
Available Only While Supplies Last
Click Below To Order From My Online Store


Sunday, June 19, 2022

Kre8tors June Blog Hop CASE Tic-Tac-Toe Challenge

Welcome to the Kre8tors June Blog Hop as we take part in the CASE Tic-Tac-Toe Challenge to help spark our creativity. You will have the opportunity to visit with our talented Design Team as they share their projects and ideas by choosing a row either vertically, horizontally or diagonally from the Tic-Tac-Toe diagram. As you visit our blogs, I hope you will be inspired to choose your own combination to create your own wonderful project. 
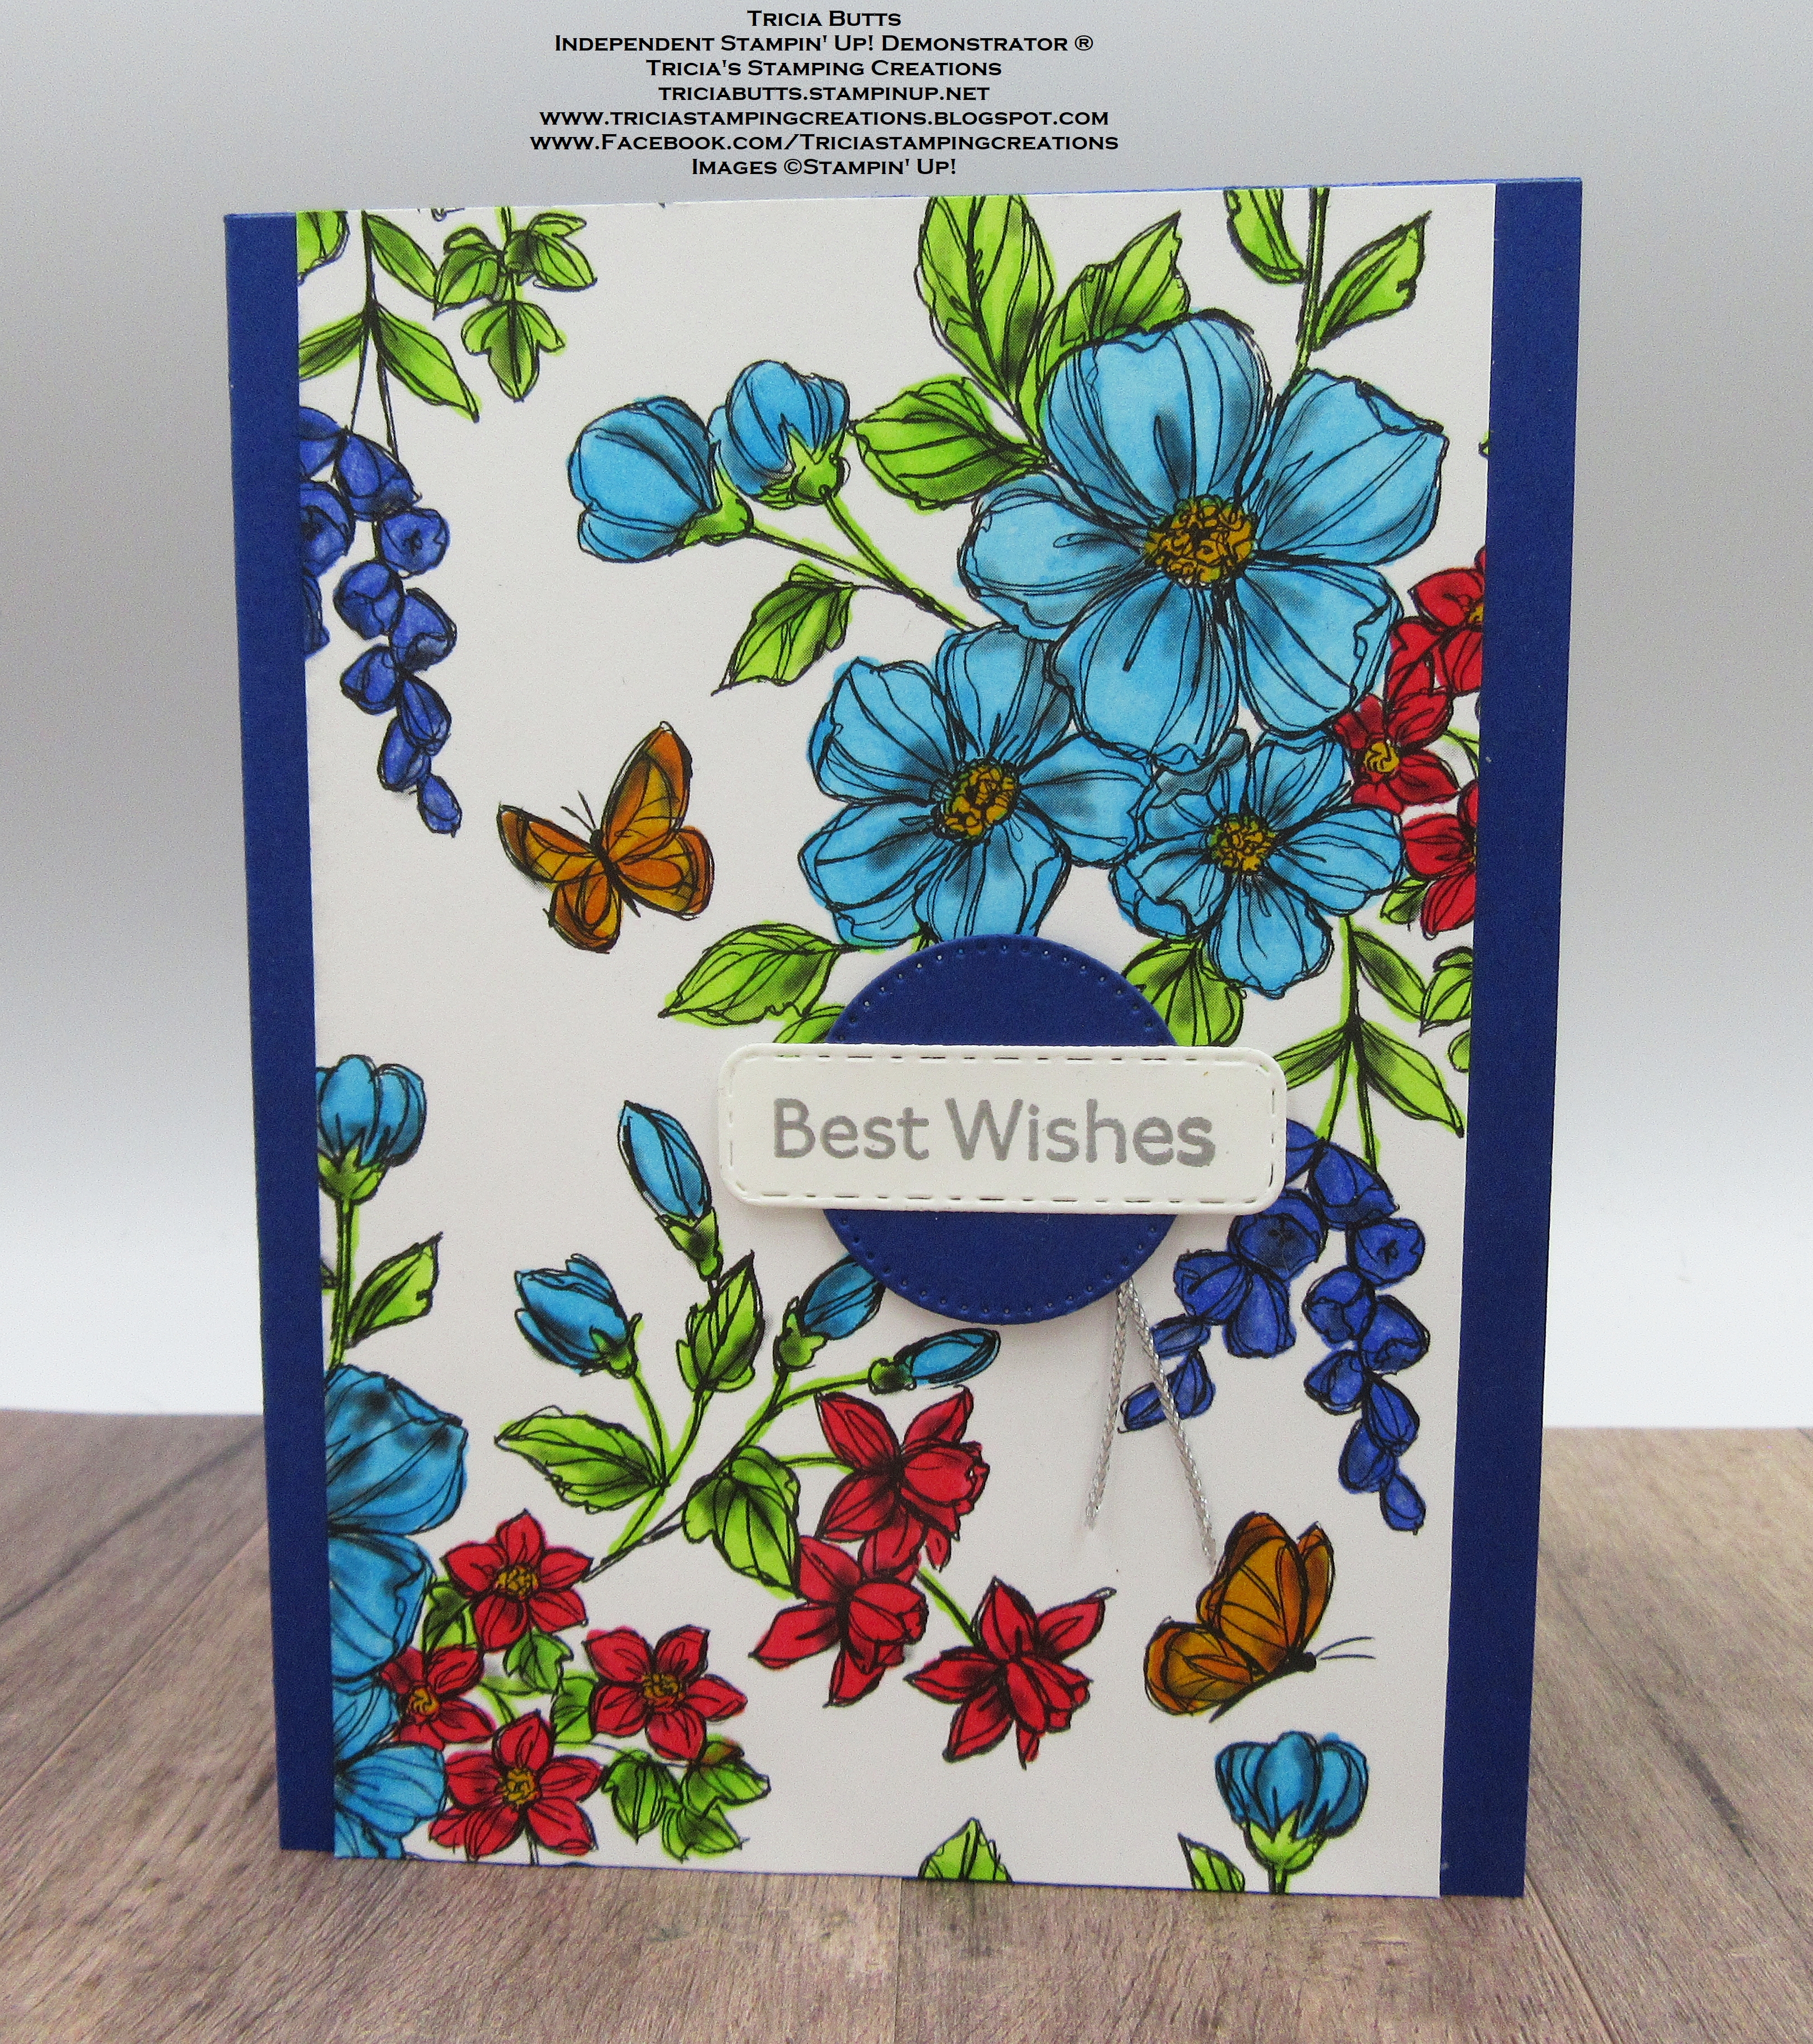
For my card design, I chose to go diagonally with CASE 22-23 Annual Catalog, Use A New In Color and Add Something Metallic. The card sample I chose to CASE from the 2022-2023 Annual Catalog can be found on page 119 and used the same designer series paper and layout for my design but changed the color combination and sentiment label for my card design. 
One of my favorite designer series papers in the new Annual Catalog, is the beautiful Perfectly Penciled Designer Series Paper. The black and white designs are perfect for coloring with Stampin' Blends and I chose to use most of the new 2022-2024 In Colors to color in this beautiful design. For my metallic element, I heat embossed the sentiment with Silver embossing powder and added a piece of Silver Metallic Trim from the Simply Elegant Trim. I love the clean and simple lines of this card layout and I think it showcases this pretty paper so well.
Products Used:
Art Gallery stamp set (item #154421)
Stylish Shapes Dies (item #159183)
Hydrangea Dies (item #154326)
Perfectly Penciled Designer Series Paper (item #159244)
Starry Sky Cardstock (item #159263)
Basic White Cardstock (item #159276)
Tahitian Tide Stampin' Blends Combo Pack (item #159221)
Sweet Sorbet Stampin' Blends Combo Pack (item #159224)
Orchid Oasis Stampin' Blends Combo Pack (item #159223)
Parakeet Party Stampin' Blends Combo Pack (item #159220)
Daffodil Delight Stampin' Blends Combo Pack (item #154883)
Pumpkin Pie Stampin' Blends Combo Pack (item #154897)
Color Lifter (item #144608)
Versamark Pad (item #102283)
Metallics Embossing Powders (item #155555)
Simply Elegant Trim (item #155766)
Stampin' Dimensionals (item #104430)
Measurements:
Starry Sky Cardstock
Card Base - 8 1/2" x 5 1/2" (Scored at 4 1/4")
Small Stitched Circle die cut with the Stylish Shapes Dies
Basic White Cardstock
Sentiment Label die cut with the Hydrangea Dies
Perfectly Penciled Designer Series Paper
Card Front - 3 3/4" x 5 1/2" Colored with Stampin' Blends Markers
This beautiful card has been brought to life using Stampin' Blends Markers. I love the vibrant colors, especially the new 2022-2024 In Colors. I love how these colors work together to create a fresh Summer garden design. I wanted the designer series paper to be the star of the show, so I chose to keep the sentiment label simple with a touch of elegance created by the Silver embossing. The small piece of Silver Trim finishes off the design. This card design would work well for a variety of occasions and you can change the look and feel of the design by changing the color combination. 
Thank you for taking the time to visit my blog. I hope that my card design will help inspire you to take part in this challenge to create your own wonderful project. There are so many wonderful possibilities to try and it really is a great starting point for your creative journey. 
Now it's time to visit Sandra's wonderful blog and see what she has chosen to use for her Tic-Tac-Toe Challenge. Just click on the Next button to visit her blog or use the Roll Call List to find your way. We would appreciate it if you would leave us a comment and let us know what you liked about our projects. I hope you enjoy the rest of our blog hop. 

Roll Call List

If you live in the U.S. and do not have a Stampin' Up! Demonstrator, please contact me and I would be happy to help you with your creative projects. You may also visit my Online Store to place your order and have it shipped to you. 

Until Next Time

Happy Stamping,

Tricia Butts
Independent Stampin' Up! Demonstrator

Like What You See? Visit My Online Store Here

Visit My Facebook Business Page for Updates & Ideas

Click here to Contact Me


Stock Up On Your Favorite Retiring Products
From The January-June 2022 Mini Catalog Last Chance Sale
Click Below To Visit My Online Store

Create & Save With The Kits Collection
Buy One, Get One 50% Off Sale
Click Below To Shop Now