Welcome to the ICS March Blog Hop as we showcase our favorite bundles from Stampin' Up! There are so many wonderful bundles to choose from and our Design Team Members will be sharing their projects and ideas to help inspire you and spark your creativity.

When I found out the theme for this month's hop, I was so excited because it coincided with the Savings Are In Bloom and one of my favorite bundles was a returning favorite as part of this promotion. The Celebrate Sunflowers Bundle has beautiful stamp image and sentiments as well as coordinating dies perfect for creating wonderful projects. With the terrible attacks on the Ukraine, I wanted to create a card to show support for the people of this amazing country and this bundle had just what I needed for my card design.

Celebrate Sunflowers Bundle (item #154065)
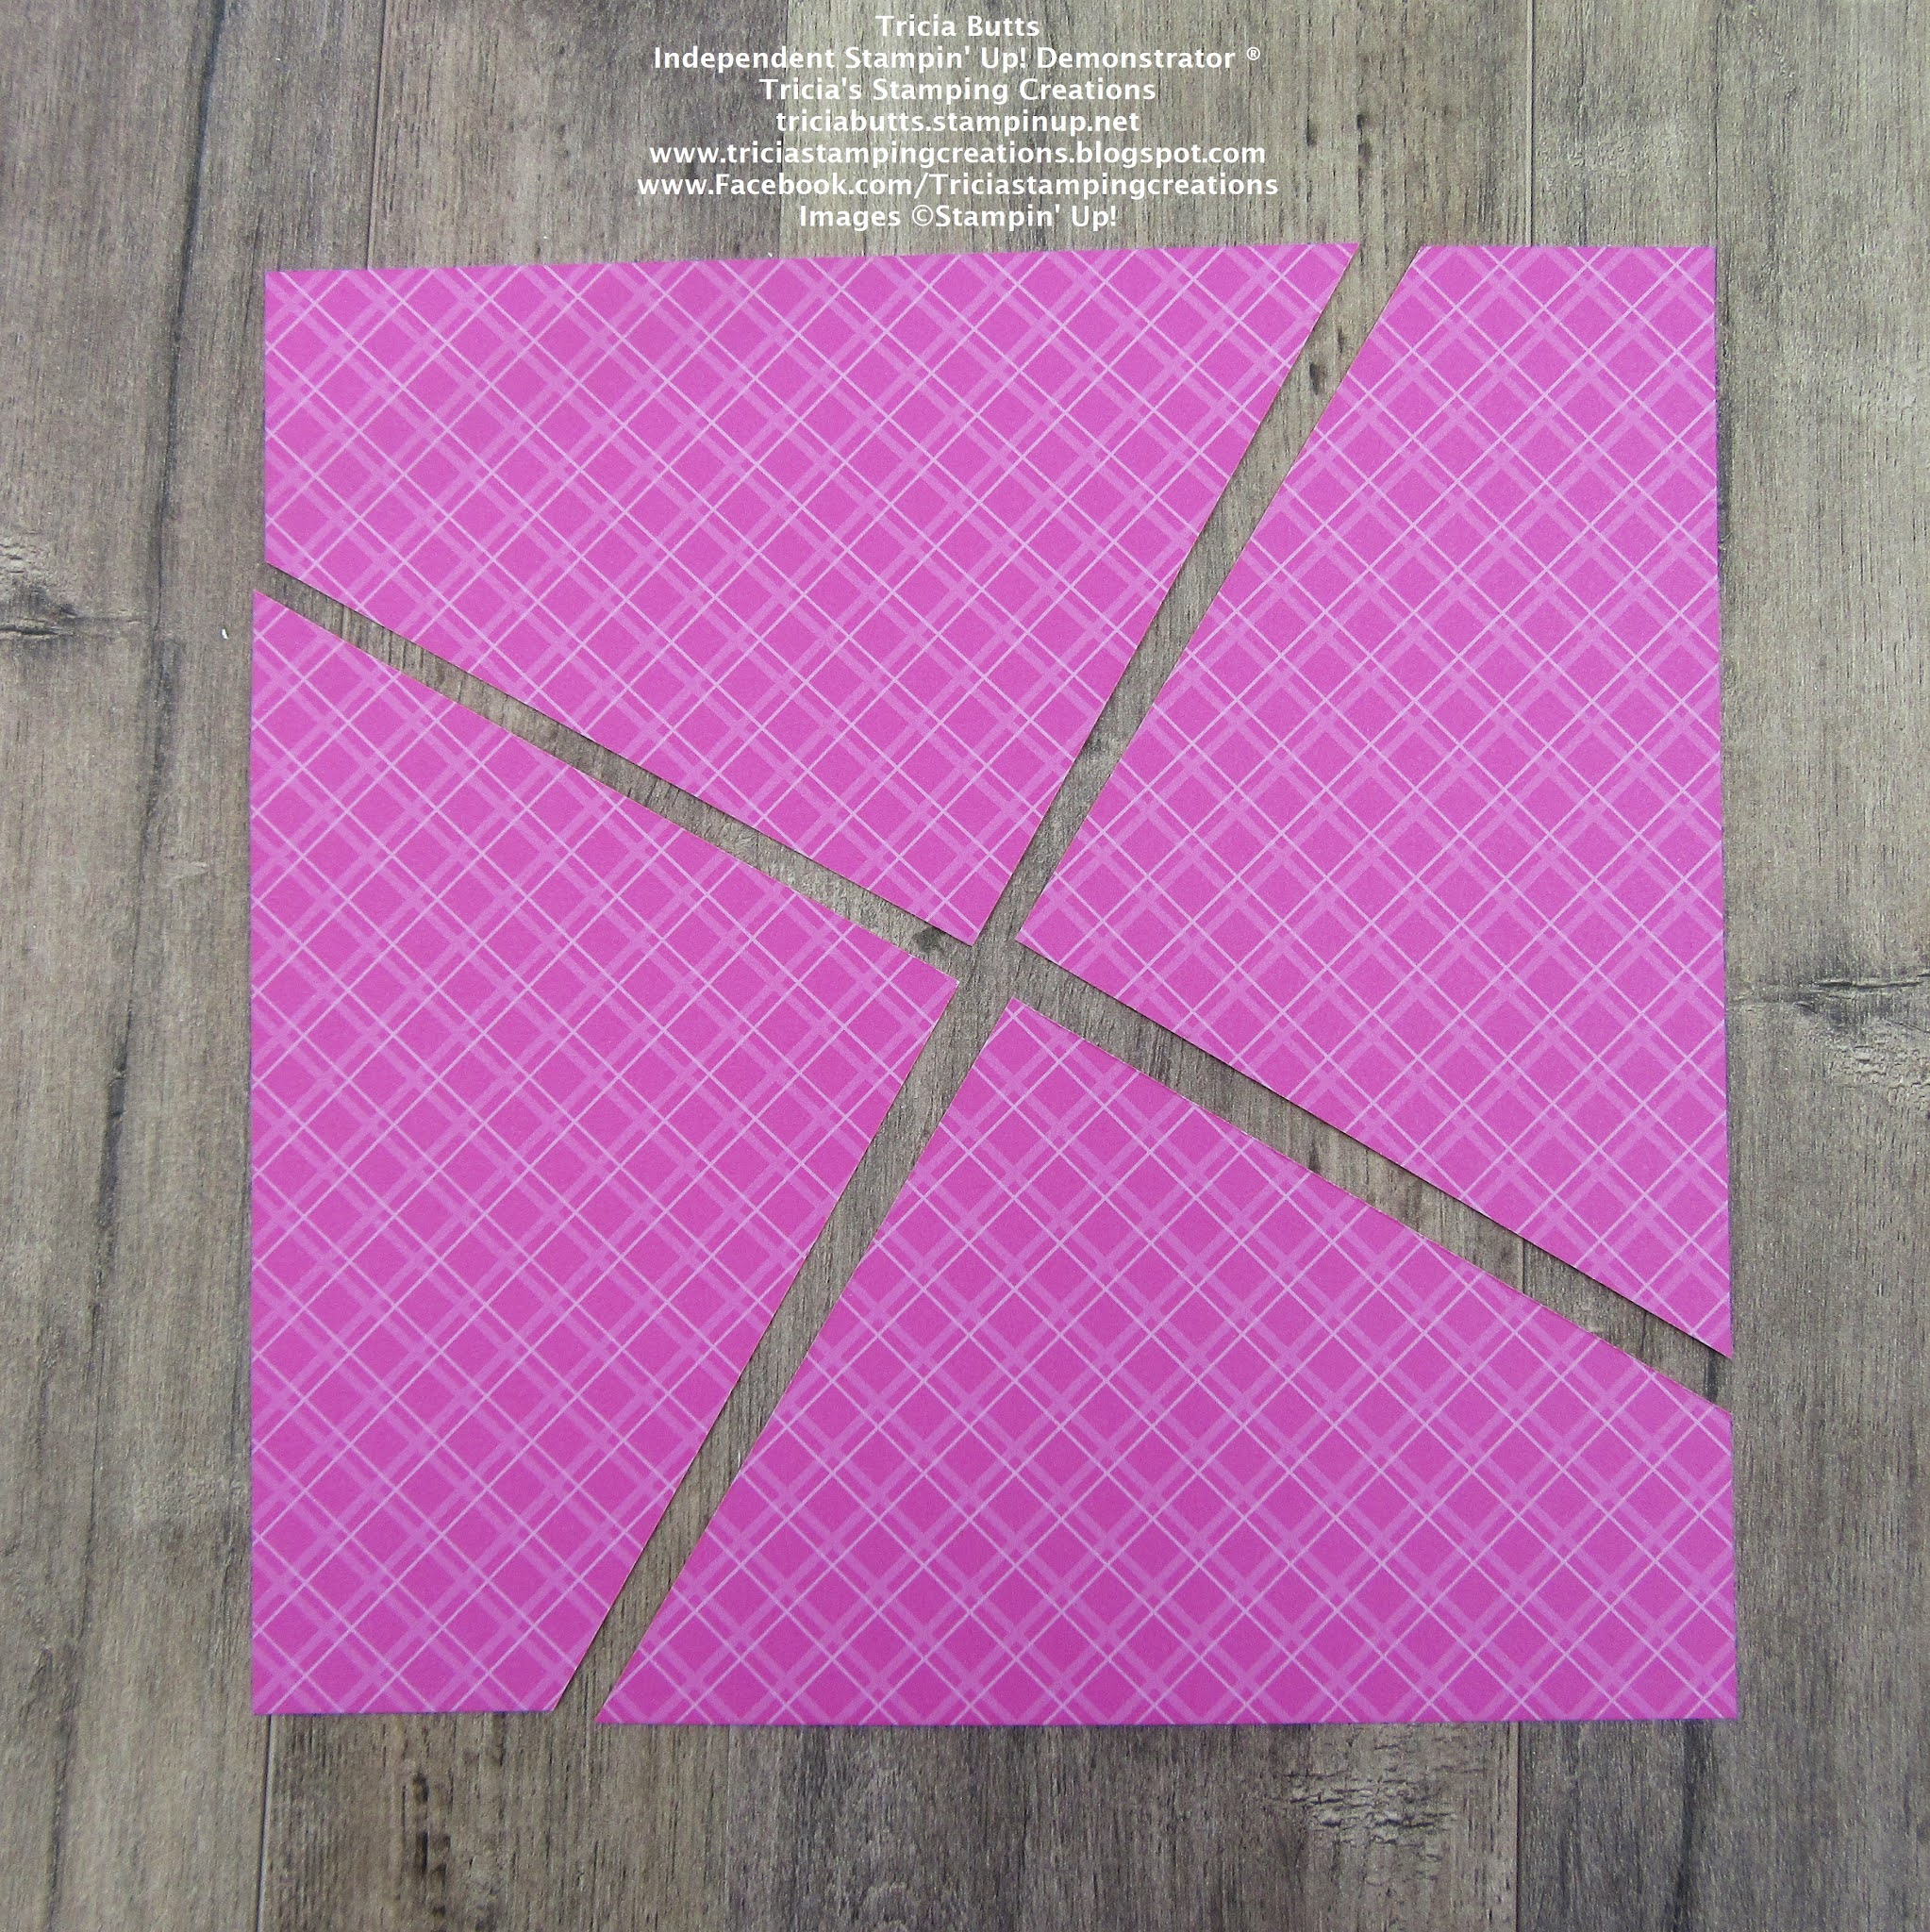
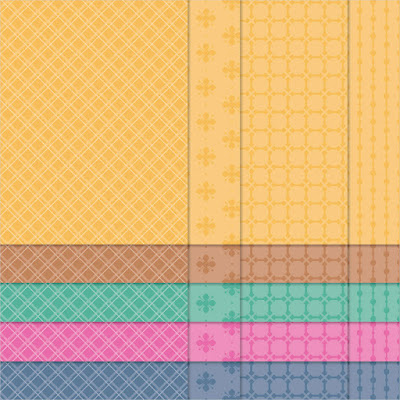
2020-2022 In Color 6"x6" Designer Series Paper (item #155230)
Tasteful Labels Dies (item #152886)
Just Jade Cardstock (item #153079)
Basic White Cardstock (item #159276)
Gold Foil Sheets (item #132622)
Just Jade Classic Ink Pad (item #153115)
Cinnamon Cider Classic Ink Pad (item #153114)
Versamark Pad (item #102283)
Metallics Embossing Powders (item #155555)
Gilded Gems (item #152478)
Stampin' Dimensionals (item #104430)

Measurements:
Just Jade Cardstock
Card Base - 8 1/2" x 5 1/2" (Scored at 4 1/4")
Basic White Cardstock
Sentiment Label die cut with Tasteful Labels Dies
2020-2022 In Colors Designer Series Paper
Misty Moonlight
Card Front - 5 1/4" x 4"
Bumblebee
Sunflower stamped and die cut with the Celebrate Sunflowers Dies
Just Jade
2 Large Leaves stamped and die cut with the Celebrate Sunflower Dies
2 Sets of 2 Small Leaves stamped and die cut with the Celebrate Sunflowers Dies
Gold Foil
1 Single Long Stem with Leaves and
1 Double Long Stems with Leaves die cut with the Celebrate Sunflowers Dies

Thank you for taking the time to visit my blog. I hope that my card design will help inspire you to create your own beautiful projects. Stampin' Up! has so many wonderful products that coordinate to help make creating simple and stress free. If you love the 2020-2022 In Colors, I recommend ordering them soon as they will be retiring soon and will sell out quickly. Also, the Celebrate Sunflowers Bundle price is only available during the month of March as part of the Savings Are In Bloom promotion.


If you live in
the U.S. and do not have a Stampin' Up! Demonstrator, please contact me and I
would be happy to help you with your creative projects. You may also visit my
Online Store to place your order and have it shipped to you.

Until Next Time
Happy Stamping,
Tricia Butts
Independent Stampin' Up! Demonstrator
Like What You See? Visit My Online Store Here
Visit My Facebook Business Page for Updates & Ideas
Click here to Contact Me
Celebrate Paper Pumpkin's 9th Birthday
With The Beyond The Horizon March Kit
Including A Bonus Free Stamp Set
Click Below To Subscribe By March 10th
With The Beyond The Horizon March Kit
Including A Bonus Free Stamp Set
Click Below To Subscribe By March 10th

Save 20% With The Savings Are In Bloom Promotion
During The Month Of March
Click Below To Visit My Online Store

Available For A Limited Time
The Waves Of The Ocean Collection
Click Below For More Details