Showing posts with label Next Destination stamp set. Show all posts

Wednesday, April 17, 2024

New At SU April Blog Hop CASE A Team Member

Welcome to the New At SU April Blog Hop and this month we have been challenged to CASE a project created by one of our fellow team members. I will be CASEing Nina McMillan and as she is a new member to our blog hop, I have chosen a card she created before she joined us. I am excited to share what I have created and how Nina's card became my inspiration. 
As you can see from Nina's card design, she has showcased designer series paper to create a fun design with strips spaced across her card front. The sentiment is her focal point for this design and she has added some twine and embellishments to create a beautiful clean and simple design. Just the kind of layout that I love.

So for my design, I chose to step up her layout by adding an additional layer and I chose to use the retiring Earthen Elegance Designer Series Paper to create my strip pattern. For my sentiment, I used the retiring Next Destination stamp set and heat embossed the sentiment to step it up. While Nina's design is more feminine, I chose to go masculine and I love that this layout works perfectly for both situations. 
Products Used: 
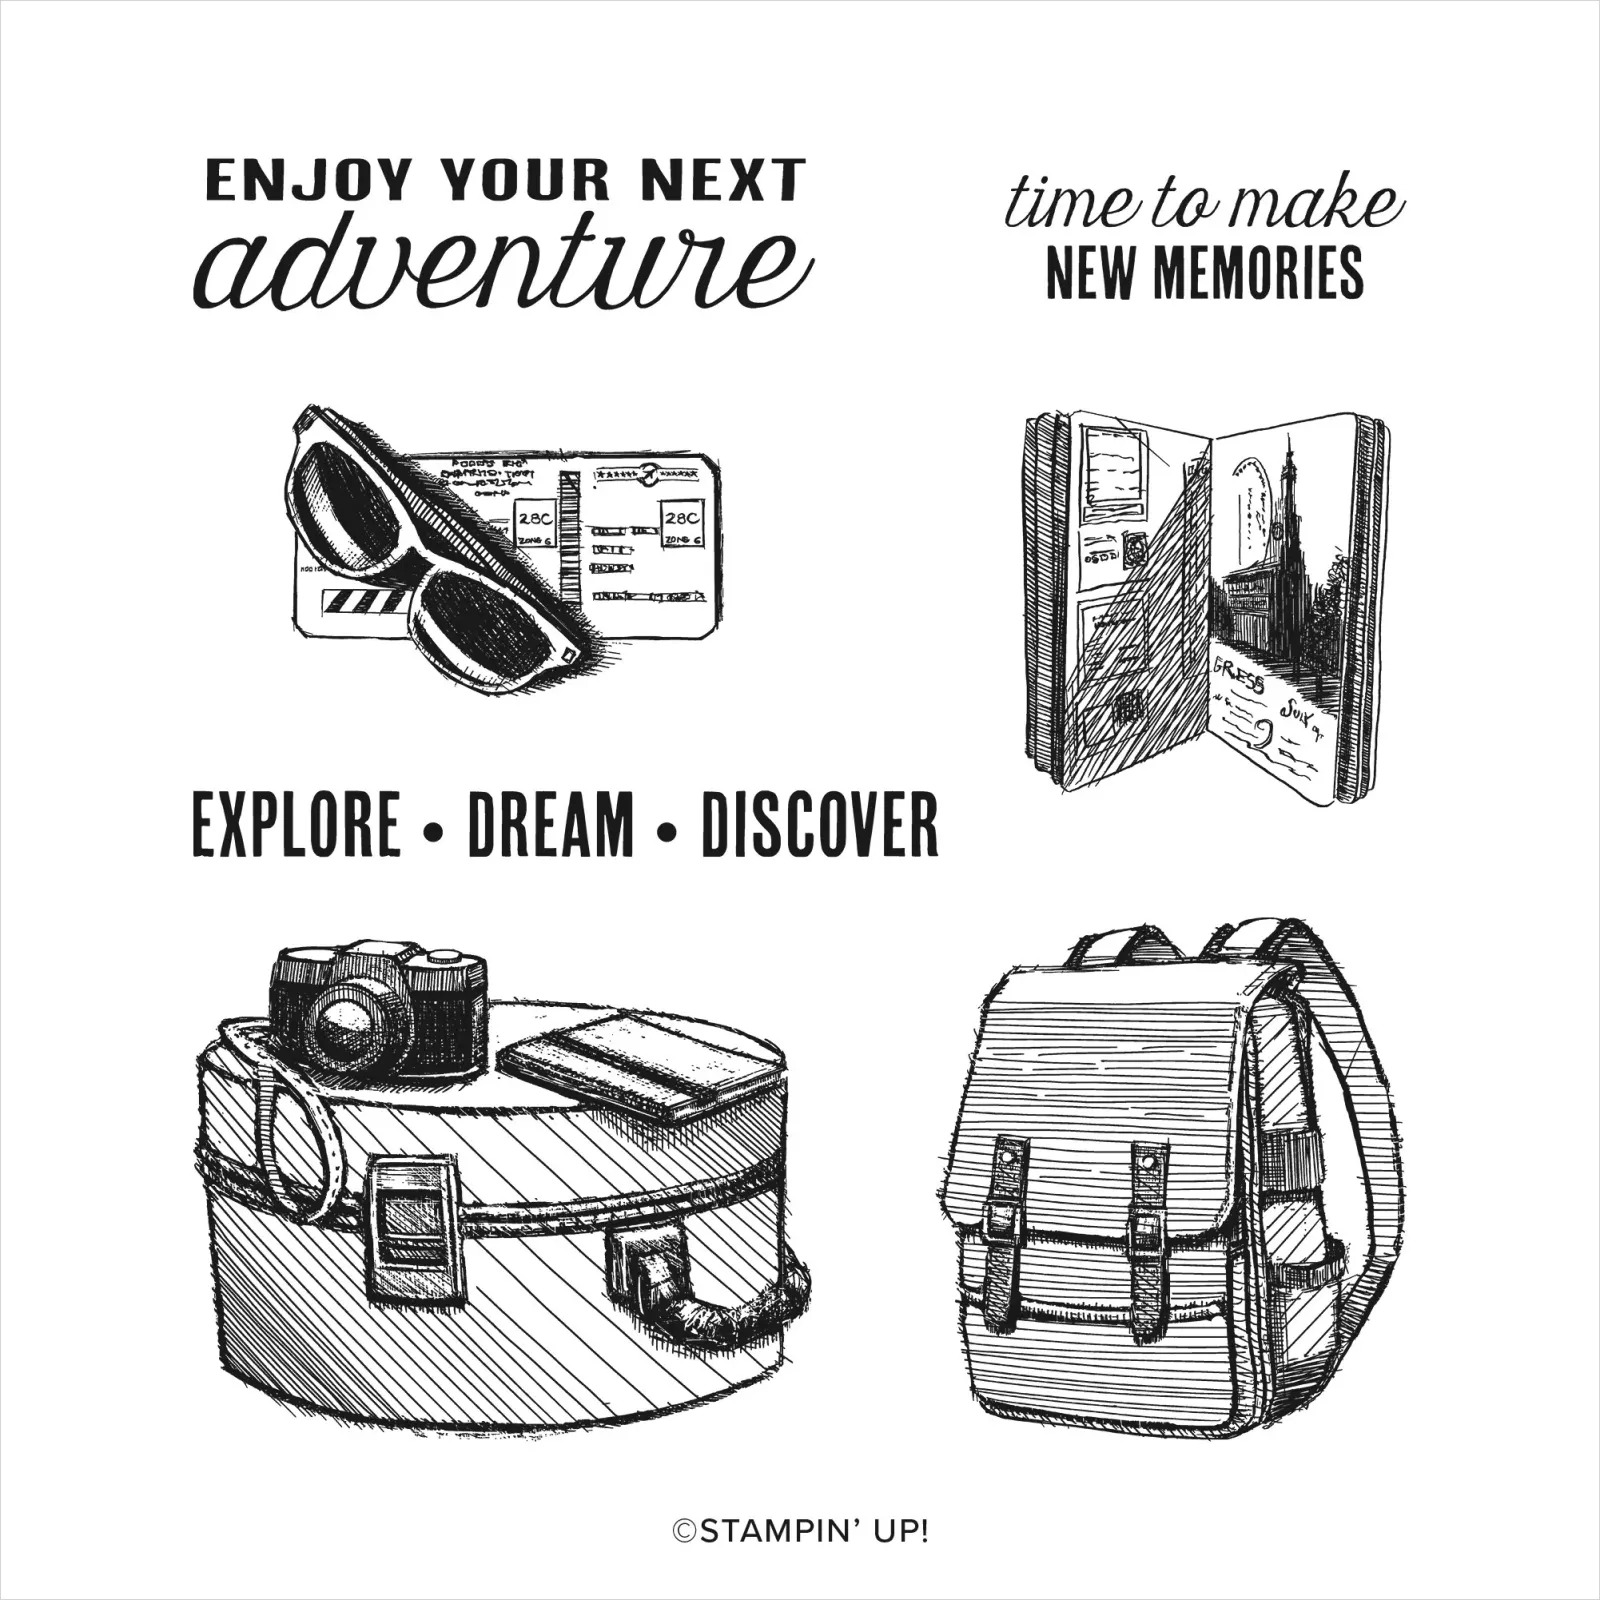
Next Destination stamp set (item #161427) - Retiring
Something Fancy Dies (item #160424)
Earthen Elegance Designer Series Paper (item #161503) - Retiring
Night of Navy Cardstock (item #100867)
Pretty Peacock Cardstock (item #150880)
Versamark Pad (item #102283)
Metallics Embossing Powders (item #155555) - Retiring
Linen Thread (item #104199)
Stampin' Dimensionals (item #104430)
Measurements:
Night of Navy Cardstock
Card Base - 5 1/2 x 8 1/2"" (Scored at 4 1/4")
Large Label die cut with the Something Fancy Dies
Pretty Peacock Cardstock
Card Front - 5 1/4" x 4"
Sentiment Label die cut with the Something Fancy Dies
Earthen Elegance Designer Series Paper
9 Strips - 1/2" x 4" (Variety of Patterns)
This card design was so much fun to create and it's a great way to use up your designer series paper scraps. I cut 9 strips measuring 1/2" x 4" and arranged them onto my Pretty Peacock cardstock in a pattern that I was happy with, before adhering them to the cardstock. I wrapped a piece of Linen Thread around the card front twice and then tied a bow on the left side. For the sentiment, I heat embossed the image with Gold embossing powder onto the Pretty Peacock label and then layered it onto a Night of Navy label to help make it pop. I attached the sentiment label to the card front with Stampin' Dimensionals, placing it over the Linen Thread with the bow just to the left of the sentiment label. I then added the card front to the Night of Navy card base using Stampin' Dimensionals to pop it up. To complete the card design, I added several Gold sequins to coordinate with the heat embossing. I just love how this card design turned out and I had so much fun CASEing Nina's beautiful card design. 
Thank you for taking the time to visit my blog. I hope that my card design will encourage you to CASE projects that you see to help spark your creativity.  There are so many wonderful options to explore to help you create fun card designs.  
Please take the time to see all the wonderful projects created this month by clicking on the links in the Roll Call List to visit our Design Team member's blogs. We would appreciate it if you would leave us a comment and let us know what you liked about our projects. I hope you enjoy the rest of our blog hop. 

If you live in the U.S. and do not have a Stampin' Up! Demonstrator, please contact me and I would be happy to help you with your creative projects. You may also visit my Online Store to place your order and have it shipped to you. 

Until Next Time

Happy Stamping,

Tricia Butts
Independent Stampin' Up! Demonstrator

Like What You See? Visit My Online Store Here

Visit My Facebook Business Page for Updates & Ideas

Click here to Contact Me


Save Up To 60% On Select Retiring Products
During the Last Chance Products Sale\
Click Below To Shop Now

Explore Your Creativity
With The New Online Exclusives Products
Click Below To Visit My Online Store


Friday, August 4, 2023

Global Stamping Friends August Blog Hop School Days

 
Welcome to the Global Stamping Friends August Blog Hop as we celebrate School Days. It's hard to believe that Summer is almost over and it's time to get ready to go back to school. This year is the first year in a long time that I will not have to worry about this routine and I must admit, it feels very strange. Now that all my kids have graduated, I have a new perspective and for me, a feeling of nostalgia as I remember the days of buying school supplies and preparing for that first day of school. 
For my card design, I focused on some of my favorite things when I think of going back to school. I loved getting new books and school supplies, so I couldn't wait to use the new Bird's Eye View stamp set as it has a wonderful set of books and I thought the little bird would look adorable wearing the big round glasses, like he is ready for school. The background is one of the designs from the Inked Botanicals 6"x6" Designer Series Paper and it reminded me of the school uniforms that I used to wear as a kid growing up in Australia. I used one of my favorite color combinations of Lost Lagoon, Pretty Peacock and Basic White and added some pops of color using Stampin' Blends Markers to color the images.
Products Used:
Bird's Eye View stamp set (item #161436)
Next Destination stamp set (item #161427)
Countryside Corners Dies (item #161471)
Inked Botanicals 6"x6" Designer Series Paper (item #161157)
Lost Lagoon Cardstock (item #133679)
Pretty Peacock Cardstock (item #150550)
Basic White Cardstock (item #159276)
Memento Tuxedo Black Pad (item #132708)
Versamark Pad (item #102283)
Metallics Embossing Powders (item #155555)
Crumb Cake Stampin' Blends Combo Pack (item #154882)
Pecan Pie Stampin' Blends Combo Pack (item #161674)
Wild Wheat Stampin' Blends Combo Pack (item #161661)
Balmy Blue Stampin' Blends Combo Pack (item #154830)
Lost Lagoon Stampin' Blends Combo Pack (item #161680)
Loose Frosted Dots (item #161153)
Stampin' Dimensionals (item #104430)
Measurements:
Lost Lagoon Cardstock
Card Base - 8 1/2" x 5 1/2" (Scored at 4 1/4")
Sentiment Label die cut with the Countryside Corners Dies 
Pretty Peacock Cardstock
Frame die cut with the Countryside Corners Dies
Basic White Cardstock 
Focal Layer die cut with the Countryside Corners Dies 
Owl and books stamped and fussy cut
Inked Botanicals Designer Series Paper
Card Front - 5 1/4" x 4"
Have you ever looked at a stamp set and thought that it wasn't for you and you just didn't need it? That was me when I first saw the Bird's Eye View stamp set. When I saw it in the catalog, it just didn't catch my attention and I moved on to other products that were more my style. So what changed? I saw so many cute projects and ideas shared by other Demonstrators and I just couldn't resist getting it during the stamp sale last month. I am so glad I did, because it was perfect for this month's theme. The images in this stamp set are easy to color and fussy cut if you want to add some dimension to your projects and the fact that there are no sentiments means you can combine it with any of your favorite sentiment stamp sets. I used the Countryside Corners Dies to create the frame and the focal layer for my card design and I fell in love with this particular design in the Inked Botanicals Designer Series Paper and just knew I had to use it for my card. I heat embossed the sentiment from the Next Destination stamp set using Gold embossing powder onto a Lost Lagoon label and I thought it worked well for a back to school card design. To finish off the card, I added some Loose Frosted Dots, which are part of the Online Exclusives, as they added the perfect touch of bling for this design. I love how this card turned out and I can't wait to play with the Bird's Eye View stamp set more to see what I can come up with. 
Thank you for taking the time to visit my blog. I hope that my card design will help inspire you to create your own wonderful projects to celebrate this special time of the year. Make sure to keep an eye out for the hidden gems in the 2023-2024 Annual Catalog to help you create projects for all occasions. 
Now it's time to visit Kimberley's blog and see what she has created this month. Just click on the Next button below to visit her blog. I hope that you will leave us a comment and let us know what you enjoyed about our projects.

Roll Call List
1. Kimberley Morris 
2. Tricia Butts

If you live in the U.S. and do not have a Stampin' Up! Demonstrator, please contact me and I would be happy to help you with your creative projects. You may also visit my Online Store to place your order and have it shipped to you. 

Until Next Time

Happy Stamping,

Tricia Butts
Independent Stampin' Up! Demonstrator

Like What You See? Visit My Online Store Here

Visit My Facebook Business Page for Updates & Ideas

Click here to Contact Me


Save Up To 30% Off Kits
In The Kits Collection
Click Below To Shop In My Online Store

Redeem Your Coupons & Save
During The Month Of August
Click Below To Visit My Online Store


Wednesday, June 14, 2023

Around The World On Wednesday June Blog Hop Let's Go On An Adventure

Welcome to the Around The World On Wednesday June Blog Hop as we go on an adventure to create fun and inspiring projects. Our wonderful Design Team will be sharing their projects and ideas to help spark your creativity and hopefully inspire you to go on your own creative adventure. 
When I think about adventure, my mind goes to traveling and exploring new places. I have been fortunate to have traveled and lived in various places around the world, so this is what influenced my card design. For my card design today, I wanted to use the new Next Destination stamp set in the 2023-2024 Annual Catalog. I love the images and sentiments in this stamp set and I thought it would be perfect for creating cards for Graduations and Retirements. The card design I created has a vintage feel to it and would be a perfect masculine card. I paired it with the Watercolor World stamp to create the background for the card design and used Pecan Pie, Wild Wheat, Early Espresso and Very Vanilla with a touch of Gold to step up the design. 
Products Used:
Next Destination stamp set (item #161427)
Watercolor World stamp set (item #160708)
Stylish Shapes Dies (item #159183)
Early Espresso Cardstock (item #119686)
Pecan Pie Cardstock (item #161717)
Very Vanilla Cardstock (item #101650)
Early Espresso Classic Ink Pad (item #147114)
Pecan Pie Classic Ink Pad (item #161665)
Versamark Pad (item #102283)
Metallics Embossing Powders (item #155555)
Pecan Pie Stampin' Blends Combo Pack (item #161674)
Crumb Cake Stampin' Blends Combo Pack (item #154882)
Smoky Slate Stampin' Blends Combo Pack (item #154904)
Wild Wheat Stampin' Blends Combo Pack (item #161661)
Gray Granite Stampin' Blends Combo Pack (item #154886_
Color Lifter (item #144608)
Brushed Metallic Adhesive Backed Dots (item #156506)
Stampin' Dimensionals (item #104430)
Measurements:
Early Espresso Cardstock
Card Base - 8 1/2" x 5 1/2" (Scored at 4 1/4")
Large Stitched Square die cut with the Stylish Shapes Dies
Sentiment Label die cut with the Stylish Shapes Dies
Pecan Pie Cardstock 
Card Front - 5 1/4" x 4"
Very Vanilla Cardstock 
Square - 2 5/8" x 2 5/8"
The images in the Next Destination stamp set work perfectly for creating a card with theme of going on a journey, starting a new adventure. I love the sketched style of the images and wanted to create an aged, worn look to my card similar to an old notebook with a vintage map on the cover. Pecan Pie is a wonderful, warm brown and it works beautifully with Early Espresso. I stamped the Watercolor World stamp with Pecan Pie Classic ink onto the Pecan Pie card front to create the look of a vintage world map. The focal image was stamped with Early Espresso Classic ink onto a Very Vanilla cardstock square and I colored the image with Stampin' Blends Markers. I used the Light Gray Granite Stampin' Blends Marker to create the background around the image and blended it with the Color Lifter to soften and distress the background. The sentiment was heat embossed with Gold embossing powder onto the Early Espresso cardstock label and I embellished the label with two of the Brushed Metallic Adhesive Backed Dots. I popped both the focal image and the sentiment label up using Stampin' Dimensionals, with the sentiment label overlapping the bottom right side of the focal square. I love how this card design turned out and I feel like it is perfect for someone preparing for the next stage in their life, their next adventure. 
Thank you for taking the time to visit my blog. I hope that my card design will help inspire you to explore creating your own beautiful projects. There are so many wonderful options in the new 2023-2024 Annual Catalog. 
Now it's time to visit Teri's Blog and see what adventures she has to share with us. Just click on the Next button below to visit her blog or use the Roll Call List below to find your way. We would appreciate it if you would leave us a comment and let us know what you enjoyed about our projects. 

Roll Call List

If you live in the U.S. and do not have a Stampin' Up! Demonstrator, please contact me and I would be happy to help you with your creative projects. You may also visit my Online Store to place your order and have it shipped to you. 

Until Next Time

Happy Stamping,

Tricia Butts
Independent Stampin' Up! Demonstrator

Like What You See? Visit My Online Store Here

Visit My Facebook Business Page for Updates & Ideas

Click here to Contact Me


Save 15% on Select Designer Series Paper 
During The Month of June
Click Below To Shop From My Online Store

Take Advantage of the Starter Kit+
Get $155 Worth of Products For Only $99
During The Month of June
Click Below For More Details

Explore Your Creativity
With The 2023-2024 Annual Catalog
Click Below To Visit My Online Store