Showing posts with label Dandy Designs Designer Series Paper. Show all posts

Wednesday, February 1, 2023

We Create February Blog Hop Sale-a-bration Sweetness

Let's start off the new month with the We Create February Blog Hop and a little Sale-a-bration Sweetness. It's the last month to take advantage of Sale-a-bration to earn free products with a qualifying order and it's also the month for love with Valentine's Day coming up soon. Our wonderful Design Team members will be sharing their projects and ideas to help inspire you to get creative for the month ahead. 
Today I created a fun card design with the Thanks A Bunch stamp set, which is a Level 1 Sal-a-bration Reward you can earn free with a qualifying order ($50 in the U.S.) Now I must admit, this stamp set was a bit of a challenge and it took me a while to come up with a design using this stamp set that I thought would make someone smile. So I decided to pair it with the Playing In The Rain Bundle from the January-April 2023 Mini Catalog to create a more non-traditional Valentine's Day card. When I think of carrots, I think of rabbits, so the cute little bunny in this bundle was the perfect size to use with the smallest bunch of carrots from the Thanks A Bunch stamp set. For the background, I chose one of the designs from the Dandy Designs Designer Series Paper, a Level 2 Sale-a-bration Reward that you can earn free with a qualifying order ($100 in the U.S.) For the sentiment, I used the Love You More Than Dies from the 2022-2023 Annual Catalog along with the carrot image from the Thanks A Bunch stamp set. The end result was a sweet Valentine's Day card to brighten someone's day.
Products Used:
Playing In The Rain Bundle (item #160551)
Thanks a Bunch stamp set (item #160816) Sale-a-bration 
Level 1 Reward
Love You More Than Dies (item #152698)
Stylish Shapes Dies (item #159183)
Something Fancy Dies (item #160424)
Dandy Designs Designer Series Paper (item #160836) Sale-a-bration Leve 2 Reward
Gold & Rose Gold 6"x6" Metallic Specialty Paper (item #156844) 
Coastal Cabana Cardstock (item #131297)
Pool Party Cardstock (item #122924)
Basic White Cardstock (item #159276)
Pool Party Classic Ink Pad (item #147107)
Parakeet Party Classic Ink Pad (item #159208)
Pumpkin Pie Classic Ink Pad (item #147086)
Memento Tuxedo Black Pad (item #132708)
Pool Party Stampin' Blends Combo Pack (item #154894)
Flirty Flamingo Stampin' Blends Combo Pack (item #154884)
Smoky Slate Stampin' Blends Combo Pack (item #154904)
Color Lifter (item #144608)
Pastel Adhesive Backed Sequins (item #160387)
Mini Stampin' Dimensionals (item #144108)
Measurements:
Coastal Cabana Cardstock
Card Base - 8 1/2" x 5 1/2" (Scored at 4 1/4")
Pool Party Cardstock
Large Stitched Circle die cut with the Stylish Shapes Dies
Gold Metallic Specialty Paper
Sentiment Words die cut with the Love You More Than Dies
Basic White Cardstock
Stamped and die cut rabbit using the Playing In The Rain Bundle
Sentiment Label die cut with the Something Fancy Dies
Dandy Designs Designer Series Paper
Card Front - 5 1/4" x 4"
This fun card is a combination of a variety of products that helped me achieve the idea I had in my mind. The die cut words were perfect for creating the sentiment and I love how the Gold Metallic Specialty Paper adds some sparkle to the card design. The rabbit was colored with Stampin' Blends Markers and I used the Color Lifter to blend the Light Smoky Slate Stampin' Blend Marker to add some soft color to the white rabbit. For the carrots, I stamped the images onto Basic White cardstock using Pumpkin Pie for the carrots and Parakeet Party for the leaves. I fussy cut out the image with Paper Snips. To assemble the card, I attached the Pool Party Stitched Circle to the bottom left corner of the designer series paper card front and cut away the excess for the left side and bottom to create the corner. I then attached the card front to the card base. I attached the rabbit to the Pool Party circle with Mini Stampin' Dimensionals and then added the bunch of carrots near its paw on the right side. I added the Gold words to the card front, arranging them in order and then added the small Carrots sentiment, tucking it underneath the edge of the circle. To finish off the design, I added some Gold sequins for a touch of bling. It makes me happy to think that this little bunny loves someone more than carrots and I hope that the person who receives this card will see the humor in the design. 
Thank you for taking the time to visit my blog. I hope that my card design will help inspire you to get creative and share the love with the people in your life.
Now it's time to visit Cheryl's blog and see what she has to share with us. Just click on the Next button below to visit her blog. We would love it if you would leave us a comment and let us know what you liked about our projects. I hope you enjoy the rest of our blog hop. 


If you live in the U.S. and do not have a Stampin' Up! Demonstrator, please contact me and I would be happy to help you with your creative projects. You may also visit my Online Store to place your order and have it shipped to you. 

Until Next Time

Happy Stamping,

Tricia Butts
Independent Stampin' Up! Demonstrator

Like What You See? Visit My Online Store Here

Visit My Facebook Business Page for Updates & Ideas

Click here to Contact Me


More Products To Choose From
During Sale-a-bration
Click Below For More Details


Saturday, January 28, 2023

Ink. Stamp. Share. January Monthly Blog Hop Sale-a-bration

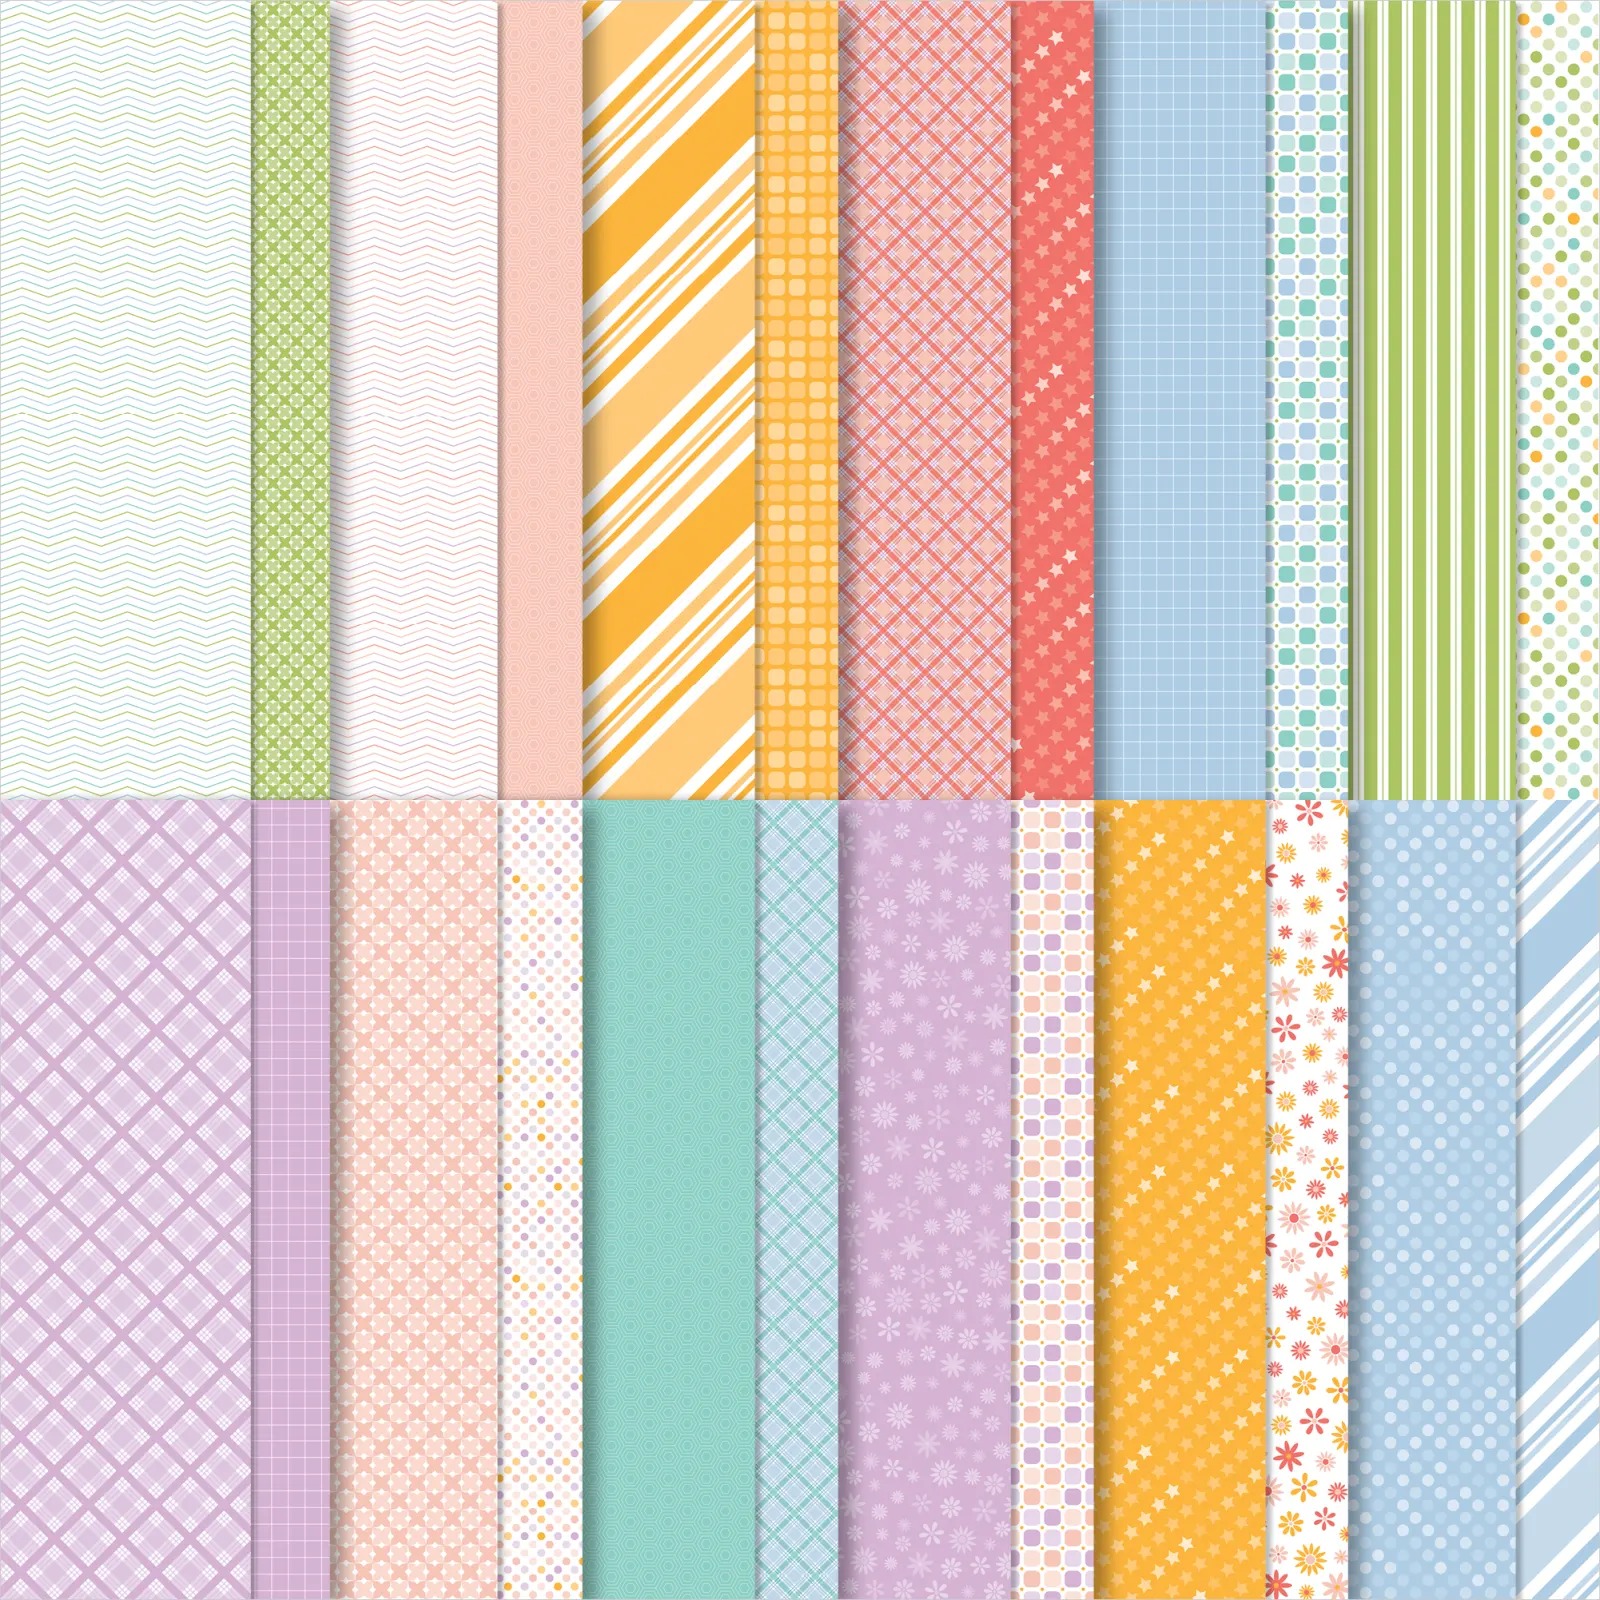
Welcome to the Ink. Stamp. Share January Monthly Blog Hop as we showcase products from the 2023 Sale-a-bration Catalog. Our wonderful Design Team members will be sharing their projects and ideas to help inspire you to get creative with these wonderful products. During Sale-a-bration, you can earn exclusive products for free with a qualifying order. 
One of the Sale-a-bration products that I haven't had a chance to play with lately is the Sending Support stamp set. This stamp set is a Level 1 Reward that you can earn free with a qualifying order ($50 in the U.S). I love the variety of sentiments and the mix of fonts in this stamp set and I wanted to use it to create a St Patrick's Day card that would be supportive and uplifting. I paired it with the Friendly Gnomes stamp set and coordinating Gnomes Dies and colored the gnome to resemble a leprechaun. The background was created using one of the designs from the Dandy Designs Designer Series Paper, which is a Level 2 Sale-a-bration Reward you can earn free with a qualifying order ($100 in the U.S.). The combination of greens made it perfect for a St Patrick's Day card. 
Products Used:
Friendly Gnomes stamp set (item #160714)
Sending Support stamp set (item #160822) Level 1 Sale-a-bration Reward
Gnomes Dies (item #159625)
Something Fancy Dies (item #160424)
Dandy Designs Designer Series Paper (item #160836) Level 2 Sale-a-bration Reward
Shaded Spruce Cardstock
Basic White Cardstock (item #159276)
Memento Tuxedo Black Pad (item #
Crumb Cake Stampin' Blends Combo Pack (item #
Petal Pink Stampin' Blends Combo Pack (item #
Pumpkin Pie Stampin' Blends Combo Pack (item #
Granny Apple Green Stampin' Blends Combo Pack (item #
Shaded Spruce Stampin' Blends Combo Pack (item #
Clear Wink of Stella Glitter Brush (item #
White 3/8" Glittered Organdy Ribbon (item #156408)
Brushed Brass Butterflies (item #158136)
2021-2023 In Color Opal Rounds (item #159185)
Mini Stampin' Dimensionals (item #
Measurements:
Shaded Spruce Cardstock
Card Base - 8 1/2" x 5 1/2" (Scored at 4 1/4")
Sentiment Label die cut with the Something Fancy Dies
Dandy Designs Designer Series Paper
Card Front - 5 1/4" x 4"
Strip - 1/2" x 4"
Basic White Cardstock 
Label die cut with the Something Fancy Dies 
Stamped and die cut Gnome using Friendly Gnomes stamp set and Gnomes Dies
Inside Layer - 5 1/4" x 4"
This cute St Patrick's Day card is a wonderful combination of greens that gives this design a fresh, cheerful look. I attached the layer of designer series paper to the front of the card base to create the background. The tag was die cut using the Something Fancy Dies from Basic White cardstock and I used one of the small dies in this set to die cut the hole at the top of the tag. I tied a piece of the White Glittered Organdy Ribbon through the hole to add some sparkle to the card. For the gnome, I stamped the image with Memento Tuxedo Black ink onto a piece of Basic White cardstock and die cut it out with the coordinating die from the Gnomes Dies. I colored the gnome with Stampin' Blends Markers and I love the contrast between the Shaded Spruce and Pumpkin Pie that gives the gnome the feeling of a leprechaun. I colored the sleeves and the flowers with Granny Apple Green and I love that the flowers look similar to clover blossoms that you would associate with St Patrick's Day. The shoes were colored with Crumb Cake Stampin' Blends Markers to complete the gnome.

For the sentiment, I heat embossed the image from the Sending Support stamp set using White embossing powder and die cut it using one of the dies from the Something Fancy Dies. I attached it to the bottom of the tag and then added the gnome to the tag with Mini Stampin' Dimensionals. I attached the tag to the card front with Mini Stampin' Dimensionals, centering it on the card. For embellishments, I added several Brushed Brass Butterflies to the tag and Evening Evergreen Opal Rounds for a touch of bling to the card front. For the inside of the card, I stamped the sentiment with Tuxedo Black ink and adhered the strip of designer series paper across the bottom, before attaching it to the inside of the card. 
Thank you for taking the time to visit my blog. I hope that my card design will help inspire you to explore the wonderful products you can earn free during Sale-a-bration with a qualifying order. There are so many possibilities to explore. Please note that the Gnomes Dies have been extremely popular and are currently available while supplies last. If you would like to order these and/or any of the other products used to create this card, I recommend that you place your order soon by visiting my Online Store to avoid missing out. 
Please take the time to visit my fellow Design Team members by clicking on the links in the Roll Call List below to visit their blogs. We would love it if you would leave us a comment and let us know what you liked about our projects. I hope you enjoy the rest of our blog hop.

If you live in the U.S. and do not have a Stampin' Up! Demonstrator, please contact me and I would be happy to help you with your creative projects. You may also visit my Online Store to place your order and have it shipped to you. 

Until Next Time

Happy Stamping,

Tricia Butts
Independent Stampin' Up! Demonstrator

Like What You See? Visit My Online Store Here

Visit My Facebook Business Page for Updates & Ideas

Click here to Contact Me


Earn Exclusive Free Products
During Sale-a-bration
Click Below For Details

Celebrate The New Year
With The January-April 2023 Mini Catalog
Click Below To Visit My Online Store


Saturday, January 14, 2023

Stamping Inkspiration January Blog Hop Glimmer & Shine Sketch Challenge


Welcome to the Stamping Inkspiration January Blog Hop as we start off 2023 with a Sketch Challenge with some Glimmer and Shine. Our wonderful Design Team members will be sharing their projects and ideas to help inspire you to get creative for the New Year. We will each be using the sketch below to create our projects as well as incorporating some glimmer and shine to add some bling. 

For my card design today, I thought I would have some fun with two of the new Sale-a-bration Rewards available to earn free with a qualifying order. The Adorable Owls stamp set (Level 1 Reward) is so much fun to create with and pairs beautifully with the Dandy Designs Designer Series Paper (Level 2 Reward). I decided to create a fun birthday card using today's sketch and add some bling using Gold embossing, Gold Metallic Specialty Paper and the new Iridescent Pastel Gems in the new January-April 2023 Mini Catalog. This sweet card design is perfect for people of all ages and is sure to bring a smile to the recipient's face. 
Products Used:
Adorable Owls stamp set (item #160269) Sale-a-bration Level 1 Reward
Dandy Designs Designer Series Paper (item #160836) Level 2 Reward 
Stylish Shapes Dies (item #159183)
Gold & Rose Gold 6"x6" Metallic Specialty Paper (item #156844)
Coastal Cabana Cardstock (item #131297)
Balmy Blue Cardstock (item #146982)
Basic White Cardstock (item #159276)
Versamark Pad (item #102283)
Metallics Embossing Powders (item #155555)
Crumb Cake Stampin' Blends Combo Pack (item #154882)
Soft Suede Stampin' Blends Combo Pack (item #154906)
Balmy Blue Stampin' Blends Combo Pack (item #154830)
Pool Party Stampin' Blends Combo Pack (item #154894)
Pale Papaya Stampin' Blends Combo Pack (item #155519)
Clear Wink of Stella Glitter Brush (item #141897)
Mini Stampin' Dimensionals (item #144108)
Iridescent Pastel Gems (item #160429)
Measurements:
Coastal Cabana Cardstock
Card Base - 8 1/2" x 5 1/2" (Scored at 4 1/4")
Large Stitched Square die cut with the Stylish Shapes Dies
Balmy Blue Cardstock
Small Stitched Label die cut with the Stylish Shapes Dies
Basic White Cardstock
Medium Stitched Square die cut with the Stylish Shapes Dies
Owl heat embossed and fussy cut from the Adorable Owls stamp set
Dandy Designs Designer Series Paper
Card Front - 5 1/4" x 4"
Gold Metallic Specialty Paper
Strip - 1" x 5 1/4"
This cute card design is easy to assemble and would work well for a variety of occasions. I chose the colors for my card design from the piece of designer series paper from the Dandy Designs Designer Series Paper. I attached the piece of designer series paper to the card front and then added the strip of Gold Metallic Specialty Paper to the card front, lining it up slightly off center, using the dots in the paper design. For the focal layers, I adhered the Basic White square to the Coastal Cabana Square and added it to the card front with Mini Stampin' Dimensionals, lining up the corners with the Gold paper. 
To create the owl, I heat embossed the image with Gold embossing powder onto a scrap of Basic White cardstock and colored it in with Stampin' Blends Markers. I then fussy cut the owl out and adhered it to the center of the Basic White square. For the sentiment, I heat embossed the image onto a scrap of Balmy Blue cardstock and die cut it out with the smallest sentiment die from the Stylish Shapes Dies. I attached the sentiment die using Mini Stampin' Dimensionals. Using the Clear Wink of Stella, I colored in the owl's eyes and party hat to give them a touch of shimmer and I added several of the Iridescent Pastel Gems for a little bling. I love how this cute card turned out and how the different elements add that touch of glimmer and shine to the card design. 
Thank you for taking the time to visit my blog. I hope that my card design will help inspire you to get creative and add a little bling to your projects. There are so many wonderful options to explore with the new January-April 2023 Mini Catalog. Don't forget to earn your favorite Sale-a-bration Rewards for free with a qualifying order. 
Now it's time to visit Karen's blog and see what she has created with this month's challenge. Just click the Next button below to visit her blog or use the Roll Call List to find your way. We would appreciate it if you would leave us a comment and let us know how our projects inspired you. I hope you enjoy the rest of our blog hop. 
If you live in the U.S. and do not have a Stampin' Up! Demonstrator, please contact me and I would be happy to help you with your creative projects. You may also visit my Online Store to place your order and have it shipped to you. 

Until Next Time

Happy Stamping,

Tricia Butts
Independent Stampin' Up! Demonstrator

Like What You See? Visit My Online Store Here

Visit My Facebook Business Page for Updates & Ideas

Click here to Contact Me


Celebrate The New Year
With The January-April 2023 Mini Catalog
Click Below To Visit My Online Store

Earn Exclusive Free Products
During Sale-a-bration
Click Below For More Details

Join The Stampin' Up! Family
Choose From 3 Amazing Options
Click Below For More Information


Monday, January 9, 2023

Kylie Bertucci's Monthly International Blog Highlights January 2023

 
I am so excited to be participating in Kylie Bertucci's Monthly International Blog Highlights to start off 2023. Our theme is Thank You cards and at this time of the year and you will have the opportunity to visit with talented Stampin' Up! Demonstrators from around the world as they share their projects and ideas to help inspire you. I hope that we can help spark your creativity to help you create your own beautiful projects to start off the New Year. 
One of my favorite stamp sets in the new January-April 2023 Mini Catalog, is the whimsical Silly Goose stamp set. I just love the adorable images and fun sentiments that work for so many occasions. I wanted my card design to be fun and lighthearted, so I chose to create the background using one of the beautiful floral designs from the Dandy Designs Designer Series Paper, which is a Level 2 Sale-a-bration Reward you can earn free with a qualifying order. This wonderful pack of paper has 48 sheets filled with beautiful designs and pretty color combinations, perfect for Spring and beyond. I thought the color combination for this particular design fit perfectly with the colors I chose to color the goose and the floral pattern doesn't feel to heavy for the design, if that makes sense. I chose to use my favorite Framed Florets Dies to create the frame for my goose and I created the flowers to embellish the frame using the Two Tone Flora Bundle to tie in with the background design. 
Products Used:
Silly Goose stamp set (item #160866)
Framed Florets Dies (item #160623)
Two Tone Flora Bundle (item #160414)
Dandy Designs Designer Series Paper (item #160836) Sale-a-bration Level 2 Reward
Calypso Coral Cardstock (item #122925)
Basic White Cardstock (item #159276)
Pale Papaya Classic Ink Pad (item #155670)
Calypso Coral Classic Ink Pad (item #147101)
Pear Pizzazz Classic Ink Pad (item #147104)
Memento Tuxedo Black Pad (item #132708)
Pale Papaya Stampin' Blends Combo Pack (item #155519)
Gray Granite Stampin' Blends Combo Pack (item #154886)
Color Lifter (item #144608)
Clear Wink of Stella Glitter Brush (item #141897)
Basic Pearl Jewels (item #144219)
Mini Stampin' Dimensionals (item #144108)
Measurements:
Calypso Coral Cardstock
Card Base - 5 1/2" x 8 1/2" (Scored at 4 1/4")
Oval Frame die cut with the Framed Florets Dies
Basic White Cardstock
Oval die cut with Framed Florets Dies
Flowers & Leaves die cut with the Two Tone Flora Dies
Dandy Designs Designer Series Paper
Card Front - 5 1/4" x 4"
There is so much to love about this cute card design that I don't know where to start. The designer series paper gives this card such a cheerful feeling to it and I think it fits with the cute goose and his banner of thanks. I stamped the goose with Memento Tuxedo Black ink onto the Basic White oval and colored it in with the Dark Pale Papaya Stampin' Blends Marker. To give the goose a bit of dimension, I used the Light Gray Granite to add some color and then used the Color Lifter to lighten it so that there is the slightest hint of gray to its feathers. For the banner, I used the Pale Papaya Stampin' Blends Combo Pack to tie it in with the designer series paper. To help step up the card design, I decided to add some small flowers that I created using the Two Tone Flora Bundle. I stamped the flowers using Pale Papaya and Calypso Coral Classic inks and for the leaves I used Pear Pizzazz Classic ink. I die cut the images using the coordinating dies and added them to the bottom of the oval on either side of the goose image. For a touch of bling, I added small Basic Pearls to the centers of the flowers to complete the design. 
Thank you for taking the time to visit my blog. I hope that my Thank You card will inspire you to explore the wonderful new products in the January-April 2023 Mini Catalog and 2023 Sale-a-bration Catalog. There are so many wonderful ways to mix and match these products to help you get creative. 
I would love it if you would take the time to vote for my card design as part of January's International Blog Highlights. Simply click the Vote for me button below and click on the heart for my card design (#23). Please take the time to click on the other amazing cards in this month's highlights and share the love with my fellow Stampin' Up! Demonstrators. You can vote for up to 5 cards a day for the next week, so I encourage you to visit each day and vote for your favorites. 


If you live in the U.S. and do not have a Stampin' Up! Demonstrator, please contact me and I would be happy to help you with your creative projects. You may also visit my Online Store to place your order and have it shipped to you. 

Until Next Time

Happy Stamping,

Tricia Butts
Independent Stampin' Up! Demonstrator

Like What You See? Visit My Online Store Here

Visit My Facebook Business Page for Updates & Ideas

Click here to Contact Me


Celebrate The New Year
With The January-April 2023 Mini Catalog
Click Below To Visit My Online Store

Earn Free Exclusive Products
During Sale-a-bration
Click Below For More Details

Join The Stampin' Up! Family
Choose From 3 Amazing Options
Click Below For More Details