Welcome to the Paper Pumpkin November Blog Hop as we showcase alternative project ideas using the From The North Pole Kit. Our talented Design Team members will inspire you to think outside the box and help you create your own wonderful alternative projects with this kit.

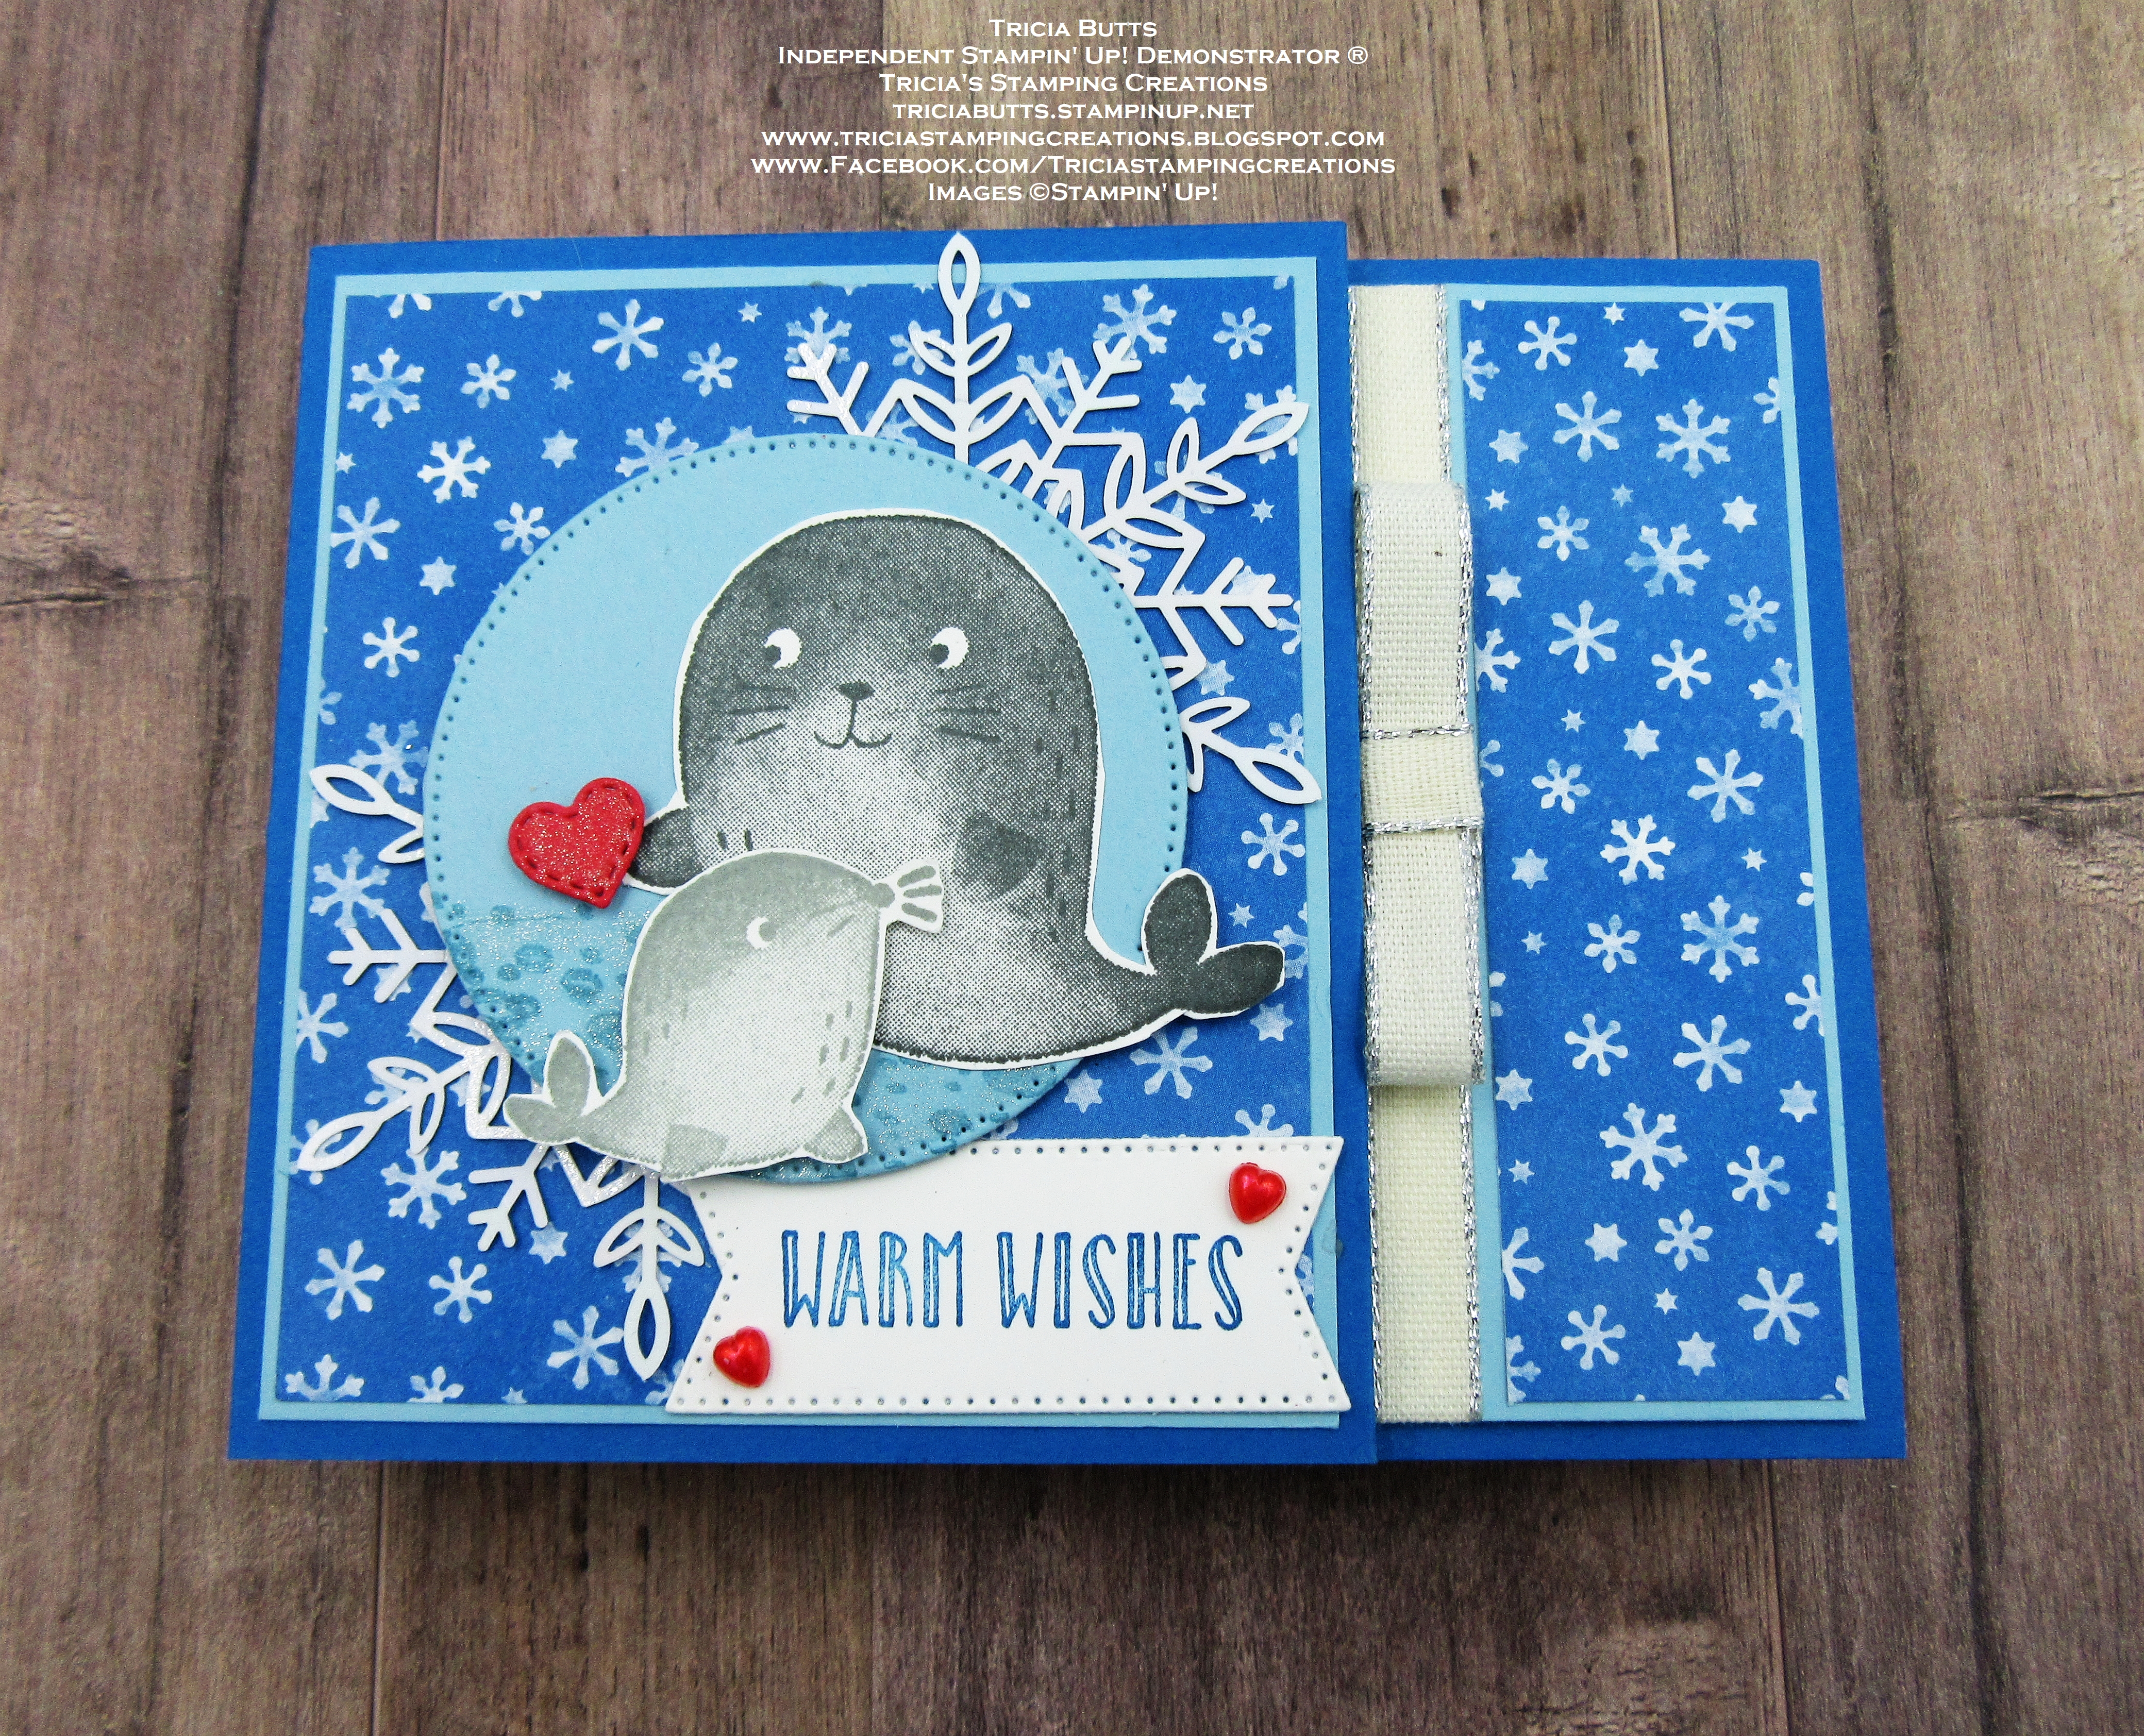
For my alternative card design, I chose to use supplies from the kit along with Sweet Sorbet and Basic White cardstock. You may notice that this card has No Stamping. Yes, you heard that right. I actually created a card with No Stamping. As strange as they may seem, I really love how this design turned out and the simplicity of this Christmas card. This card design shows how you can take the kit supplies to create a simply beautiful card quickly and simply. The bold color combination and sparkle of the snowflake help make a simply Wow Christmas card.

Products Used:
Paper Pumpkin December From The North Pole Kit
Sweet Sorbet Cardstock (item #159268)
Basic White Cardstock (item #159276)
Basic Rhinestone Jewels (item #144220)

Measurements:
Sweet Sorbet Cardstock
Card Base - 8 1/2" x 5 1/2" (Scored at 4 1/4")
Basic White Cardstock
Card Front - 5 1/4" x 4"
From The North Pole Kit
Sweet Sorbet & White Striped Tag
Mint Macaron Glimmer Snowflake
Preprinted Sentiment Label
Mint Macaron Baker's Twine


Thank you for taking the time to visit my blog. I hope that my card design will help inspire you to explore the many different ways you can create projects with the From The North Pole Kit. As of the writing of this post, there were still refill kits available for this kit in my Online Store. These kits are only available while supplies last to Paper Pumpkin Subscribers. Not a subscriber yet? Now is the perfect time to sign up to receive the December Good Things Come In Small Packages Kit as well as have access to past full and refill kits from past Paper Pumpkin kits. Just click the link in at the end of this post to subscribe.

Now it's time to visit Elizabeth's blog and see what she has created with this wonderful kit. Just click on the Next button below to visit her blog. We would appreciate it if you would leave us a comment and let us know what you liked about our projects. I hope you enjoy the rest of our blog hop.

If you live in
the U.S. and do not have a Stampin' Up! Demonstrator, please contact me and I
would be happy to help you with your creative projects. You may also visit my
Online Store to place your order and have it shipped to you.

Until Next
Time
Happy
Stamping,
Tricia Butts
Independent Stampin' Up! Demonstrator
Like What You
See? Visit My Online Store Here
Visit My Facebook Business Page for Updates & Ideas
Click here to Contact Me
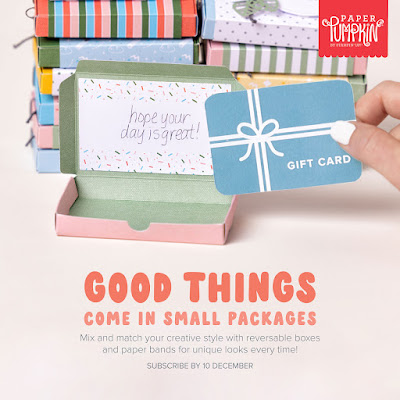
Create Gift Card Holders For All Occasions
With The December Paper Pumpkin Kit
Click Below To Subscribe By December 10th

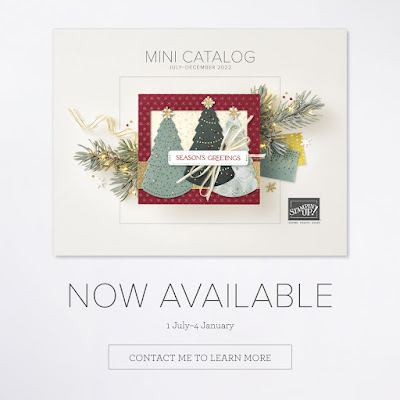
Save Up To 60% On Select Retiring Products
From The Last Chance July-December 2022 Mini Catalog List
Sale Starts December 1st