
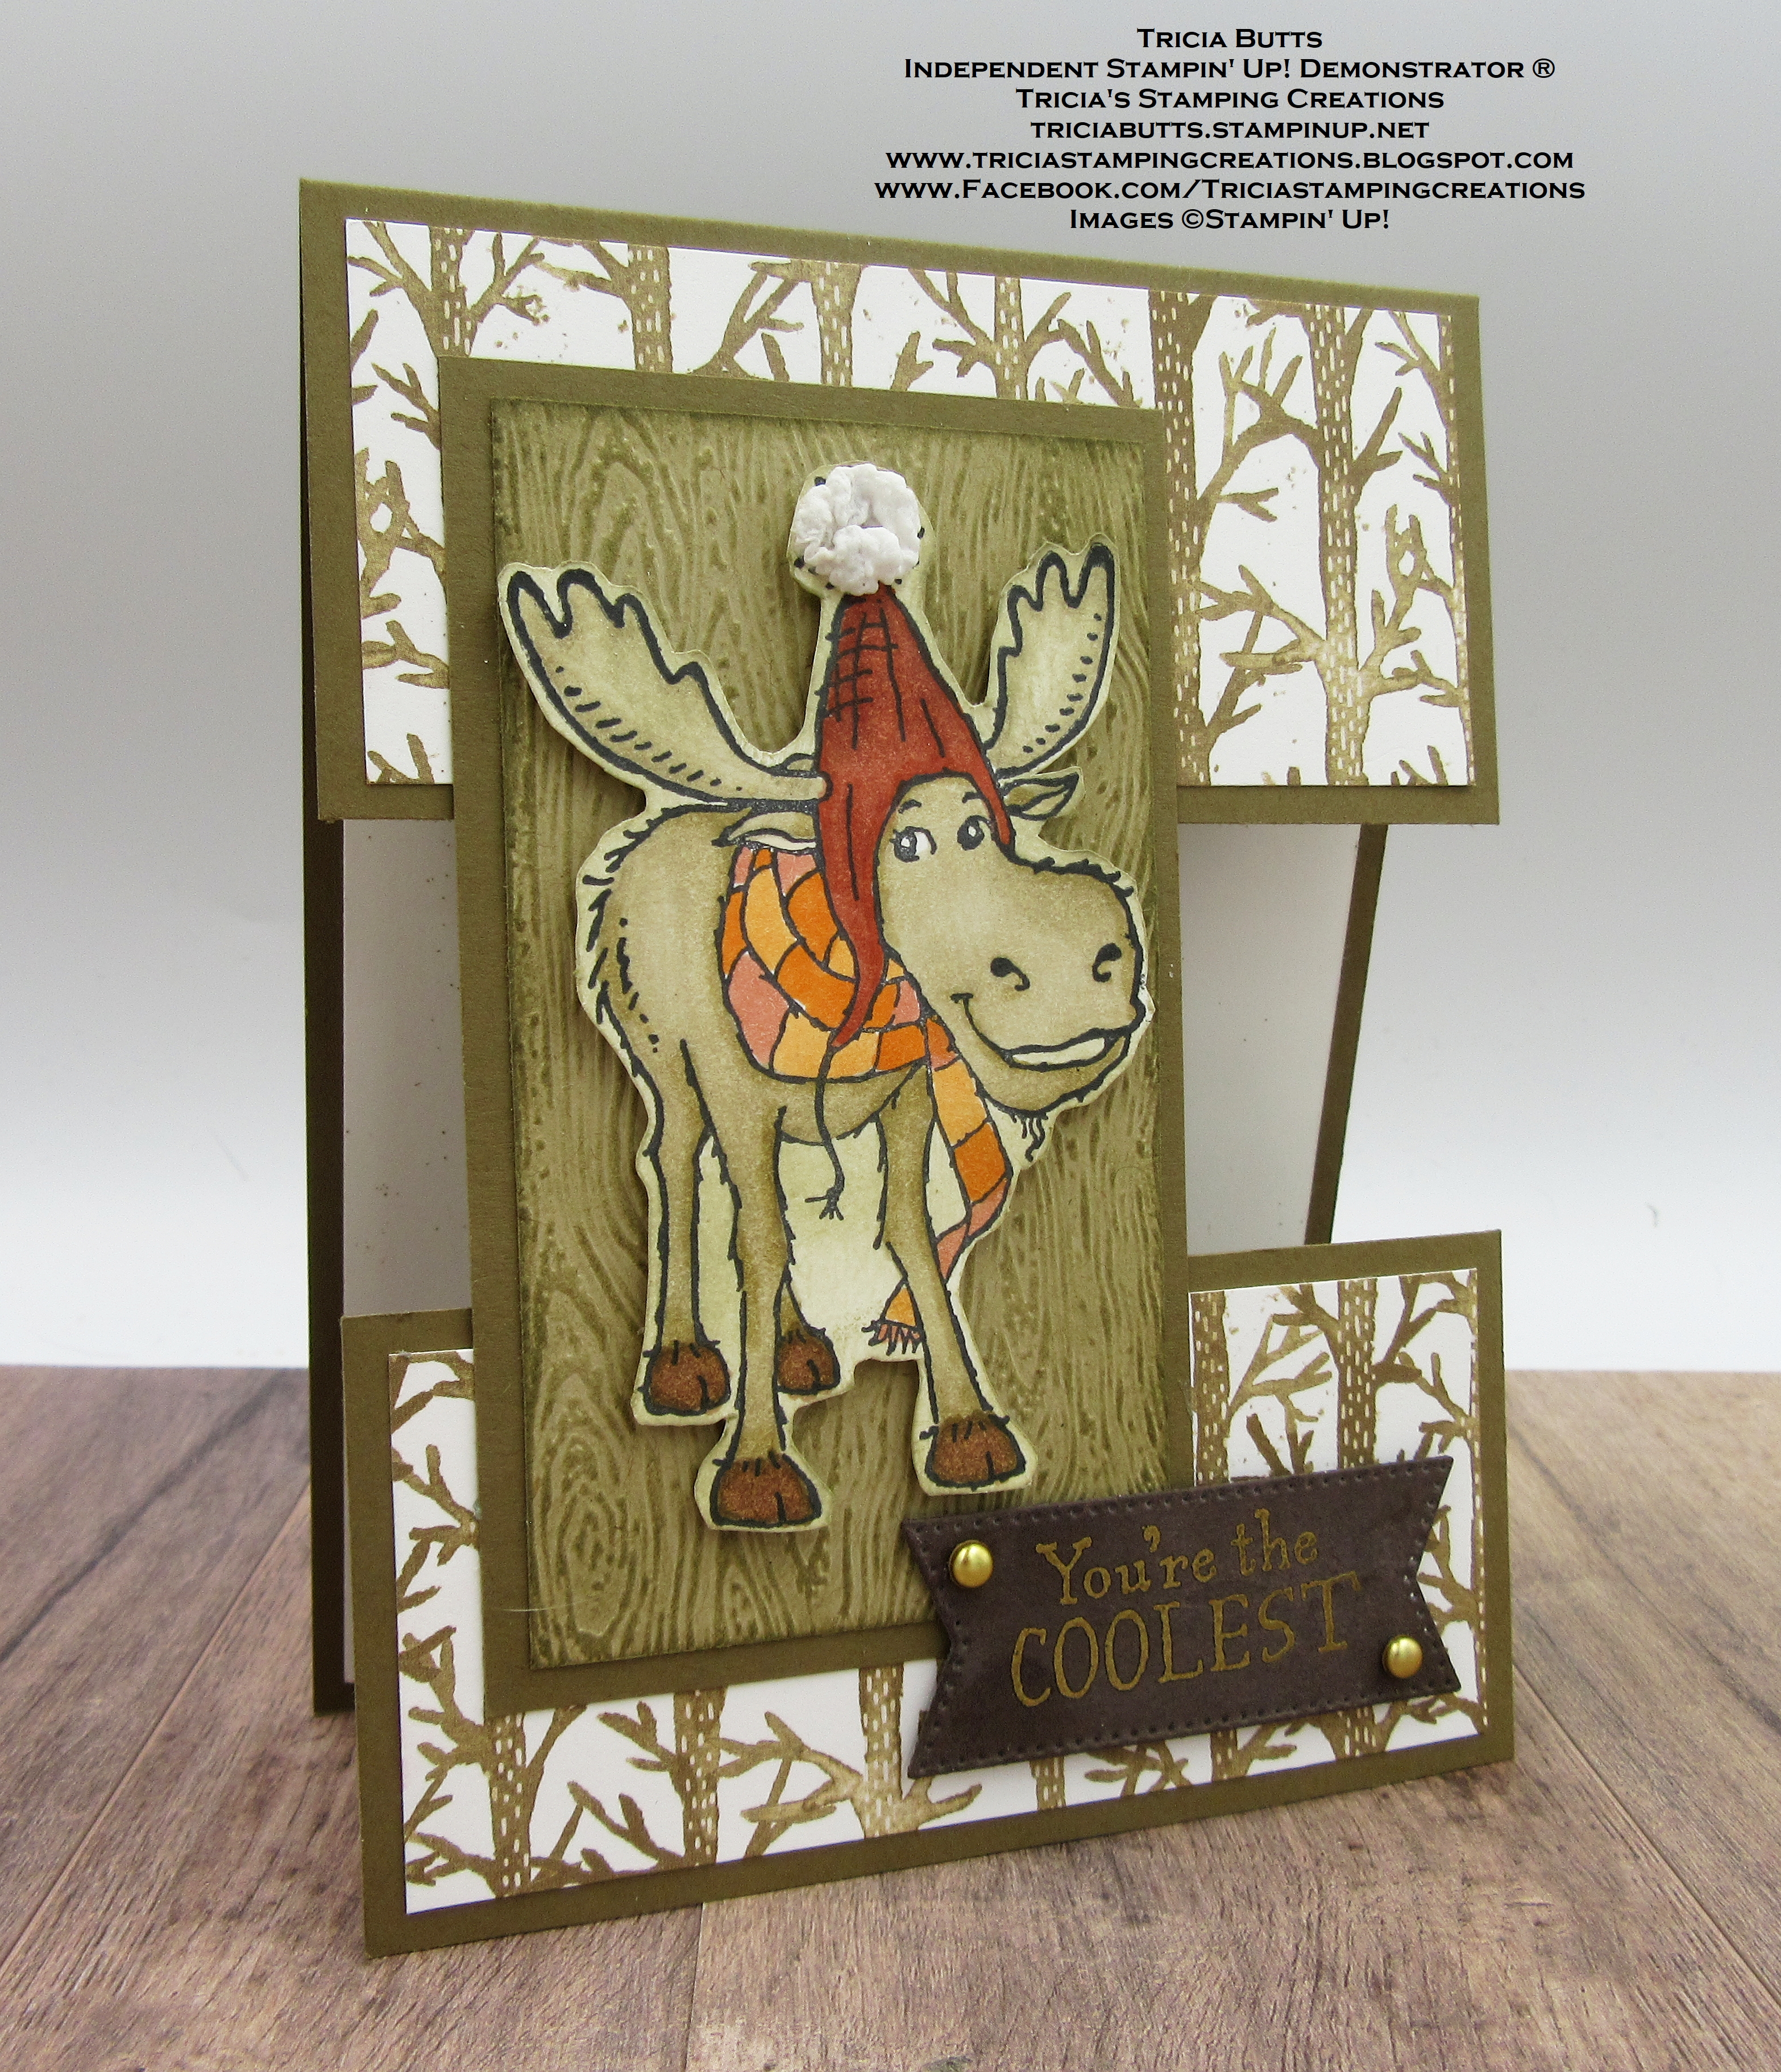
Welcome to the Paper Pumpkin Possibilities August Blog Hop as we showcase alternative projects created with the beautiful Sweet Sunflowers Kit. Our talented Design Team members will be sharing their projects and ideas to help you think outside of the box to create your own wonderful projects.


Paper Pumpkin September 2022 Sweet Sunflowers Kit
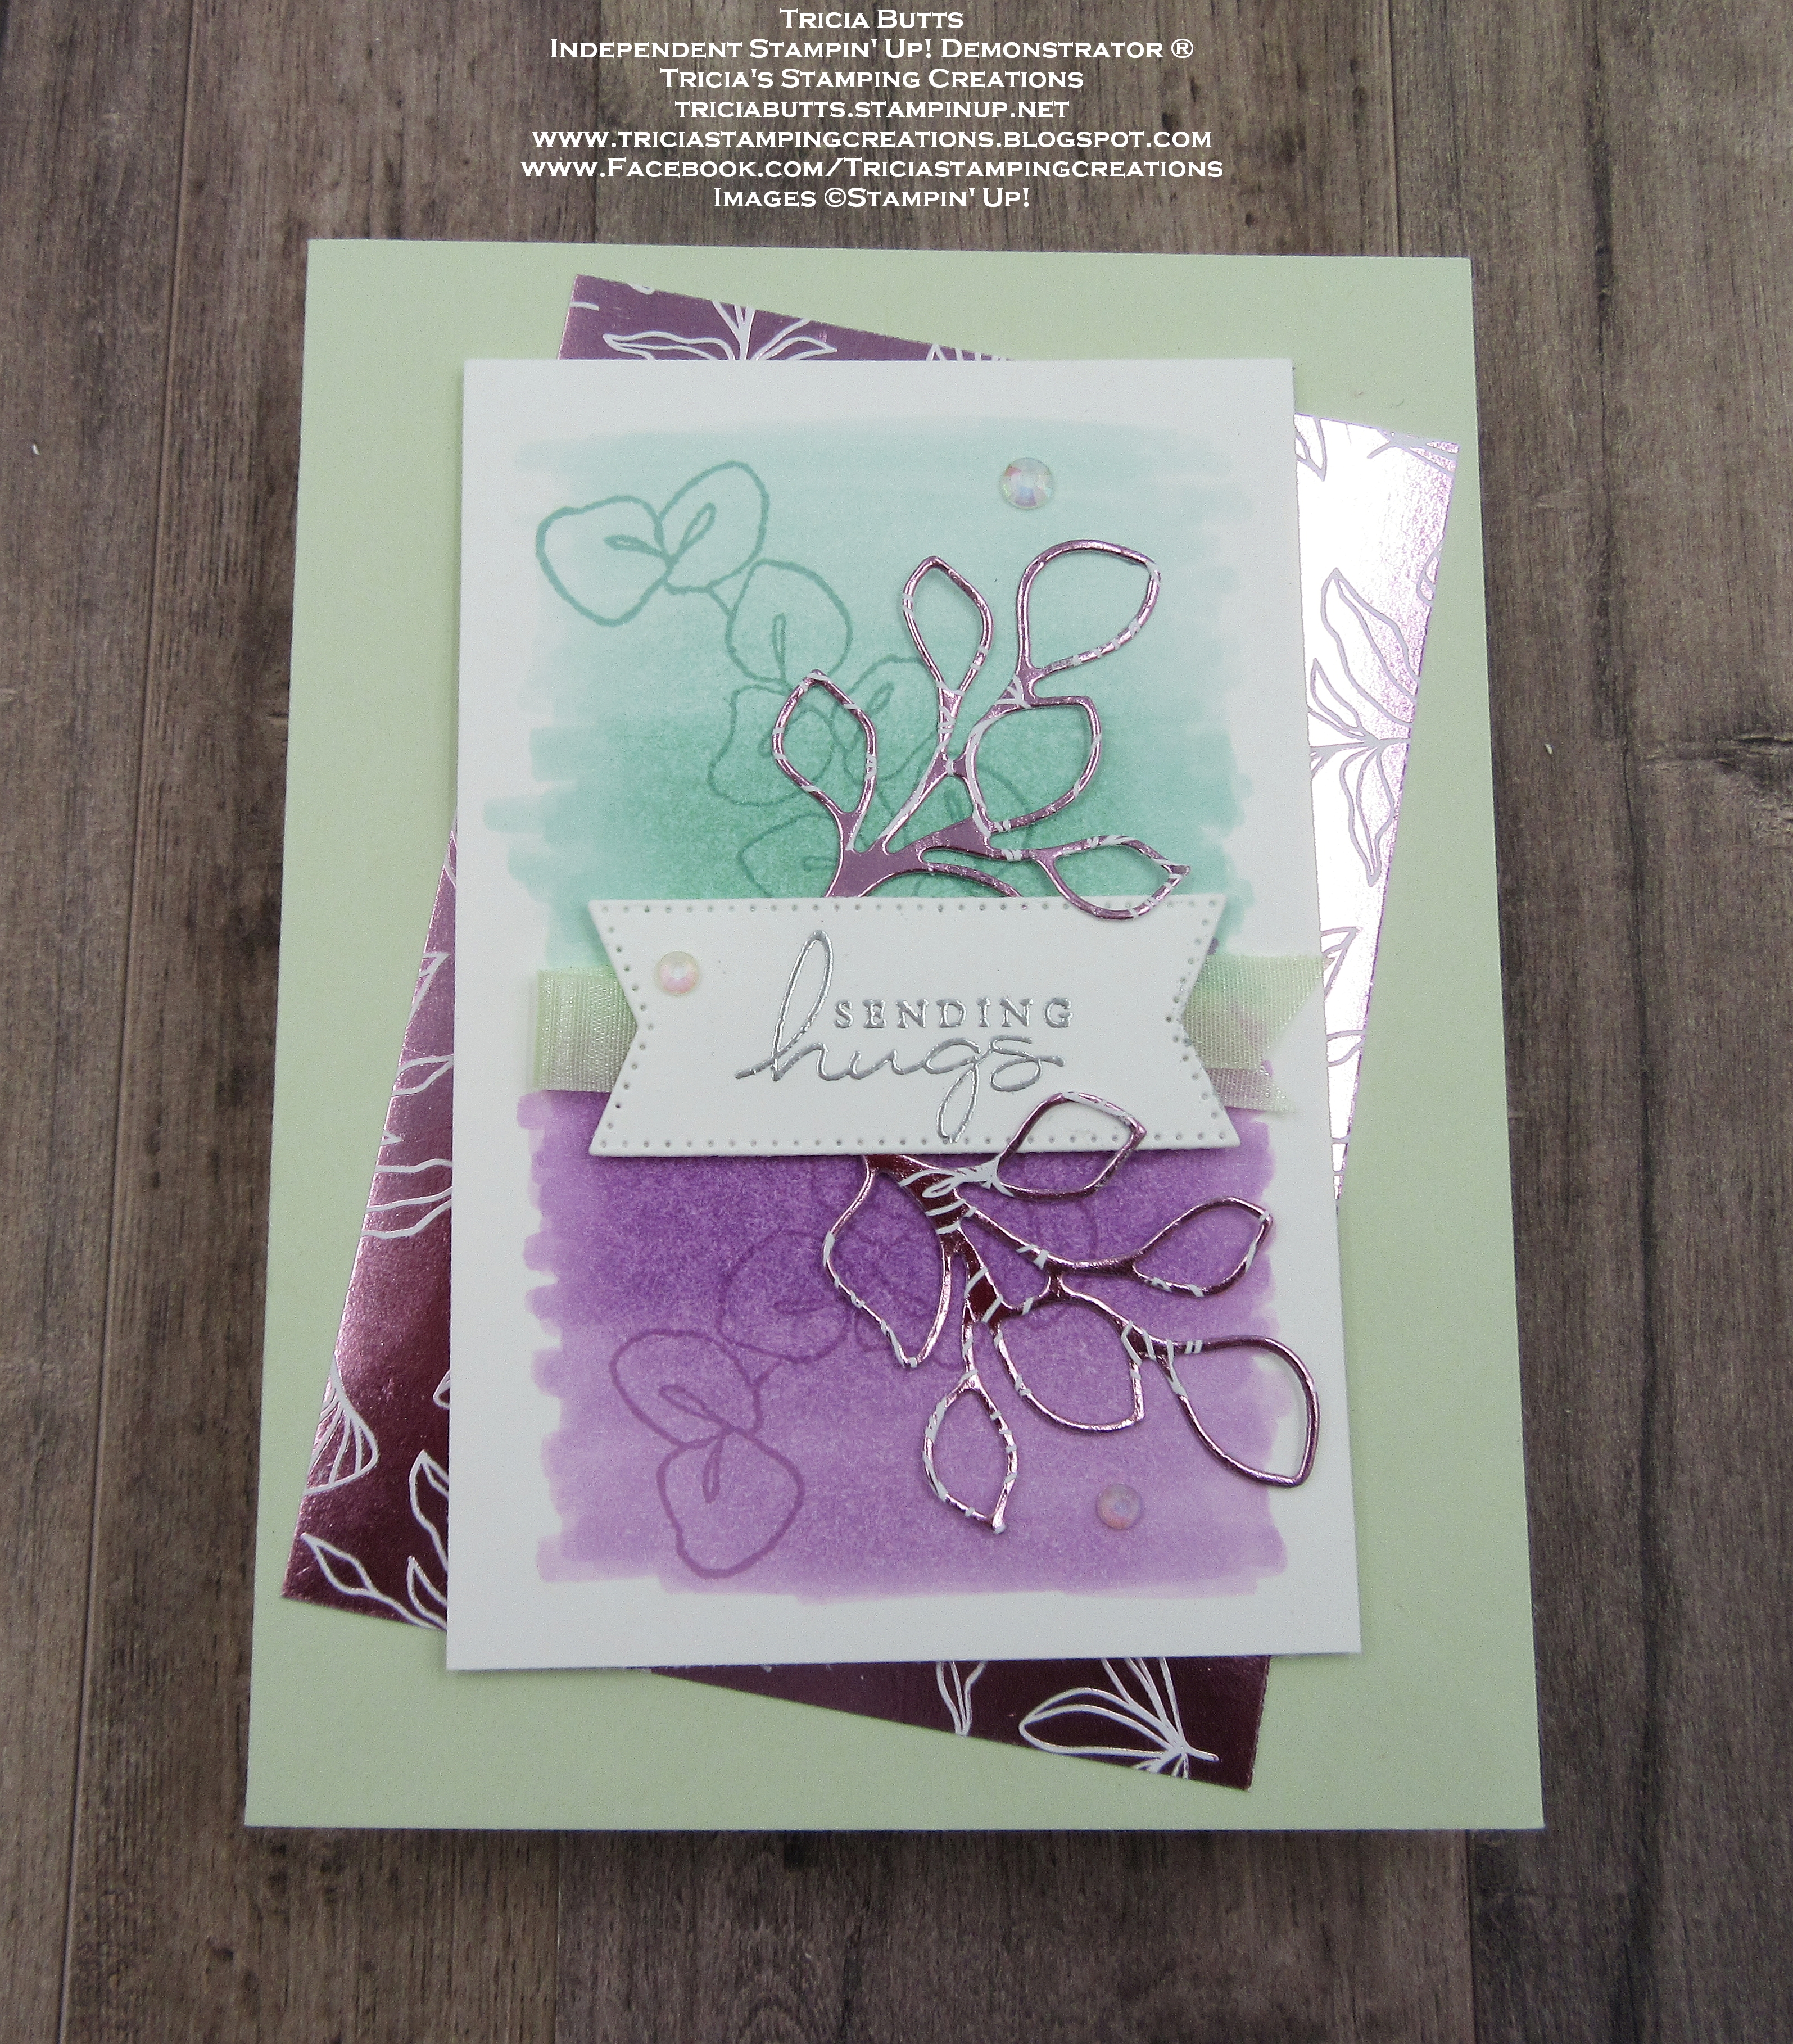
Tailor Made Tags Dies (item #155563)
Mossy Meadow Cardstock (item #133676)
Basic White Cardstock (item #159276)
Mossy Meadow Classic Ink Pad (item #147111)
Old Olive Classic Ink Pad (item #147090)
Versamark Pad (item #102283)
Metallics Embossing Powders (item #155555)
Simply Elegant Trim (item #155766)
Iridescent Rhinestones Basic Jewels (item #158130)

Mossy Meadow Cardstock
Card Base - 5 1/2" x 8 1/2" (Scored at 4 1/4")
Sentiment Label die cut with the Tailor Made Tags Dies
Basic White Cardstock
Card Front - 5 1/4" x 4"


Thank you for taking the time to visit my blog. I hope that my card design will help inspire you to create your own beautiful alternative projects with this kit. There are so many wonderful possibilities to explore.

Now it's time to visit Elizabeth's blog and see what she has created with this wonderful kit. Just click the Next button below to visit her blog. We would appreciate it if you would leave us a comment and let us know what you liked about our projects. I hope you enjoy the rest of our blog hop.

If you live in the U.S. and do not have a Stampin' Up! Demonstrator, please contact me and I would be happy to help you with your creative projects. You may also visit my Online Store to place your order and have it shipped to you. Remember to subscribe by September 10th to receive the amazing Spooky Treats Paper Pumpkin Kit. Click the link below to sign up.

Until Next
Time
Happy
Stamping,
Tricia Butts
Independent Stampin' Up!
Demonstrator
Like What You
See? Visit My Online Store Here
Visit My Facebook Business Page for Updates & Ideas
Click here to Contact Me
Create Boo-tiful Treats
With The September Paper Pumpkin Kit
Click Below To Subscribe By September 10th

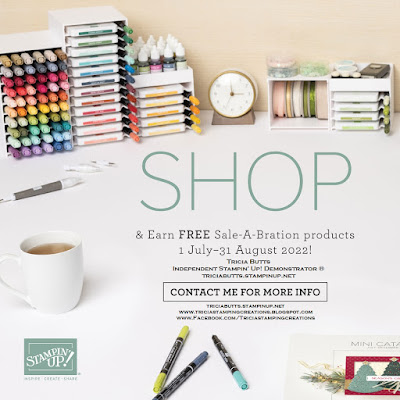
Sale-a-bration Ends August 31st
Last Days To Earn Free Products
Click Below For More Details

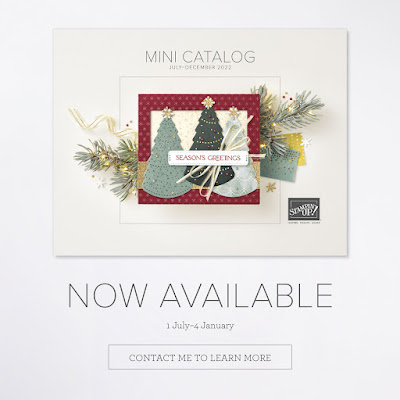
Get Creative For The Holidays
With The July-December 2022 Mini Catalog
Click Below To Visit My Online Store


