
Welcome to the Stamping With Friends Blog Hop as we start off the New Year with a fun technique. This month we have been challenged to create a project using the Emboss Resist technique and I can't wait to see what my fellow Design Team members have to share with us this month. This is one of my favorite techniques and I can't wait to share my project with you.

For my card design, I chose to use the new Watercolor World stamp from the new January-April 2023 Mini Catalog to create my background. My emboss resist has a twist to it, as I stamped the image first with ink and then heat embossed the image with Clear embossing powder to create the resist as I sponged on the ink for the oceans. I love how it turned out and it makes a great masculine card for a variety of occasions.

Products Used:
Watercolor World stamp set (item #160708)
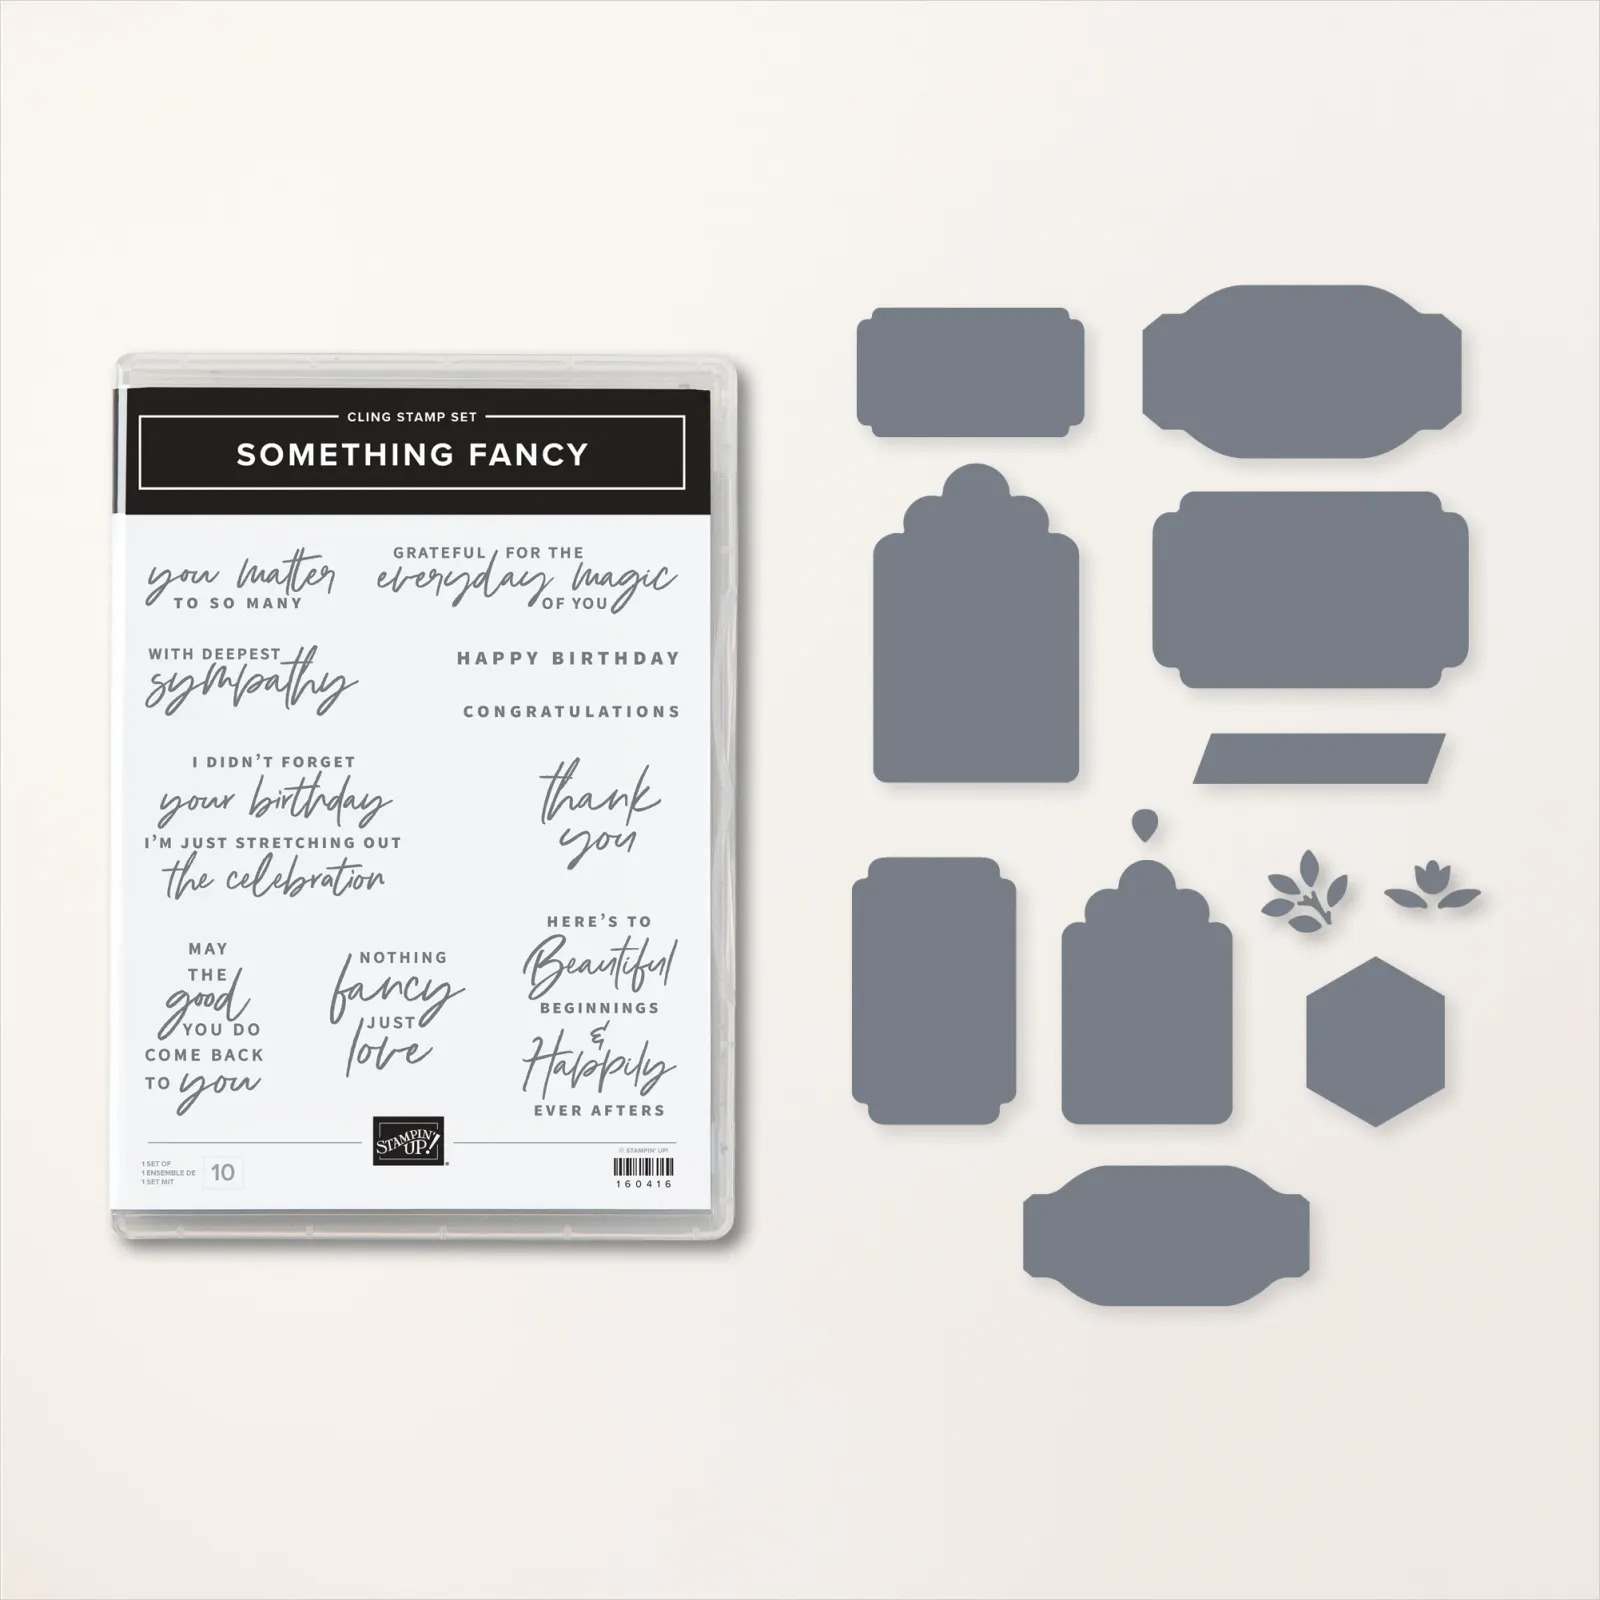
Something Fancy Bundle (item #160425)
Starry Sky Cardstock (item #159263)
Basic White Cardstock (item #159276)
Crumb Cake Classic Ink Pad (item #147116)
Old Olive Classic Ink Pad (item #147090)
Tahitian Tide Classic Ink Pad (item #159210)
Orchid Oasis Classic Ink Pad (item #159214)
Versamark Pad (item #102283)
Basics Embossing Powders (item #155554)
Metallics Embossing Powders (item #155555)
Rustic Metallic Adhesive Backed Dots (item #159082)
Stamparatus (item #146276)
Sponge Daubers (item #133773)
Blending Brushes (item #153611)
Mini Stampin' Dimensionals (item #144108)

Measurements:
Starry Sky Cardstock
Card Base - 8 1/2" x 5 1/2" (Scored at 4 1/4")
Sentiment Label die cut with the Something Fancy Dies
Basic White Cardstock
Card Front - 5 1/4" x 4"

Thank you for taking the time to visit my blog. I hope that my card design will help inspire you to give this fun technique a try and create your own beautiful projects. There are so many wonderful possibilities to explore.

Please take the time to visit with my fellow Design Team members and share some love by leaving them a comment, letting them know what you love about their projects. Just click on the links in the Roll Call List to visit their blogs. I hope you enjoy the rest of our blog hop.

If you live in
the U.S. and do not have a Stampin' Up! Demonstrator, please contact me and I
would be happy to help you with your creative projects. You may also visit my
Online Store to place your order and have it shipped to you.

Until Next
Time
Happy
Stamping,
Tricia Butts
Independent Stampin' Up!
Demonstrator
Like What You
See? Visit My Online Store Here
Visit My Facebook Business Page for Updates & Ideas
Click here to Contact Me
Celebrate The New Year
With The January-April 2023 Mini Catalog
Click Below To Visit My Online Store

Earn Free Exclusive Products
During Sale-a-bration 2023
Click Below For More Details

Join The Stampin' Up Family
Choose From 3 Amazing Options
Click Below For More Details

Lovely card Tricia, I love this stamp set x
ReplyDeleteThank you Mo. It's a great stamp set. Can't wait to play with it more.
DeleteOh my gosh! Love the colours! This stamp set is amazing!
ReplyDeleteGreat idea to use color and clear. I may have to try this.
ReplyDeleteThe colors on this card are WOW! Great card!
ReplyDeleteOh, what a great idea. Color the image and then emboss with clear! Brilliant. Going to have to put this into my list of things to try. This is a beautiful card.
ReplyDeleteFabulous Card Tricia x
ReplyDelete