Can you believe it is December already? I can't believe how fast the year has gone by. Today I am hopping with the We Create December Blog Hop as we celebrate "Tis The Season". There is still time to create your own holiday projects to share with family and friends. Our Design Team members will be sharing their projects and ideas to help inspire you and spark your creativity.
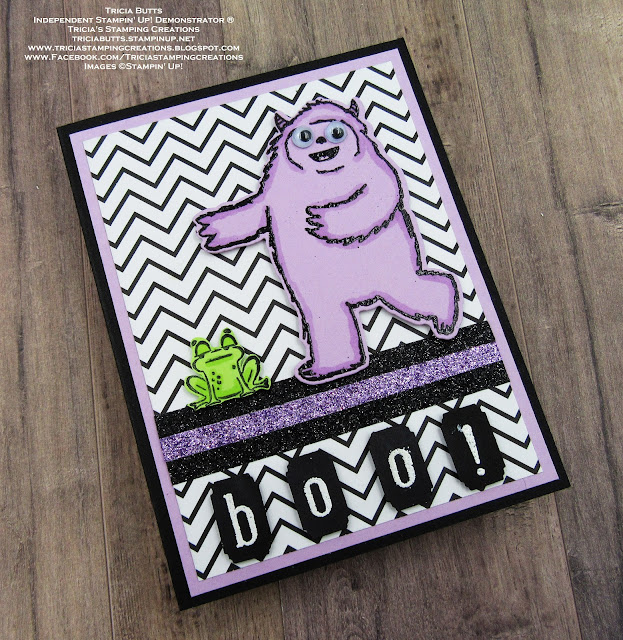
For my card design today, I decided to create a fun Christmas card with the retiring Yeti To Party stamp set. I just love this cute little monster and all the wonderful accessories in this stamp set. I am also excited that the coordinating Yeti Dies are back and on the Clearance Rack at a great savings. For this card design, I chose non-traditional Christmas colors to add to the whimsy of the design.
Products Used:
Yeti To Party stamp set (item #159826) - Last Chance List
Yeti Dies (item #160253) - Clearance Rack
Tailor Made Tags Dies (item #155563)
Majestic Mountains Dies (item #151608)
Whimsical Woodlands 3D Embossing Folder - Last Chance List
Orchid Oasis Cardstock (item #159267)
Fresh Freesia Cardstock (item #155613)
Shaded Spruce Cardstock (item #146981)
Basic White Cardstock (item #159276)
2021-2023 In Color 6"x6" Designer Series Paper (item #159254)
Orchid Oasis Classic Ink Pad (item #159214)
Fresh Freesia Classic Ink Pad (item #155611)
Memento Tuxedo Black Pad (item #132708)
Fresh Freesia Stampin' Blends Combo Pack (item #155518)
White 1/4" Crinkled Seam Binding Ribbon (item #151326)
Clear Wink of Stella Glitter Brush (item #141897)
Iridescent Rhinestone Basic Jewels (item #158130)
Stampin' Dimensionals (item #104430)
Measurements:
Fresh Freesia Cardstock
Card Base - 8 1/2" x 5 1/2" (Scored at 4 1/4")
Sentiment Tag die cut with the Tailor Made Tags Dies
Orchid Oasis Cardstock
Card Front - 5 1/4" x 4" Embossed with the Whimsical Woodlands 3D Embossing Folder
1 Circle Hole Reinforcement die cut with the Tailor Made Tags Dies
Basic White Cardstock
Yeti image stamped and die cut with the Yeti Dies
Mountains Layer die cut with the Majestic Mountains Dies
Shaded Spruce Cardstock
Detailed Tree die cut with the Majestic Mountains Dies
2021-2023 In Color Designer Series Paper
2 Large presents (Polished Pink Polka Dot)
2 Large presents (Fresh Freesia Stripe)
2 Small presents (Soft Succulent)
This cute card design has wonderful layers and textures to help create the feel of a Winter Wonderland. My sweet Yeti friend was stamped with Orchid Oasis Classic ink onto Basic White cardstock and I die cut it out with the Yeti Dies, including the slit at the top of the arm to slide in the present. I colored the Yeti's face and horns as well as the outline with the Light Fresh Freesia Stampin' Blends Marker to add some color. The background layer has been embossed with the Whimsical Woodlands 3D Embossing Folder to add texture and I colored the trees with the Clear Wink of Stella Glitter Brush for a touch of shimmer. To create the snow under the Yeti's feet, I die cut the mountains from Basic White cardstock using the Majestic Mountains Dies and gently colored the bottom edge with Fresh Freesia Classic ink with a Sponge Dauber. I adhered the mountain layer upside down so that the flat edge faces to create the ground. I trimmed the excess edges using Paper Snips. For the tree, I die cut one of the detailed trees using the Majestic Mountains Dies from Shaded Spruce cardstock and attached it to the left side of the card. The sentiment tag was die cut with the Tailor Made Tags Dies from Fresh Freesia cardstock and I stamped the sentiment with Orchid Oasis Classic ink. I added one of the circle reinforcements around the hole and tied a bow with the White Crinkled Seam Binding Ribbon. The presents have been stamped and die cut using scraps of the designer series paper and I added one to the outstretched hand of the Yeti and one under the arm. I attached the Yeti with Stampin' Dimensionals to the right side of the card front. The remaining presents have been added under the tree, with the smallest present added using a Stampin' Dimensional. The tree has been decorated with Iridescent Rhinestone Basic Jewels for a touch of sparkle. I love the feel of this card design and the idea of the Yeti decorating a tree in the forest and leaving presents for his friends for Christmas.
Thank you for taking the time to visit my blog. I hope that my card design will help inspire you to create your own beautiful holiday projects. Don't forget to check out the retiring products from the July-December 2022 Mini Catalog and save up to 60% on select products on the Last Chance List. These products are available only while supplies last.
Now it's time to visit Cheryl's blog and see what she has created to share with us. Just click the Next button below to visit her blog. We would love it if you would leave us a comment and let us know what you enjoyed about our projects.
If you live in
the U.S. and do not have a Stampin' Up! Demonstrator, please contact me and I
would be happy to help you with your creative projects. You may also visit my
Online Store to place your order and have it shipped to you.
Until Next
Time
Happy
Stamping,
Tricia Butts
Independent Stampin' Up! Demonstrator
Like What You
See? Visit My Online Store Here
Visit My Facebook Business Page for Updates & Ideas
Click here to Contact Me
Save Up To 60% On Select Products
From The Retiring July-December 2022 Mini Catalog
Click Below To Shop From The Last Chance List
From The Retiring July-December 2022 Mini Catalog
Click Below To Shop From The Last Chance List
The Clearance Rack Has Been Refreshed
Save Up To 60% On Discontined Products
Available Only While Supplies Last
Click Below To Shop From My Online Store


