Showing posts with label Merry Moose stamp set. Show all posts

Saturday, September 12, 2020

Ink. Stamp. Share. September Special Blog Hop Stampers Choice

It's time to hop along with the Ink. Stamp. Share. September Special Blog Hop as we share the projects we are currently working on. You will be visiting with talented Stampin' Up! Demonstrators from around the world as they share their amazing projects and ideas to inspire you. 
 With the cooler weather here in Colorado, I have been in the mood to create Christmas cards. My card design features the returning favorite, Merry Moose Bundle (item #153015) paired with the new Evergreen Forest 3D Embossing Folder (item #153576) from the August-December 2020 Mini Catalog. I love the detail of this new embossing folder and it adds wonderful texture to the background of this design. 
 Products Used:
Merry Moose Bundle (item #153015)
Evergreen Forest 3D Embossing Folder (item #153576)
Stitched So Sweetly Dies (item #151690)
3/16" Braided Linen Trim (item #147808)
Stampin' Blends Markers
Clear Wink of Stella Glitter Brush (item #141897)
Measurements:
Early Espresso cardstock card base - 8 1/2" x 5 1/2" 
(scored at 4 1/4")
Pear Pizzazz cardstock Layer 1 - 5 1/4" x 4"
Shaded Spruce cardstock Layer 2 - 5" x 3 3/4" 
(embossed with the Evergreen Forest 3D Embossing Folder)
Very Vanilla cardstock - label die cut and for stamped images
Early Espresso cardstock - large label die cut
Braided Linen Trim - Approx. 6"
This card design is simple to create with lots of layers and texture to create interest. The Shaded Spruce cardstock layer was embossed with the Evergreen Forest 3D Embossing Folder and I added Clear Wink of Stella to the raised trees for a touch of sparkle to help them stand out. The labels were die cut with the dies from the Stitched So Sweetly Dies and the sentiment from the Merry Moose stamp set was heat embossed onto the Very Vanilla cardstock layer to step up the design. The moose and raccoon images were stamped with Early Espresso Classic ink onto Very Vanilla cardstock and I colored them both with Stampin' Blends Markers. I punched out the moose image with the Moose punch and fussy cut the raccoon image. I added the Braided Trim around the center of the Shaded Spruce cardstock layer and added the sentiment labels over the center with Stampin' Dimensionals. I added the moose and raccoon images to the labels with Stampin' Seal Adhesive and Mini Stampin' Dimensionals to attach the legs and log to the card front. This design would be perfect for a masculine Christmas card or other occasion just by changing the sentiment. 
Thank you for taking the time to visit my blog today. I hope that my card design will help inspire you to explore creating your own Christmas cards for friends and family with the wonderful products in the August-December 2020 Mini Catalog. 

Now it's time to visit Libby's blog and see what project ideas she has been working on. Just click the Next button below to visit her blog or use the Roll Call List below to find your way. We would love it if you would leave us a comment and let us know what you enjoyed about our projects. I hope you enjoy the rest of our blog hop. 
 Libby

Roll Call

If you live in the U.S. and do not already have a Stampin' Up! Demonstrator, please contact me and I would be happy to help you with your creative projects. You may also visit my Online Store to place your order and have it shipped directly to you.
Until Next Time
Happy Stamping,
Tricia Butts
Independent Stampin' Up! Demonstrator
Like What You See? Visit My Online Store Here
Visit My Facebook Business Page for Updates & Ideas
Click here to Contact Me

The New Stampin' Cut & Emboss Machine
Is Now Available!
Click Below To Order
 Click Here To Order

Join My Team
Enjoy The Wonderful Benefits
As A Stampin' Up! Demonstrator
Click Below For More Details
 Click Here For Details

The New August-December 2020 Mini Catalog
Is Now Available
Click Below To Visit My Online Store
 Click Here To Visit My Online Store


Tuesday, August 20, 2019

What's New at SU Blog Hop 2019 Holiday Catalog

Welcome to the What's New At SU Blog Hop as we showcase the amazing new products in the 2019 Holiday Catalog. You will be visiting with Stampin' Up! demonstrators as they share their projects to help inspire you ready for the holidays. We hope you will enjoy our creations this month.
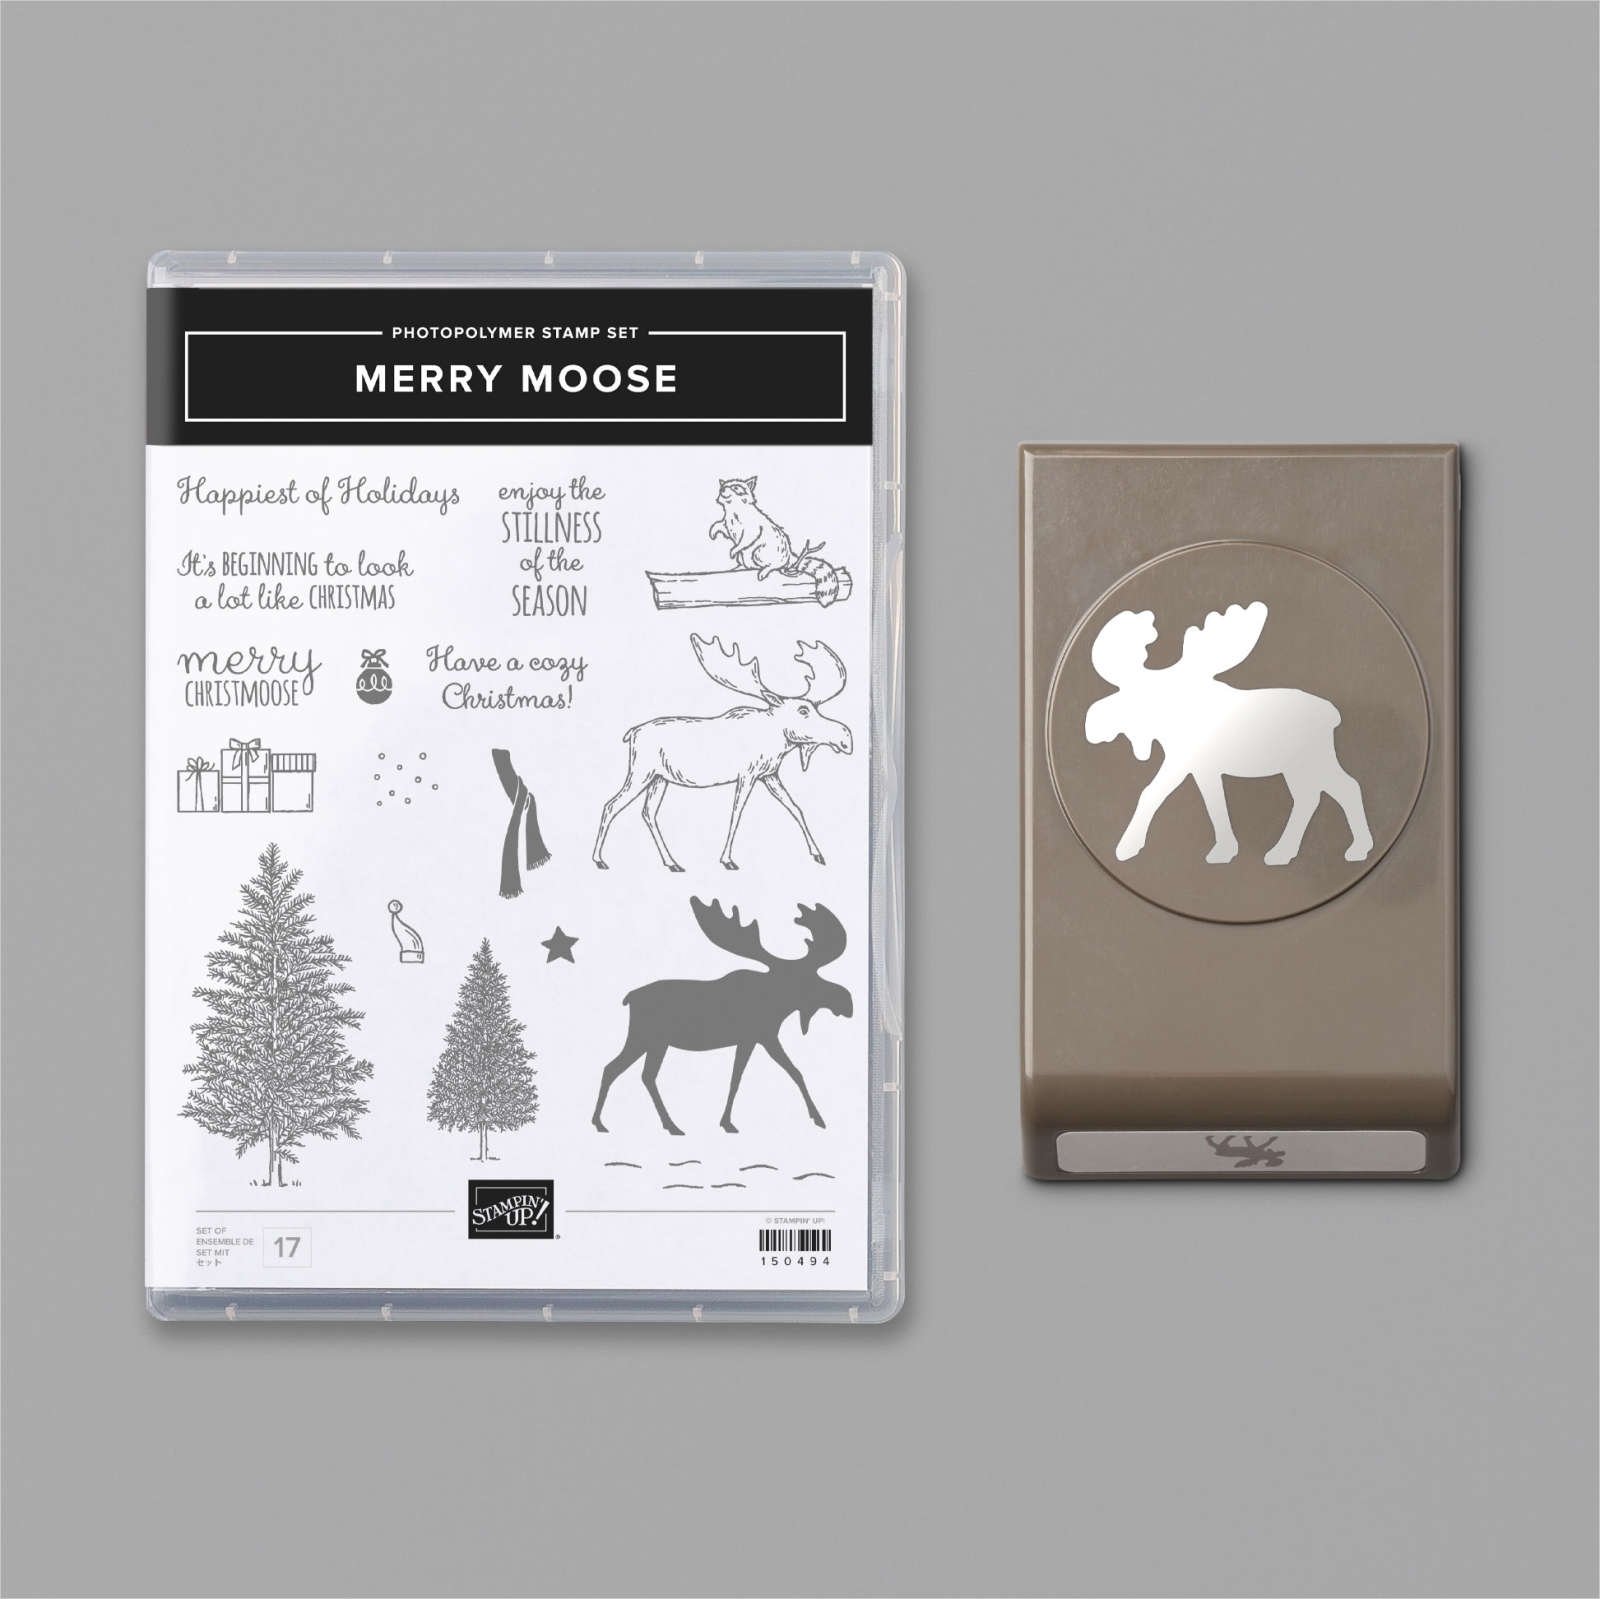
 Today I am showcasing the new Merry Moose Bundle (item #153015) which features the Merry Moose Photopolymer stamp set (item #150494) and coordinating Moose Punch (item #150652). When you order both of these products as a bundle, you save 10%. I paired this bundle with the Woodland Embossing Folder (item #139673) to create the textured background and the Rooted in Nature Cling stamp set (item #148217) and coordinating Nature's Roots Dies (item #146341) to create the scenery.
 To create this card I started with one of my favorite new In Colors, Pretty Peacock, for the card base and I added a layer of Night of Navy cardstock to create a matte for the embossed Sahara Sand cardstock layer. I inked up the Woodland Embossing Folder with Soft Suede Classic ink and embossed it using the Big Shot to create the background. I love that the ink is transferred onto the raised trees to give them more definition. I added a strip of Pretty Peacock designer series paper from the 2019-2021 In Color 6"x6" Designer Series Paper pack (item #149617) and I used the Banner Triple Punch (item #138292) to create the banner end. I adhered this to the embossed layer with Snail Adhesive. 
To create the focal image, I stamped the moose image from the Merry Moose stamp set with Early Espresso Classic ink onto a piece of Soft Suede cardstock and punched it out using the Moose Punch. I die cut a Night of Navy circle using the large circle die from the Stitched Shapes Dies (item #145372). I also die cut a Whisper White circle using the same circle die and then used one of the dies from the In The Woods Die set (item #147919) to create the snow landscape for the background. I attached this Whisper White piece to the bottom of the Night of Navy cardstock circle with Snail Adhesive. 
 The trees in the background were created using images from the Rooted In Nature stamp set (item #148217) stamped with Old Olive Classic ink onto Old Olive cardstock. I then die cut them using the coordinating dies from the Nature's Roots Die set (item #146341) and attached them to the focal circle along the snow horizon. Using Mini Stampin' Dimensionals, I attached the moose to the circle towards the bottom. I attached the circle to the card front with Stampin' Dimensionals on top of the designer series paper banner. 

To add the look of snow, I used the new Snowfall Accents Puff Paint (item #150691) from the new 2019 Holiday Catalog, to the snow background and the trees. This new puff paint is amazing and a little goes a long way. You just apply it with the tip where you want to have snow and then gently heat it with your Heat Tool and watch it puff up to look like snow. 
 The final step is the sentiment and I stamped the image using Night of Navy Classic ink onto a scrap of Sahara Sand cardstock and die cut it using the Stitched Nested Labels Dies (item #149638) and sponged it with Soft Suede ink with a Sponge Dauber to distress it. Then I created the matte with a larger die from Night of Navy cardstock and layered them using Snail Adhesive. I attached it towards the bottom of card, centering it below the focal image, using Stampin' Dimensionals. To finish it off, I added a little of the Snowfall Accents Puff Paint along the top and bottom of the Sahara Sand label and heat set it create the look of snow.  
Thank you for taking the time to visit my blog today. I hope that my card design helps inspire you to see how you can create amazing projects combining exciting new products from the new 2019 Holiday Catalog with the wonderful products available in the 2019-2020 Annual Catalog. If you live in the U.S. and do not already have a demonstrator, please contact me and I would be happy to help you. 

Now it's time to visit Sharon's blog and see what she has created this month. Just click the Next button below to visit her blog or click the Previous button to visit Pia's blog or use the Blog Hop List to find your way. I hope you enjoy our blog hop journey.

Blog Hop List

Until Next Time
Happy Stamping,


Tricia Butts
Independent Stampin' Up! Demonstrator
Like What You See? Visit My Online Store Here
Visit My Facebook Business Page for Updates & Ideas

Click here to Contact Me 


Don't want to wait for the 2019 Holiday Catalog?
Sign Up to Join My Team - Just $99 for your Starter Kit 

& Choose $155 in Product
Including products from the 2019 Holiday Catalog 
Plus Get a $10 Coupon for the Following Month
More Sneak Peek Projects Coming Soon 
From the 2019 Holiday Catalog