Showing posts with label Evergreen Forest 3D Embossing Folder. Show all posts

Wednesday, October 20, 2021

New At SU October Blog Hop Masculine Cards

Welcome to the New At SU October Blog Hop as we showcase Masculine cards to help you get creative for the guys in your life. Creating masculine cards can be very challenging and I you will have the opportunity to visit with talented Stampin' Up! Demonstrators as they share their ideas and projects to help inspire you.
For my card today, I decided to add a twist to my design. I chose to use the Evergreen Elegance stamp set from the 2021-2022 Annual Catalog, which is a beautiful Christmas stamp set. I paired it with the Watercolor Shapes stamp set and the sentiment is from the Enjoy The Moment stamp set. At first glance, this probably is not a combination you would think of for a masculine card design, but with a little experimenting, I came up with a wonderful masculine birthday card that is fun to create.
Products Used:
Evergreen Elegance stamp set (item #153313)
Watercolor Shapes stamp set (item #156968)
Enjoy The Moment stamp set (item #154452)
Evergreen Forest 3D Embossing Folder (item #153576)
Stitched So Sweetly Dies (item #151690)
Soft Suede Cardstock (item #115318)
Shaded Spruce Cardstock (item #146981)
Basic White Cardstock (item #159276)
Shaded Spruce Classic Ink Pad (item #147088)
Balmy Blue Classic Ink Pad (item #147105)
Versamark Pad (item #102283)
Metallics Embossing Powders (item #155555)
Baker's Twine Essentials Pack (item #155475)
Mini Stampin' Dimensionals (item #144108)
Measurements:
Soft Suede Cardstock
Card Base - 8 1/2" x 5 1/2" (Scored at 4 1/4")
Matte Layer - 3 1/2" x 2 1/4"
Sentiment Label die cut with the Stitched So Sweetly Dies
Shaded Spruce Cardstock 
Background Layer - 5 1/4" x 4" Embossed with the Evergreen Forest 3D Embossing Folder
Basic White Cardstock
Focal layer - 2"x 3 1/4"
This card design is all about texture and layers. I created the focal image using just two ink colors and stamped off the images to create different colors and layers to the design. For the background, I stamped off the Balmy Blue Classic ink once and then stamped it onto the Basic White cardstock layer in the center. To create the layers of trees, I stamped the first large tree with Shaded Spruce Classic ink on the left side of the layer and then again on the right side without reinking. For the center tree, I used the medium size tree image and stamped it off once before stamping it onto the Basic White cardstock layer. This gives the illusion of a forest with simple stamping. I attached the layer to the Soft Suede cardstock matte layer and wrapped a piece of the Crumb Cake Baker's Twine twice around the layer and tied it in a knot on the left side. For the background layer of the card, I embossed it with the Evergreen Forest 3D Embossing Folder to add texture to the layer that coordinates with the focal design. I attached it to the card base and then attached the focal image with Mini Stampin' Dimensionals to the upper left side of the card front. To complete the design, I heat embossed the sentiment from the Enjoy The Moment stamp set with Gold embossing powder onto the sentiment label I die cut with one of the Stitched So Sweetly Dies. I attached the sentiment label to the bottom right corner of the card front with Mini Stampin' Dimensionals. I love this color combination and how the design has a wonderful rustic, nature theme to it. 
Thank you for taking the time to visit my blog. I hope that my card design will help inspire you to look at this beautiful Christmas stamp set and see how versatile it is for other occasions. I feel that the amazing tree images in this stamp set make it a winner for masculine card designs. Note that for today only, the Evergreen Elegance stamp and the Enjoy the Moment stamp set are part of the 24 Hour Stamp Sale, where you can save 15% when you order before 11:50pm Mountain Time, October 20th. I think you will find that these stamp sets would make a great addition to your collection.

Now it's time to visit Ginger's beautiful blog and see what she has created to inspire you. Just click the Next button below to visit her blog or use the Roll Call List to find your way. We would appreciate it if you would leave us a comment and let us know what you liked about our projects. I hope you enjoy the rest of our blog hop. 

If you live in the U.S. and do not have a Stampin' Up! Demonstrator, please contact me and I would be happy to help you with your creative projects. You may also visit my Online Store to place your order and have it shipped to you. 

Until Next Time

Happy Stamping,

Tricia Butts
Independent Stampin' Up! Demonstrator

Like What You See? Visit My Online Store Here

Visit My Facebook Business Page for Updates & Ideas

Click here to Contact Me


Make Your Holiday Treats Special
With The November Gifts Galore Paper Pumpkin Kit
Click Below To Subscribe By November 10th

Celebrate The Holidays
With The July-December 2021 Mini Catalog
Click Below To Visit My Online Store


Tuesday, October 12, 2021

ICS October Blog Hop My Favorite Punch

Welcome to the Inspire. Create. Share. October Blog Hop as we showcase our favorite Stampin' Up! Punches. You will be visiting with talented Stampin' Up! Demonstrators as they share their ideas and projects to help inspire you use punches to create your own wonderful projects.
Stampin' Up! has so many wonderful punches, so it was difficult for me to pick out a favorite. For my design I decided to use two different punches to create this card. The Evergreen Border Punch is part of the Evergreen Elegance Bundle in the 2021-2022 Annual Catalog, which is traditionally a Christmas bundle, but I decided to show how it can be used to create a masculine birthday card. I paired it with the Label Me Fancy Punch for the sentiment and I chose to use Evening Evergreen, Just Jade and Pool Party with a touch of Basic White for my color combination. I love the cool, crisp design of this card and how it reminds me of a Winter scene here in Colorado. 
Products Used:
Handsomely Suited stamp set (item #154444)
Evergreen Border Punch (item #153603)
Label Me Fancy Punch (item #151297)
Stitched So Sweetly Dies (item #151690)
Evergreen Forest 3D Embossing Folder (item #153576)
Evening Evergreen Cardstock (item #155574)
Just Jade Cardstock (item #153079)
Pool Party Cardstock (item #122924)
Basic White Cardstock (item #159276)
Versamark Pad (item #102283)
Basics Embossing Powders (item #155554)
Evening Evergreen 3/8" Open Weave Ribbon (item #155573)
Mini Stampin' Dimensionals (item #144108)
Measurements:
Evening Evergreen Cardstock
Card Base - 8 1/2" x 5 1/2" (Scored at 4 1/4")
Scalloped Rectangle die cut with Stitched So Sweetly Dies
Sentiment Label punched out with Label Me Fancy Punch
Row of trees punched with the Evergreen Border Punch
Just Jade Cardstock
Card Front - 5 1/4" x 4" Embossed with the Evergreen Forest 3D Embossing Folder
Row of trees punched out with the Evergreen Border Punch
Pool Party Cardstock
Rectangle - 3 3/4" x 2 5/8"
Basic White Cardstock
Rectangle - 1" x 3 3/4"
This card design is all about textures and layers. I used the Evergreen Border Punch to punch out a row of Just Jade trees and a row of Evening Evergreen trees. To create the forest, I trimmed the Just Jade trees to a row of 6 and I attached Mini Stampin' Dimensionals behind each of the trees. For the Evening Evergreen trees, I trimmed the trees to a row of 7 trees and cut the 7th tree on the left side so that it looks like the ground sloping away from the trees. I attached the Just Jade trees on top of the Evening Evergreen trees but offset them slightly and raised the Evening Evergreen trees so that they were slightly higher. To create the focal layer, I attached the Basic White strip to the bottom of the Pool Party Rectangle and added a piece of the Evening Evergreen ribbon across the bottom of the Basic White strip and attached it to the back. I adhered the layers of trees to the focal layer so that they overlapped the join of the Basic White strip with the Pool Party layer, lining up the Just Jade trees against the right side. The background layer of Just Jade cardstock was embossed with the Evergreen Forest 3D Embossing Folder to add texture and then I added it to the Evening Evergreen card base. I attached the focal layer to the Evening Evergreen scalloped rectangle and then attached it to the card front. For the sentiment, I heat embossed the image from the Handsomely Suited stamp set with White embossing powder and attached it to the card front so that it overlaps the focal image using Mini Stampin' Dimensionals. I love the peaceful feel of this card design and how it showcases the versatility of the Evergreen Border Punch for more than just Christmas. 
Thank you for taking the time to visit my blog. I hope that my card design will help you to see the versatility of Stampin' Up!'s punches to create wonderful projects. There are so many great options to choose from. 
Now it's time to visit Shirley's wonderful blog and see what favorite punch she has chosen to create with this month. Just click the Next button below to visit her blog. We would love it if you would leave us a comment and let us know what you liked about our projects. I hope you enjoy the rest of our blog hop.


If you live in the U.S. and do not have a Stampin' Up! Demonstrator, please contact me and I would be happy to help you with your creative projects. You may also visit my Online Store to place your order and have it shipped to you.

Until Next Time

Happy Stamping,

Tricia Butts
Independent Stampin' Up! Demonstrator

Like What You See? Visit My Online Store Here

Visit My Facebook Business Page for Updates & Ideas

Click here to Contact Me


Celebrate The Holidays
With The July-December 2021 Mini Catalog
Click Below To Visit My Online Store

Explore Your Creativity
With The Kits Collection
Click Below For More Details


Saturday, September 12, 2020

Ink. Stamp. Share. September Special Blog Hop Stampers Choice

It's time to hop along with the Ink. Stamp. Share. September Special Blog Hop as we share the projects we are currently working on. You will be visiting with talented Stampin' Up! Demonstrators from around the world as they share their amazing projects and ideas to inspire you. 
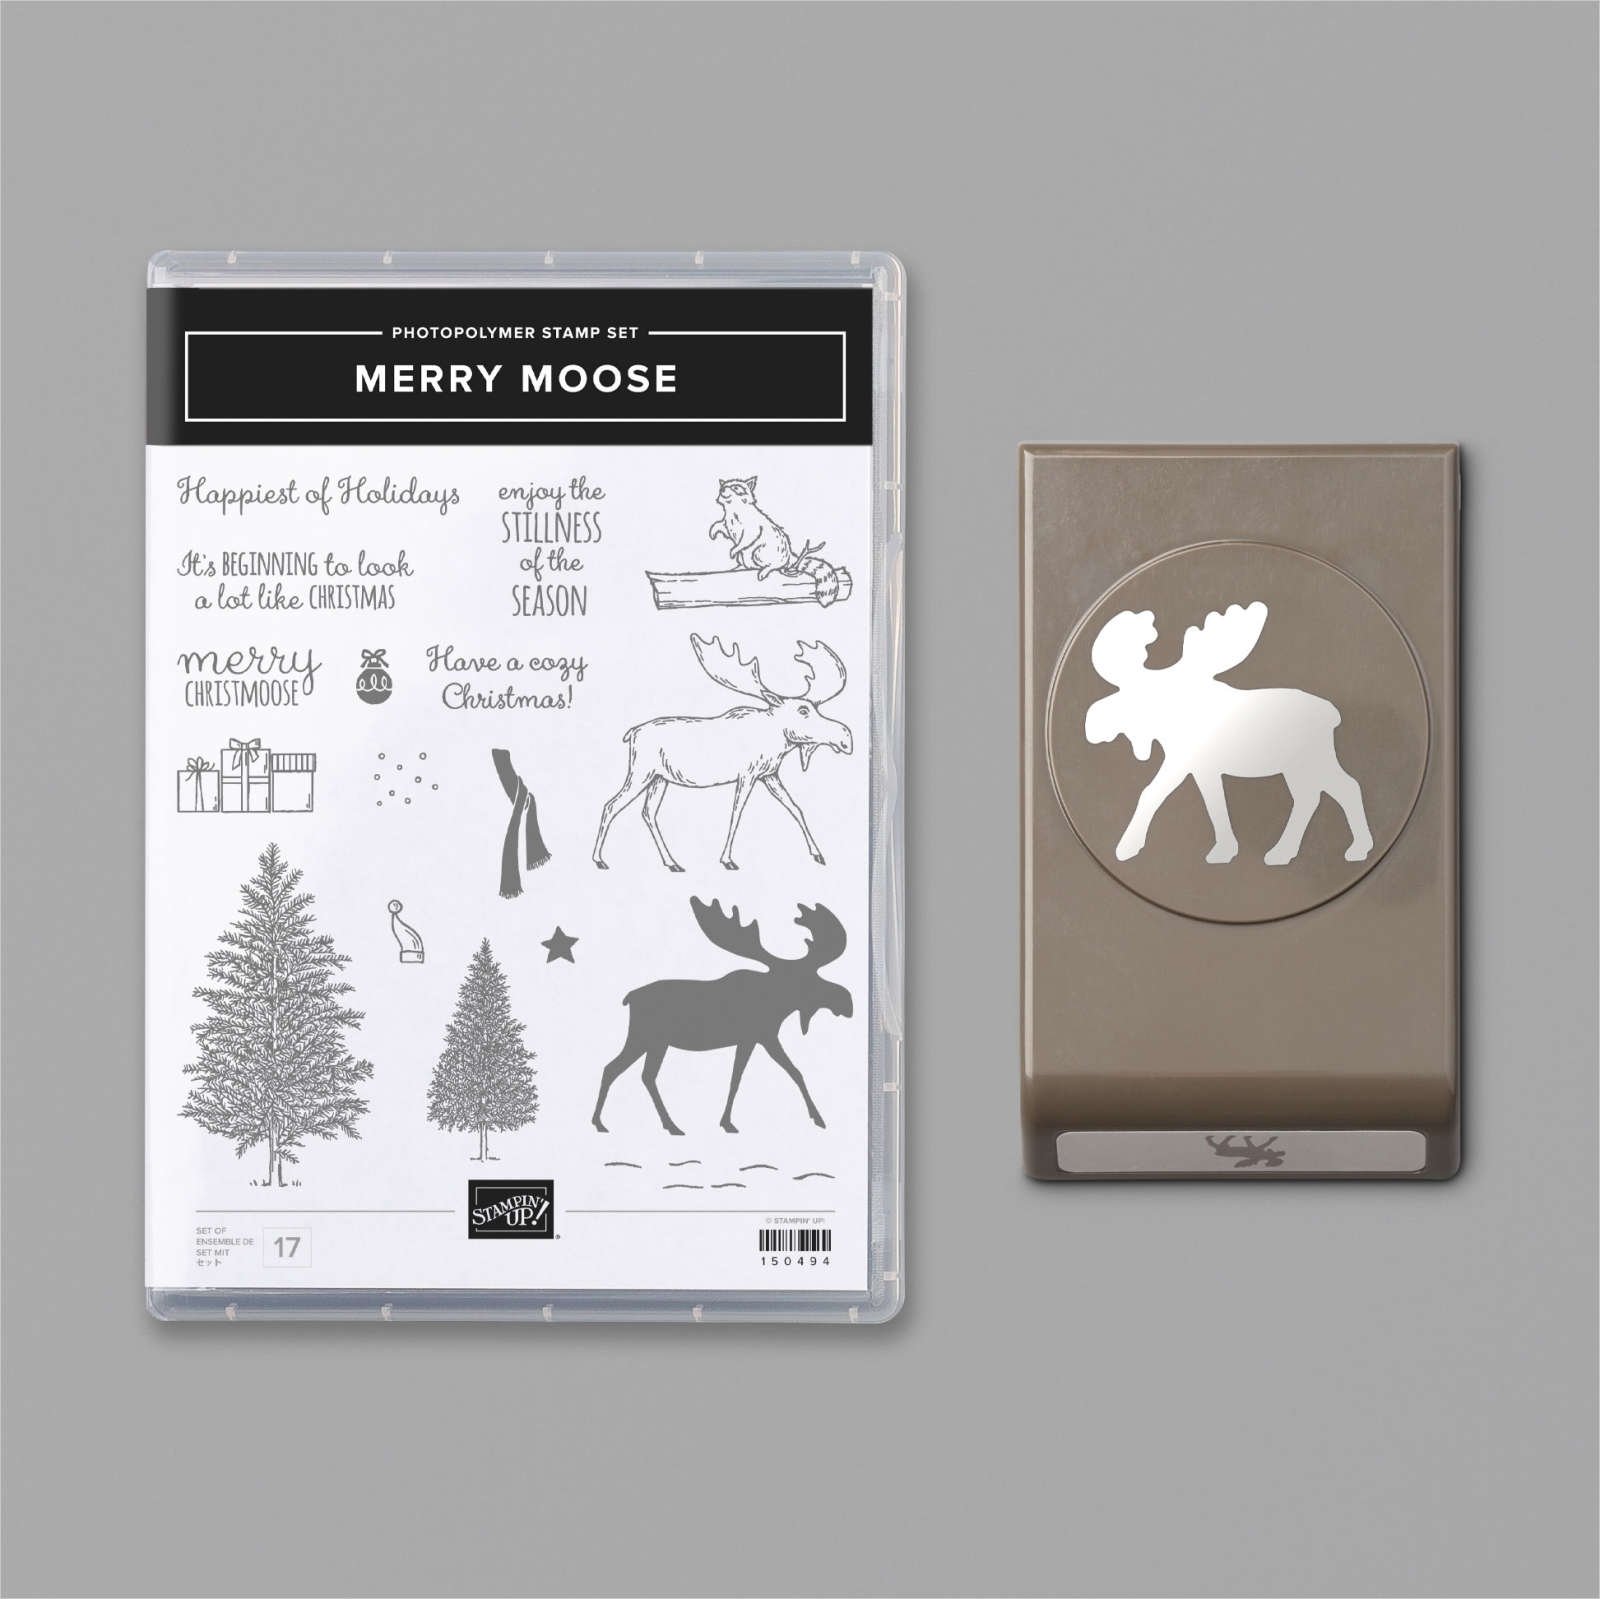
 With the cooler weather here in Colorado, I have been in the mood to create Christmas cards. My card design features the returning favorite, Merry Moose Bundle (item #153015) paired with the new Evergreen Forest 3D Embossing Folder (item #153576) from the August-December 2020 Mini Catalog. I love the detail of this new embossing folder and it adds wonderful texture to the background of this design. 
 Products Used:
Merry Moose Bundle (item #153015)
Evergreen Forest 3D Embossing Folder (item #153576)
Stitched So Sweetly Dies (item #151690)
3/16" Braided Linen Trim (item #147808)
Stampin' Blends Markers
Clear Wink of Stella Glitter Brush (item #141897)
Measurements:
Early Espresso cardstock card base - 8 1/2" x 5 1/2" 
(scored at 4 1/4")
Pear Pizzazz cardstock Layer 1 - 5 1/4" x 4"
Shaded Spruce cardstock Layer 2 - 5" x 3 3/4" 
(embossed with the Evergreen Forest 3D Embossing Folder)
Very Vanilla cardstock - label die cut and for stamped images
Early Espresso cardstock - large label die cut
Braided Linen Trim - Approx. 6"
This card design is simple to create with lots of layers and texture to create interest. The Shaded Spruce cardstock layer was embossed with the Evergreen Forest 3D Embossing Folder and I added Clear Wink of Stella to the raised trees for a touch of sparkle to help them stand out. The labels were die cut with the dies from the Stitched So Sweetly Dies and the sentiment from the Merry Moose stamp set was heat embossed onto the Very Vanilla cardstock layer to step up the design. The moose and raccoon images were stamped with Early Espresso Classic ink onto Very Vanilla cardstock and I colored them both with Stampin' Blends Markers. I punched out the moose image with the Moose punch and fussy cut the raccoon image. I added the Braided Trim around the center of the Shaded Spruce cardstock layer and added the sentiment labels over the center with Stampin' Dimensionals. I added the moose and raccoon images to the labels with Stampin' Seal Adhesive and Mini Stampin' Dimensionals to attach the legs and log to the card front. This design would be perfect for a masculine Christmas card or other occasion just by changing the sentiment. 
Thank you for taking the time to visit my blog today. I hope that my card design will help inspire you to explore creating your own Christmas cards for friends and family with the wonderful products in the August-December 2020 Mini Catalog. 

Now it's time to visit Libby's blog and see what project ideas she has been working on. Just click the Next button below to visit her blog or use the Roll Call List below to find your way. We would love it if you would leave us a comment and let us know what you enjoyed about our projects. I hope you enjoy the rest of our blog hop. 
 Libby

Roll Call

If you live in the U.S. and do not already have a Stampin' Up! Demonstrator, please contact me and I would be happy to help you with your creative projects. You may also visit my Online Store to place your order and have it shipped directly to you.
Until Next Time
Happy Stamping,
Tricia Butts
Independent Stampin' Up! Demonstrator
Like What You See? Visit My Online Store Here
Visit My Facebook Business Page for Updates & Ideas
Click here to Contact Me

The New Stampin' Cut & Emboss Machine
Is Now Available!
Click Below To Order
 Click Here To Order

Join My Team
Enjoy The Wonderful Benefits
As A Stampin' Up! Demonstrator
Click Below For More Details
 Click Here For Details

The New August-December 2020 Mini Catalog
Is Now Available
Click Below To Visit My Online Store
 Click Here To Visit My Online Store