Wednesday, June 14, 2023

Around The World On Wednesday June Blog Hop Let's Go On An Adventure

Welcome to the Around The World On Wednesday June Blog Hop as we go on an adventure to create fun and inspiring projects. Our wonderful Design Team will be sharing their projects and ideas to help spark your creativity and hopefully inspire you to go on your own creative adventure. 
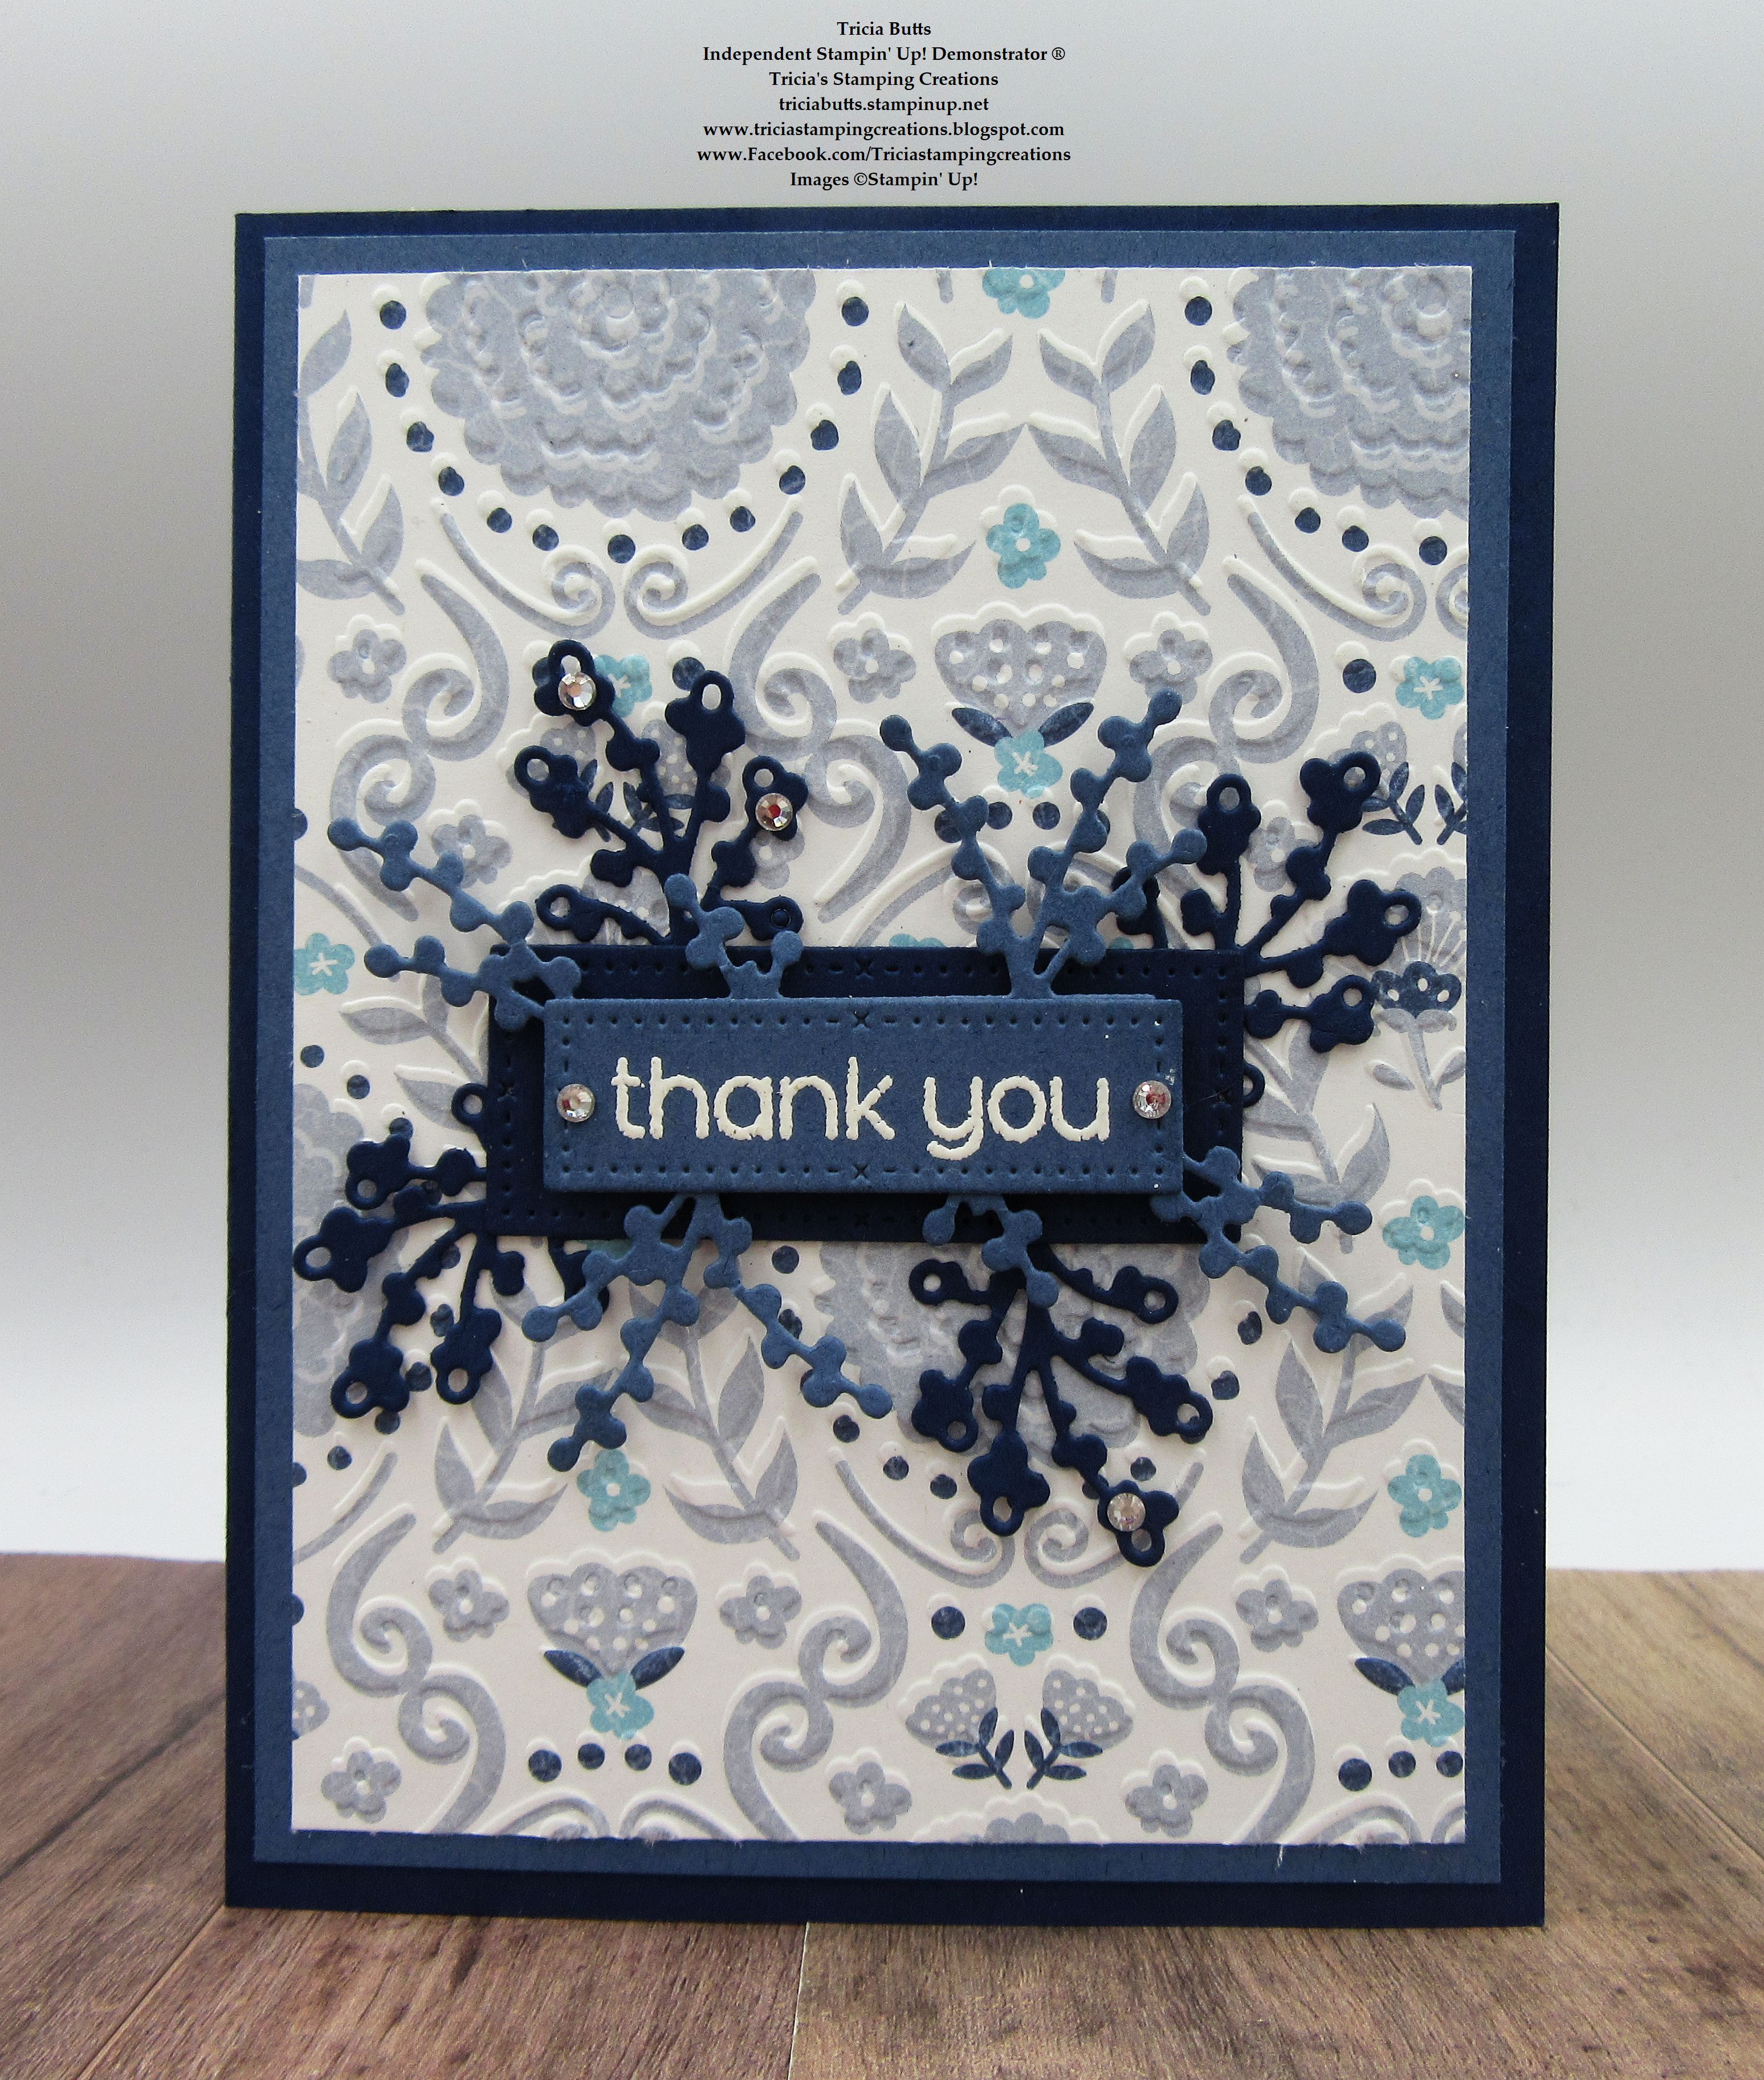
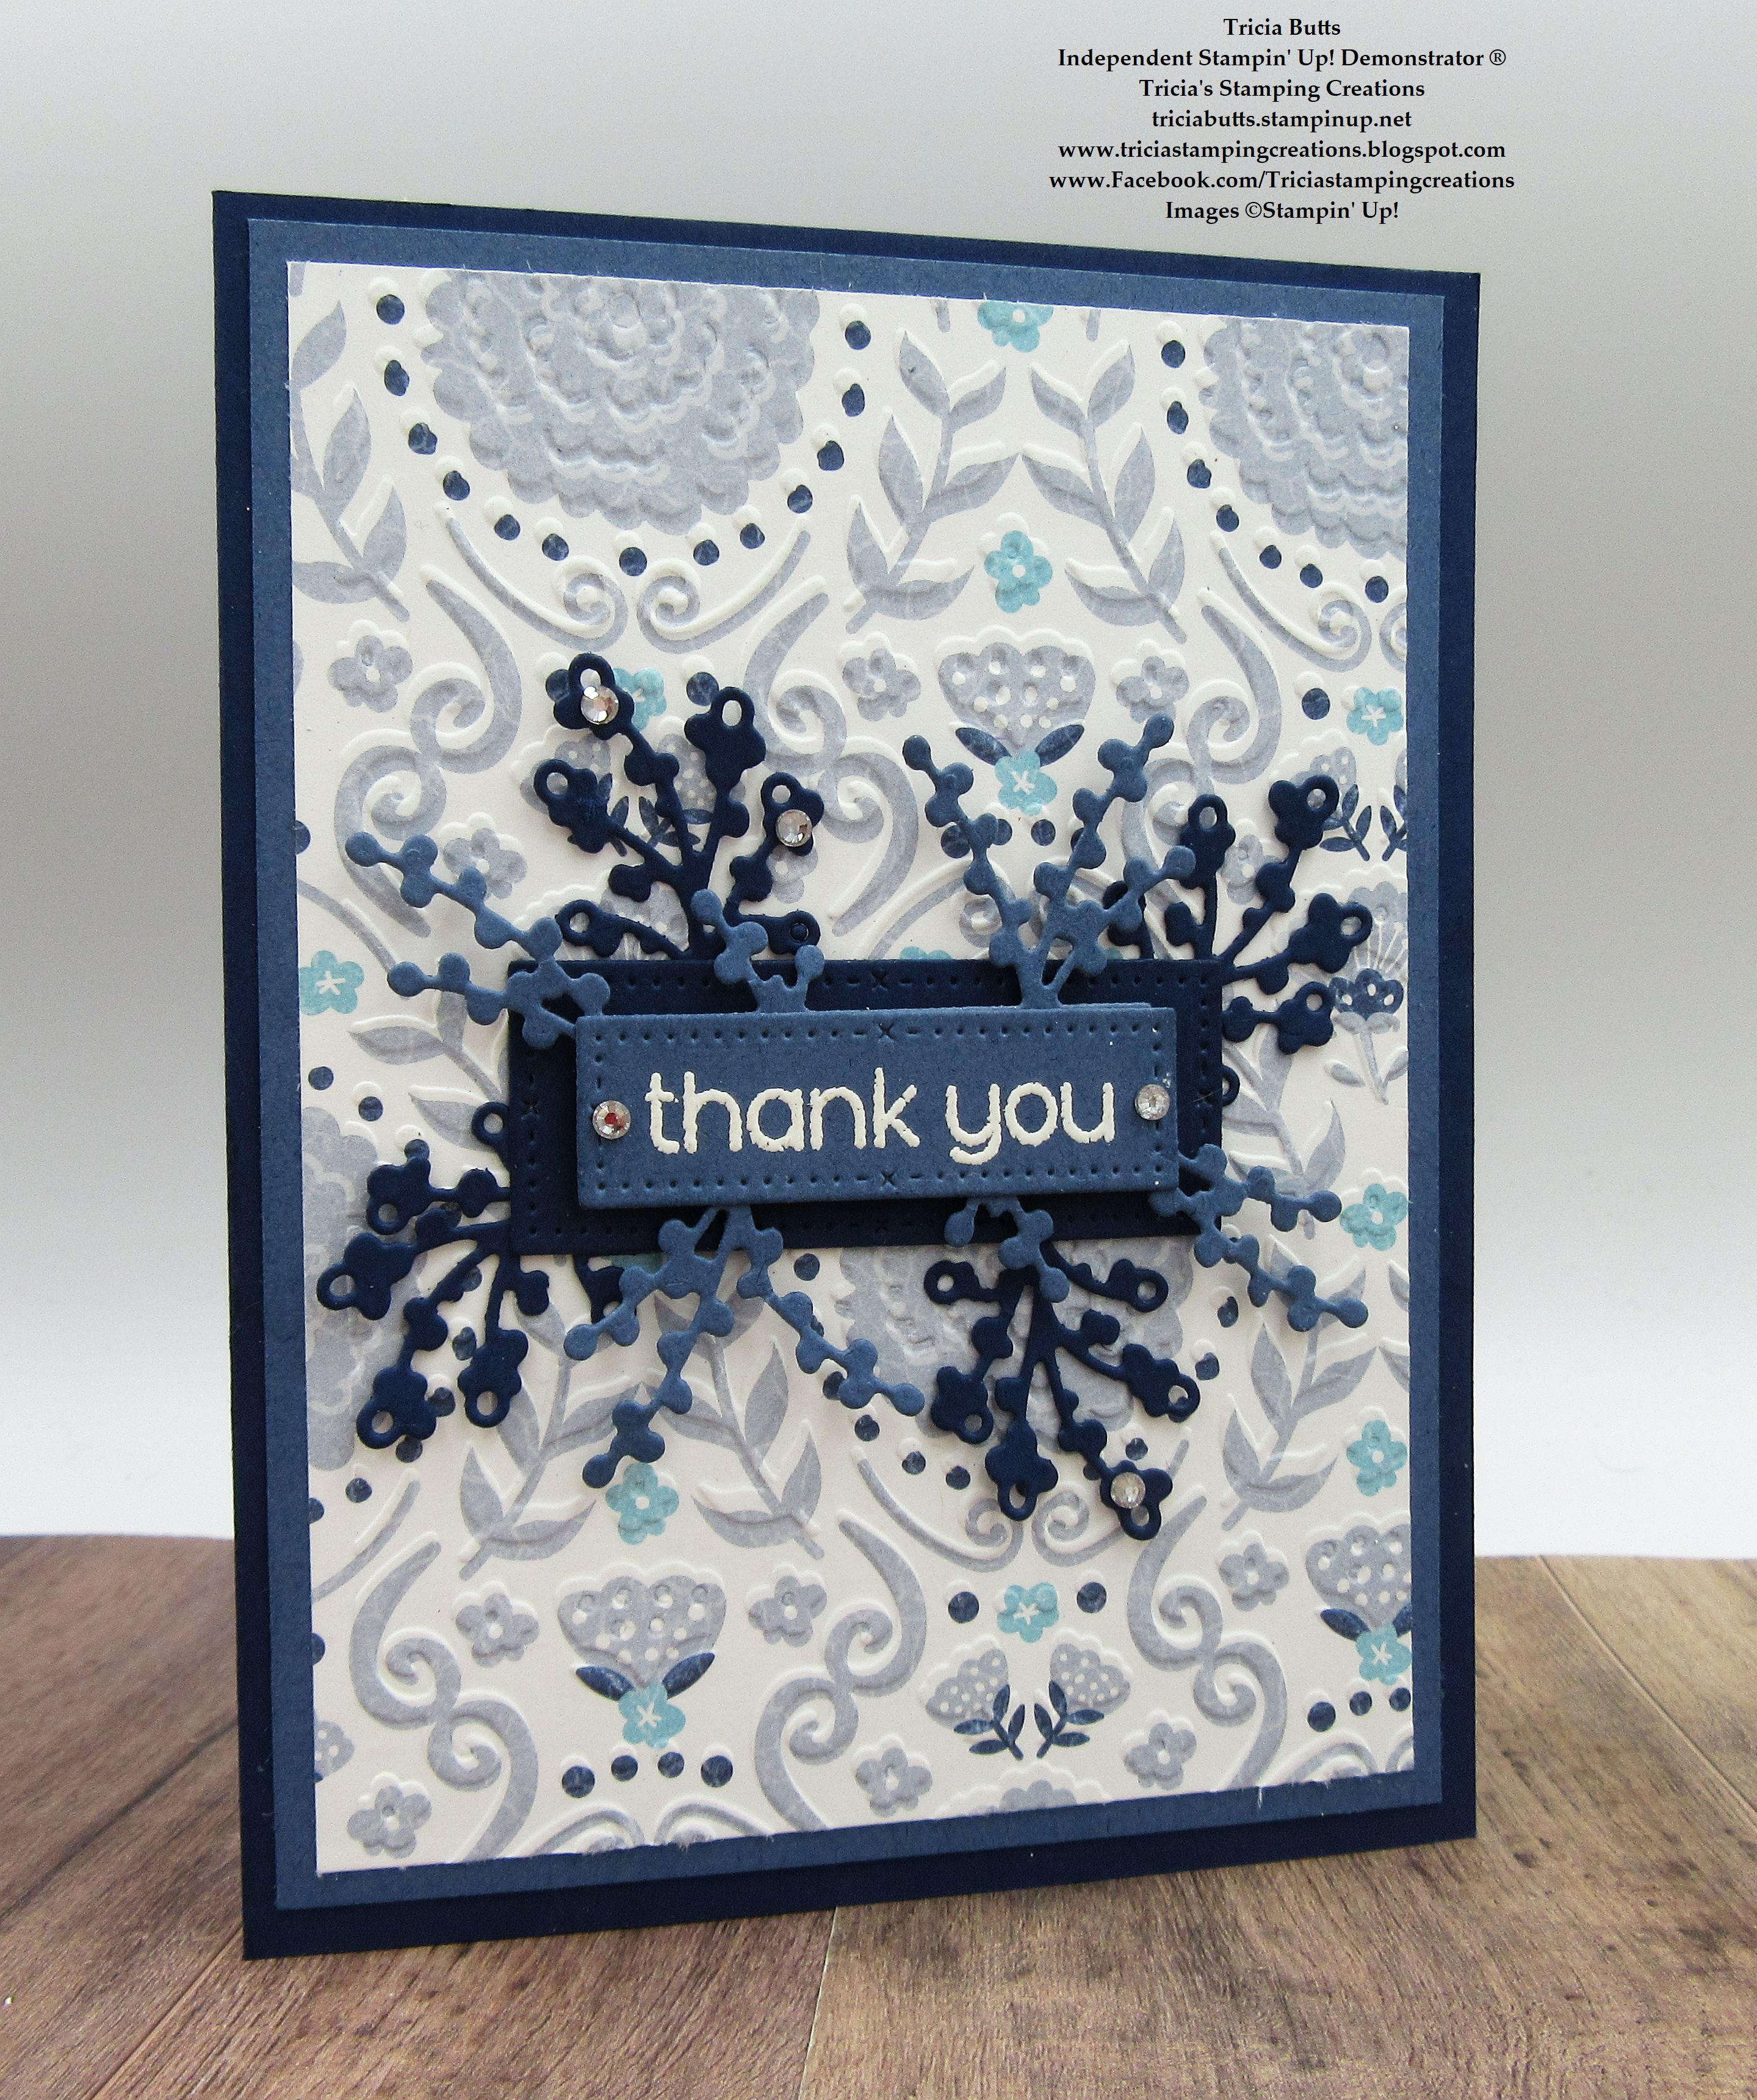
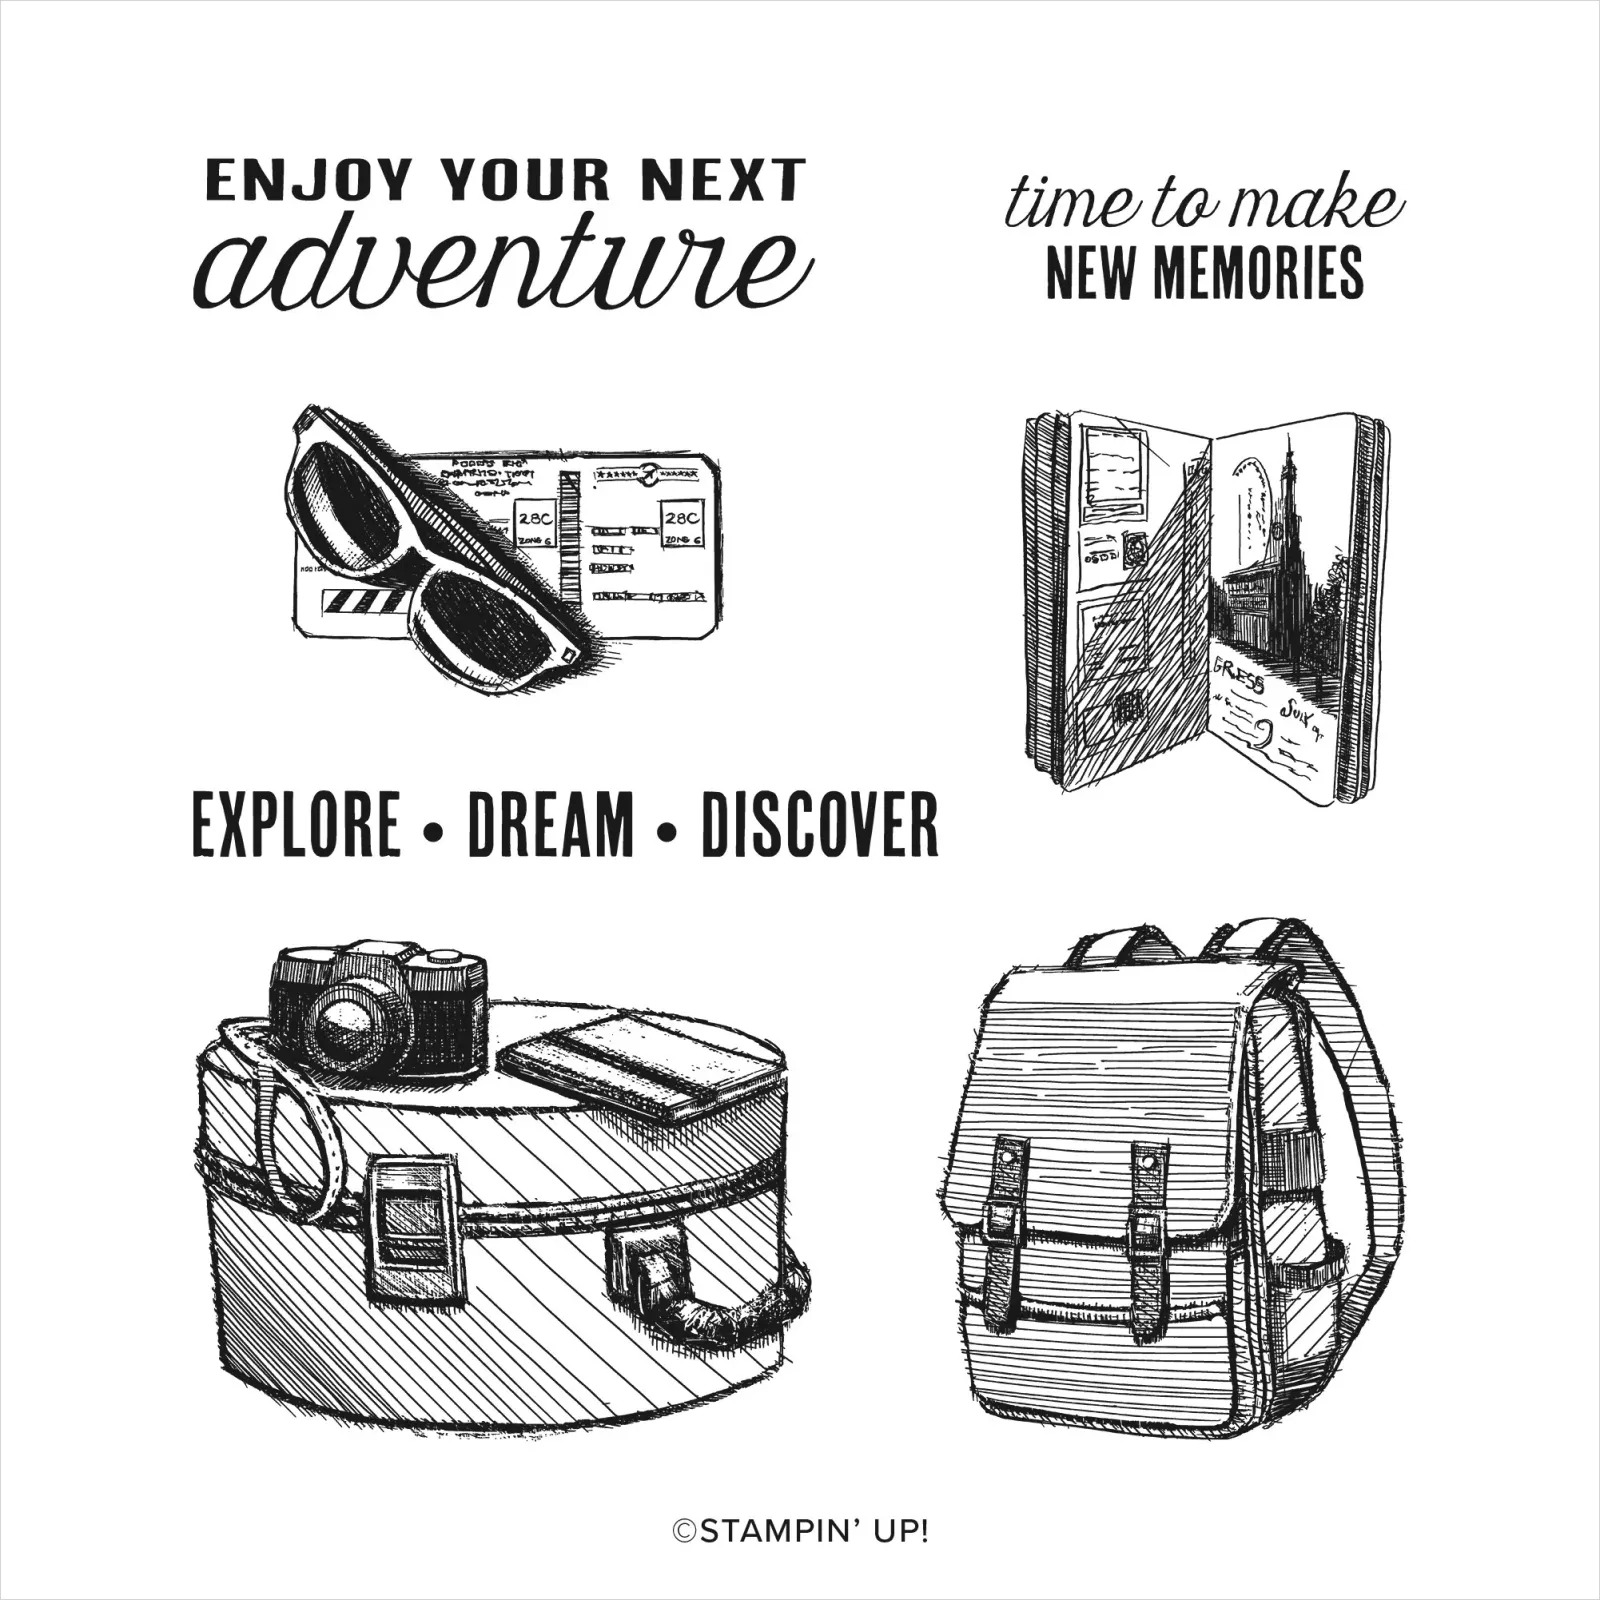
When I think about adventure, my mind goes to traveling and exploring new places. I have been fortunate to have traveled and lived in various places around the world, so this is what influenced my card design. For my card design today, I wanted to use the new Next Destination stamp set in the 2023-2024 Annual Catalog. I love the images and sentiments in this stamp set and I thought it would be perfect for creating cards for Graduations and Retirements. The card design I created has a vintage feel to it and would be a perfect masculine card. I paired it with the Watercolor World stamp to create the background for the card design and used Pecan Pie, Wild Wheat, Early Espresso and Very Vanilla with a touch of Gold to step up the design. 
Products Used:
Next Destination stamp set (item #161427)
Watercolor World stamp set (item #160708)
Stylish Shapes Dies (item #159183)
Early Espresso Cardstock (item #119686)
Pecan Pie Cardstock (item #161717)
Very Vanilla Cardstock (item #101650)
Early Espresso Classic Ink Pad (item #147114)
Pecan Pie Classic Ink Pad (item #161665)
Versamark Pad (item #102283)
Metallics Embossing Powders (item #155555)
Pecan Pie Stampin' Blends Combo Pack (item #161674)
Crumb Cake Stampin' Blends Combo Pack (item #154882)
Smoky Slate Stampin' Blends Combo Pack (item #154904)
Wild Wheat Stampin' Blends Combo Pack (item #161661)
Gray Granite Stampin' Blends Combo Pack (item #154886_
Color Lifter (item #144608)
Brushed Metallic Adhesive Backed Dots (item #156506)
Stampin' Dimensionals (item #104430)
Measurements:
Early Espresso Cardstock
Card Base - 8 1/2" x 5 1/2" (Scored at 4 1/4")
Large Stitched Square die cut with the Stylish Shapes Dies
Sentiment Label die cut with the Stylish Shapes Dies
Pecan Pie Cardstock 
Card Front - 5 1/4" x 4"
Very Vanilla Cardstock 
Square - 2 5/8" x 2 5/8"
The images in the Next Destination stamp set work perfectly for creating a card with theme of going on a journey, starting a new adventure. I love the sketched style of the images and wanted to create an aged, worn look to my card similar to an old notebook with a vintage map on the cover. Pecan Pie is a wonderful, warm brown and it works beautifully with Early Espresso. I stamped the Watercolor World stamp with Pecan Pie Classic ink onto the Pecan Pie card front to create the look of a vintage world map. The focal image was stamped with Early Espresso Classic ink onto a Very Vanilla cardstock square and I colored the image with Stampin' Blends Markers. I used the Light Gray Granite Stampin' Blends Marker to create the background around the image and blended it with the Color Lifter to soften and distress the background. The sentiment was heat embossed with Gold embossing powder onto the Early Espresso cardstock label and I embellished the label with two of the Brushed Metallic Adhesive Backed Dots. I popped both the focal image and the sentiment label up using Stampin' Dimensionals, with the sentiment label overlapping the bottom right side of the focal square. I love how this card design turned out and I feel like it is perfect for someone preparing for the next stage in their life, their next adventure. 
Thank you for taking the time to visit my blog. I hope that my card design will help inspire you to explore creating your own beautiful projects. There are so many wonderful options in the new 2023-2024 Annual Catalog. 
Now it's time to visit Teri's Blog and see what adventures she has to share with us. Just click on the Next button below to visit her blog or use the Roll Call List below to find your way. We would appreciate it if you would leave us a comment and let us know what you enjoyed about our projects. 

Roll Call List

If you live in the U.S. and do not have a Stampin' Up! Demonstrator, please contact me and I would be happy to help you with your creative projects. You may also visit my Online Store to place your order and have it shipped to you. 

Until Next Time

Happy Stamping,

Tricia Butts
Independent Stampin' Up! Demonstrator

Like What You See? Visit My Online Store Here

Visit My Facebook Business Page for Updates & Ideas

Click here to Contact Me


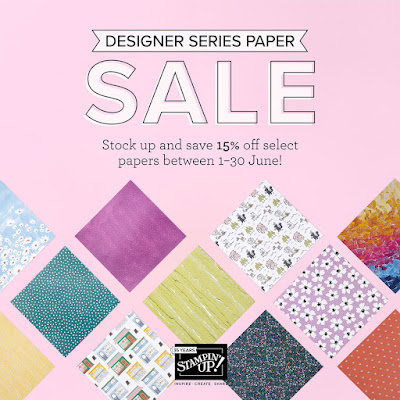
Save 15% on Select Designer Series Paper 
During The Month of June
Click Below To Shop From My Online Store

Take Advantage of the Starter Kit+
Get $155 Worth of Products For Only $99
During The Month of June
Click Below For More Details

Explore Your Creativity
With The 2023-2024 Annual Catalog
Click Below To Visit My Online Store


Saturday, June 10, 2023

Stamping Inkspirations June Blog Hop Tic-Tac-Toe Challenge

Welcome to the Stamping Inkspirations June Blog Hop and this month we have a Tic-Tac-Toe Challenge. Our Design Team members will be choosing a row of 3 items (horizontal, vertical or diagonal) to incorporate into our projects. It's a fun way to spark creativity and try something new. Which row would you choose?
For my card today, I chose to use the bottom horizontal row - Red, Circle, Twine, to create my design. Stampin' Up1 has so many wonderful reds to choose from and in the end I chose to use Sweet Sorbet, one of the 2022-2024 In Colors. I love this bright, vibrant red and I decided to pair it with Basic White and Starry Sky (another 2022-2024 In Color) to create a patriotic themed birthday card that would be perfect for a July birthday. 
Products Used:
Something Fancy stamp set (item #160416)
Beautiful Balloons Dies (item #161456)
Something Fancy Dies (item #160424)
Deckled Rectangles Dies (item #159173)
Stylish Shapes Dies (item #159183)
Stripes & Splatters 3D Embossing Folders (item #157980)
Silver Foil Specialty Pack (item #156457)
2022-2024 In Color 6"x6" Designer Series Paper
Sweet Sorbet Cardstock (item #159268
Starry Sky Cardstock (item #159263)
Basic White Cardstock (item #159276)
Sweet Sorbet Classic Ink Pad (item #159216)
2022-2024 In Color Baker's Twine Pack (item #159195)
2022-2024 In Color Pearls (item #161621)
Stampin' Dimensionals (item #104430)
Mini Glue Dots (item #103683)
Measurements:
Sweet Sorbet Cardstock
Card Base - 8 1/2" x 5 1/2" (Scored at 4 1/4")
Starry Sky Cardstock
Layer 1 die cut with the Deckled Rectangles Dies
Large Circle die cut with the Stylish Shapes Dies
Long Label die cut with the Stylish Shapes Dies 
Basic White Cardstock
Layer 2 die cut with the Deckled Rectangles Dies
Sentiment Label die cut with the Something Fancy Dies
Sweet Sorbet Striped Designer Series Paper 
Large Circle die cut with the Stylish Shapes Dies
Silver Foil
3 Medium Stars die cut with the Beautiful Balloons Dies
To create this fun birthday card, I chose to use a sketch featured in the Demonstrator Planning Place Group, for my inspiration for this card design. I chose to use the Deckled Rectangles Dies for a twist on the standard rectangle shapes to create the frame for the focal design. I embossed the Starry Sky circle with the Splatters 3D Embossing Folder to add some texture and layered it with the Sweet Sorbet striped designer series paper to add contrast. The sentiment has been stamped with Sweet Sorbet Classic ink onto the sentiment label and then layered on top of the Starry Sky label. To step up the design, I added Silver Foil stars with Stampin' Dimensionals and I tied a bow with the Sweet Sorbet Baker's Twine to go underneath the star on the left side of the sentiment. For a touch of bling, I added several Sweet Sorbel In Color Pearls to finish off the design. This bright and cheerful birthday card is a great way to celebrate someone's special day. 
Thank you for taking the time to visit my blog. I hope that my card design will help inspire you to give this Tic-Tac-Toe Challenge a try and see what you can create. There are so many wonderful options to explore using products from the 2023-2024 Annual Catalog.
Now it's time to visit Teri's blog and see what she has created with this month's challenge. Just click on the Next button below to visit her blog or use the Roll Call List to find your way. We would love it if you would leave us a comment and let us know what you liked about our projects. I hope you enjoy the rest of our blog hop. 

Roll Call List

If you live in the U.S. and do not have a Stampin' Up! Demonstrator, please contact me and I would be happy to help you with your creative projects. You may also visit my Online Store to place your order and have it shipped to you. 

Until Next Time

Happy Stamping,

Tricia Butts
Independent Stampin' Up! Demonstrator

Like What You See? Visit My Online Store Here

Visit My Facebook Business Page for Updates & Ideas

Click here to Contact Me


Save 15% On Select Designer Series Paper 
During The Month Of June
Click Below To Shop From My Online Store

Explore Your Creativity
With The 2023-2024 Annual Catalog
Click Below To Visit My Online Store


Monday, June 5, 2023

Kylie Bertucci's Monthly International Blog Highlights June 2023

Welcome to Kylie Bertucci's Monthly International Blog Highlights for June as we share our cards inspired by this month's theme of "Thank You". Talented Stampin' Up! Demonstrators from around the world are sharing their beautiful projects to help inspire you and encourage you to get creative.
I love using designer series paper to create thank you cards, so today I thought I would showcase the Countryside Inn Designer Series Paper for my card design. The design I chose coordinates with the Countryside Blossoms Embossing Folder, which I used to emboss the paper to add texture to the card design. It is possible, with a little patience, to line up the design on the paper with the design on the embossing folder for extra effect. For the sentiment, I used one of my favorite new bundles, Timeless Arrangements, to add some detail and texture to the card front while still allowing the background design to show through. 
Products Used:
Timeless Arrangements Bundle (item #161525)
Countryside Blossoms Embossing Folder (item #161473)
Countryside Inn Designer Series Paper (item #161467)
Night of Navy Cardstock (item #100867)
Misty Moonlight Cardstock (item #153081)
Versamark Pad (item #102283)
Basics Embossing Powders (item #155554)
Basic Rhinestone Jewels (item #144220)
Mini Stampin' Dimensionals (item #144108)
Measurements:
Night of Navy Cardstock
Card Base - 8 1/2" x 5 1/2" (Scored at 4 1/4")
Sentiment Label die cut with the Timeless Arrangements Dies
2 Detailed Floral Accents die cut with the Timeless Arrangements Dies
Misty Moonlight Cardstock
Layer 1 - 5 1/4" x 4" 
Sentiment Label die cut with the Timeless Arrangements Dies
2 Detailed Floral Accents die cut with the Timeless Arrangements Dies
Countryside Inn Designer Series Paper
Card Front - 5" x 3 3/4" (Embossed with the Countryside Blossoms Embossing Folder)
Blue is my favorite color, so I had a lot of fun creating this card design using some of my favorite blues included in the designer series paper. I matted the embossed card front with a layer of Misty Moonlight cardstock to create a frame against the Night of Navy card base. For the sentiment, I heat embossed the Thank You image with White embossing powder onto the Misty Moonlight label and then added the two detailed floral elements to the back of the sentiment label. To create a frame for the sentiment, I die cut a slightly larger label and two detailed floral die cuts from Night of Navy cardstock and added the detailed die cuts to the back of the label. Using Mini Stampin' Dimensionals, I added the Misty Moonlight sentiment label to the center of the Night of Navy label and then added it to the center of the embossed card front. For a touch of bling, I added some small Basic Rhinestone Jewels to finish off the design. I love how delicate and pretty this card looks and how the blues work together to bring out the detail in the designer series paper. 
Thank you for taking the time to visit my blog. I hope that my card design will help inspire you to create your own beautiful Thank You cards to send to family and friends. 
Please take a moment to vote for my card design as part of this month's International Blog Highlights by clicking the Vote button below. Just click on the small heart above my card (#17) to vote. You can vote for up to 5 cards each day over the next week, so please share the love with my fellow Stampin' Up! Demonstrators and visit their blogs to see their beautiful projects. We would appreciate it if you would leave us a comment and let us know what you liked about our designs. I hope you enjoy this month's International Blog Highlights. 


If you live in the U.S. and do not have a Stampin' Up! Demonstrator, please contact me and I would be happy to help you with your creative projects. You may also visit my Online Store to place your order and have it shipped to you. 

Until Next Time

Happy Stamping,

Tricia Butts
Independent Stampin' Up! Demonstrator

Like What You See? Visit My Online Store Here

Visit My Facebook Business Page for Updates & Ideas

Click here to Contact Me


Save 15% On Select Designer Series Paper
During The Month Of June
Click Below To Shop From My Online Store

Explore Your Creativity
With The 2023-2024 Annual Catalog
Click Below To Visit My Online Store


Friday, June 2, 2023

Global Stamping Friends June Blog Hop Coordination Is Key

Welcome to the Global Stamping Friends June Blog Hop as explore the theme, "Coordination is Key". One of my favorite things about Stampin' Up! is the way their products coordinate to make creating simple and stress-free. Our wonderful Design Team will be sharing their projects and ideas to help inspire you to take a look through the 2023-2024 Annual Catalog and see all the wonderful possibilities inside. 
For my card design today, I wanted to share the benefits of color coordinating products as well as how bundles can make your creative life so much easier. I used a Sketch created by fellow Stampin' Up! Demonstrator, Dawn Griffith, for my card layout and I love that she provided measurements for the different elements. 
The color combination for this card features Berry Burst, Bubble Bath and Basic White with a splash of color for the dancing leopard image. You may notice that the cardstock, designer series paper and colors for the skirt on the leopard all coordinate. This is because Stampin' Up! has coordinating ink, paper and embellishments to take the stress out of creating. They also have bundles, in this case the Zany Zoo Bundle, which has a stamp set and coordinating die set to make life easier. No need to fussy cut the individual stamped images plus there are additional dies that add elements to decorate your projects, such as the cute flowers that decorate the card front. 
Products Used:
Zany Zoo Bundle (item #161315)
Go To Greetings stamp set (item #158763)
Stylish Shapes (item #159183)
Decorative Circle Punch (item #159174)
2 3/8" Circle Punch (item #161354)
Countryside Blossoms Embossing Folder (item #161473)
Brights 6"x6" Designer Series Paper (item #161643)
Berry Burst Cardstock (item #144243)
Bubble Bath Cardstock (item #161718)
Basic White Cardstock (item #159276)
Memento Tuxedo Black Pad (item #132708)
Versamark Pad (item #102283)
Metallics Embossing Powders (item #155555)
Pumpkin Pie Stampin' Blends Combo Pack (item #154897)
Daffodil Delight Stampin' Blends Combo Pack (item #154883)
Bubble Bath Stampin' Blends Combo Pack (item #161675)
Berry Burst Stampin' Blends Combo Pack (item #161681)
Basic Rhinestone Jewels (item #144220)
Stampin' Dimensionals (item #104430)
Measurements:
Berry Burst Cardstock
Card Base - 8 1/2" x 5 1/2" (Scored at 4 1/4")
Strip - 1 1/4" x 4 1/2" Embossed with the Countryside Blossoms Embossing Folder
Large Circle punched out with the 2 3/8" Circle Punch
3 Flowers die cut with the Zany Zoo Bundle
Bubble Bath Cardstock
Card Front - 5 1/4" x 4"
Basic White Cardstock
Decorative Circle punched out with the Decorative Circle Punch
Dancing Leopard image stamped and die cut with the Zany Zoo Bundle
Inside Layer - 5 2/4" x 4"
Sentiment Label die cut with the Stylish Shapes Dies
Berry Burst Designer Series Paper
Pattern 1 Strip - 3/4" x 4"
Pattern 1 Strip 0 1/2" x 4" (Decorative strip for inside panel)
Pattern 2 Square - 2"x 2"
This sweet and pretty card showcases how you can take designer series paper, cardstock and some ink (in this case Stampin' Blends Markers) to create a beautiful design. I love the way the Berry Burst layers pop against the Bubble Bath card front. The cute leopard image has been colored with a variety of Stampin' Blends Markers, including Bubble Bath and Berry Burst, to tie in the image with the color combination for the card design. I used the Zany Zoo stamp set to stamp the image with Tuxedo Black ink and die cut it out with the coordinating Zany Zoo Dies. When you order the Zany Zoo Bundle, you get both of these products together and save 10%, which is great for your crafting budget. 
I used the Countryside Blossoms Embossing Folder to add some texture to the Berry Burst cardstock strip and I love how the embossed flowers coordinate with the die cut flowers that I used in the background. These flowers were die cut using the Zany Zoo Dies. Did you notice that the Decorative Circle layer fits inside the 2 3/8" Circle? Once again, Stampin' Up! has thought of ways to help us layer elements for our projects to make life easier. To decorate the inside of the card, I added a small strip of the Berry Burst Designer Series Paper to the inside layer to coordinate with the front design. Whether you love playing with color or having fun combining products to create your design, Stampin' Up! offers so many wonderful ways for you to get creative.
Thank you for taking the time to visit my blog. I hope that my card design will inspire you to explore the wonderful coordinating products in the new 2023-2024 Annual Catalog. 
Now it's time to visit Jan's blog and see what beautiful projects she has to share with us. Just click on the Next button below to visit her blog. We would appreciate it if you would leave us a comment and let us know what you liked about our projects. I hope you enjoy the rest of our blog hop. 


If you live in the U.S. and do not have a Stampin' Up! Demonstrator, please contact me and I would be happy to help you with your creative projects. You may also visit my Online Store to place your order and have it shipped to you. 

Until Next Time

Happy Stamping,

Tricia Butts
Independent Stampin' Up! Demonstrator

Like What You See? Visit My Online Store Here

Visit My Facebook Business Page for Updates & Ideas

Click here to Contact Me


Save 15% On Select Designer Series Paper
In The 2023-2024 Annual Catalog
Click Below To Shop and Place Your Order

Explore Your Creativity
With The 2023-2024 Annual Catalog
Click Below To Visit My Online Store