Showing posts with label Treat Holder. Show all posts

Wednesday, December 13, 2023

ICS December Blog Hop Homemade Holiday

Welcome to the Inspire. Create. Share December Blog Hop and this month we are focusing on Homemade Holiday projects to share with you. Our wonderful Design Team will be sharing their projects and ideas to help get you in the Christmas spirit as we count down the last days until the big celebration.
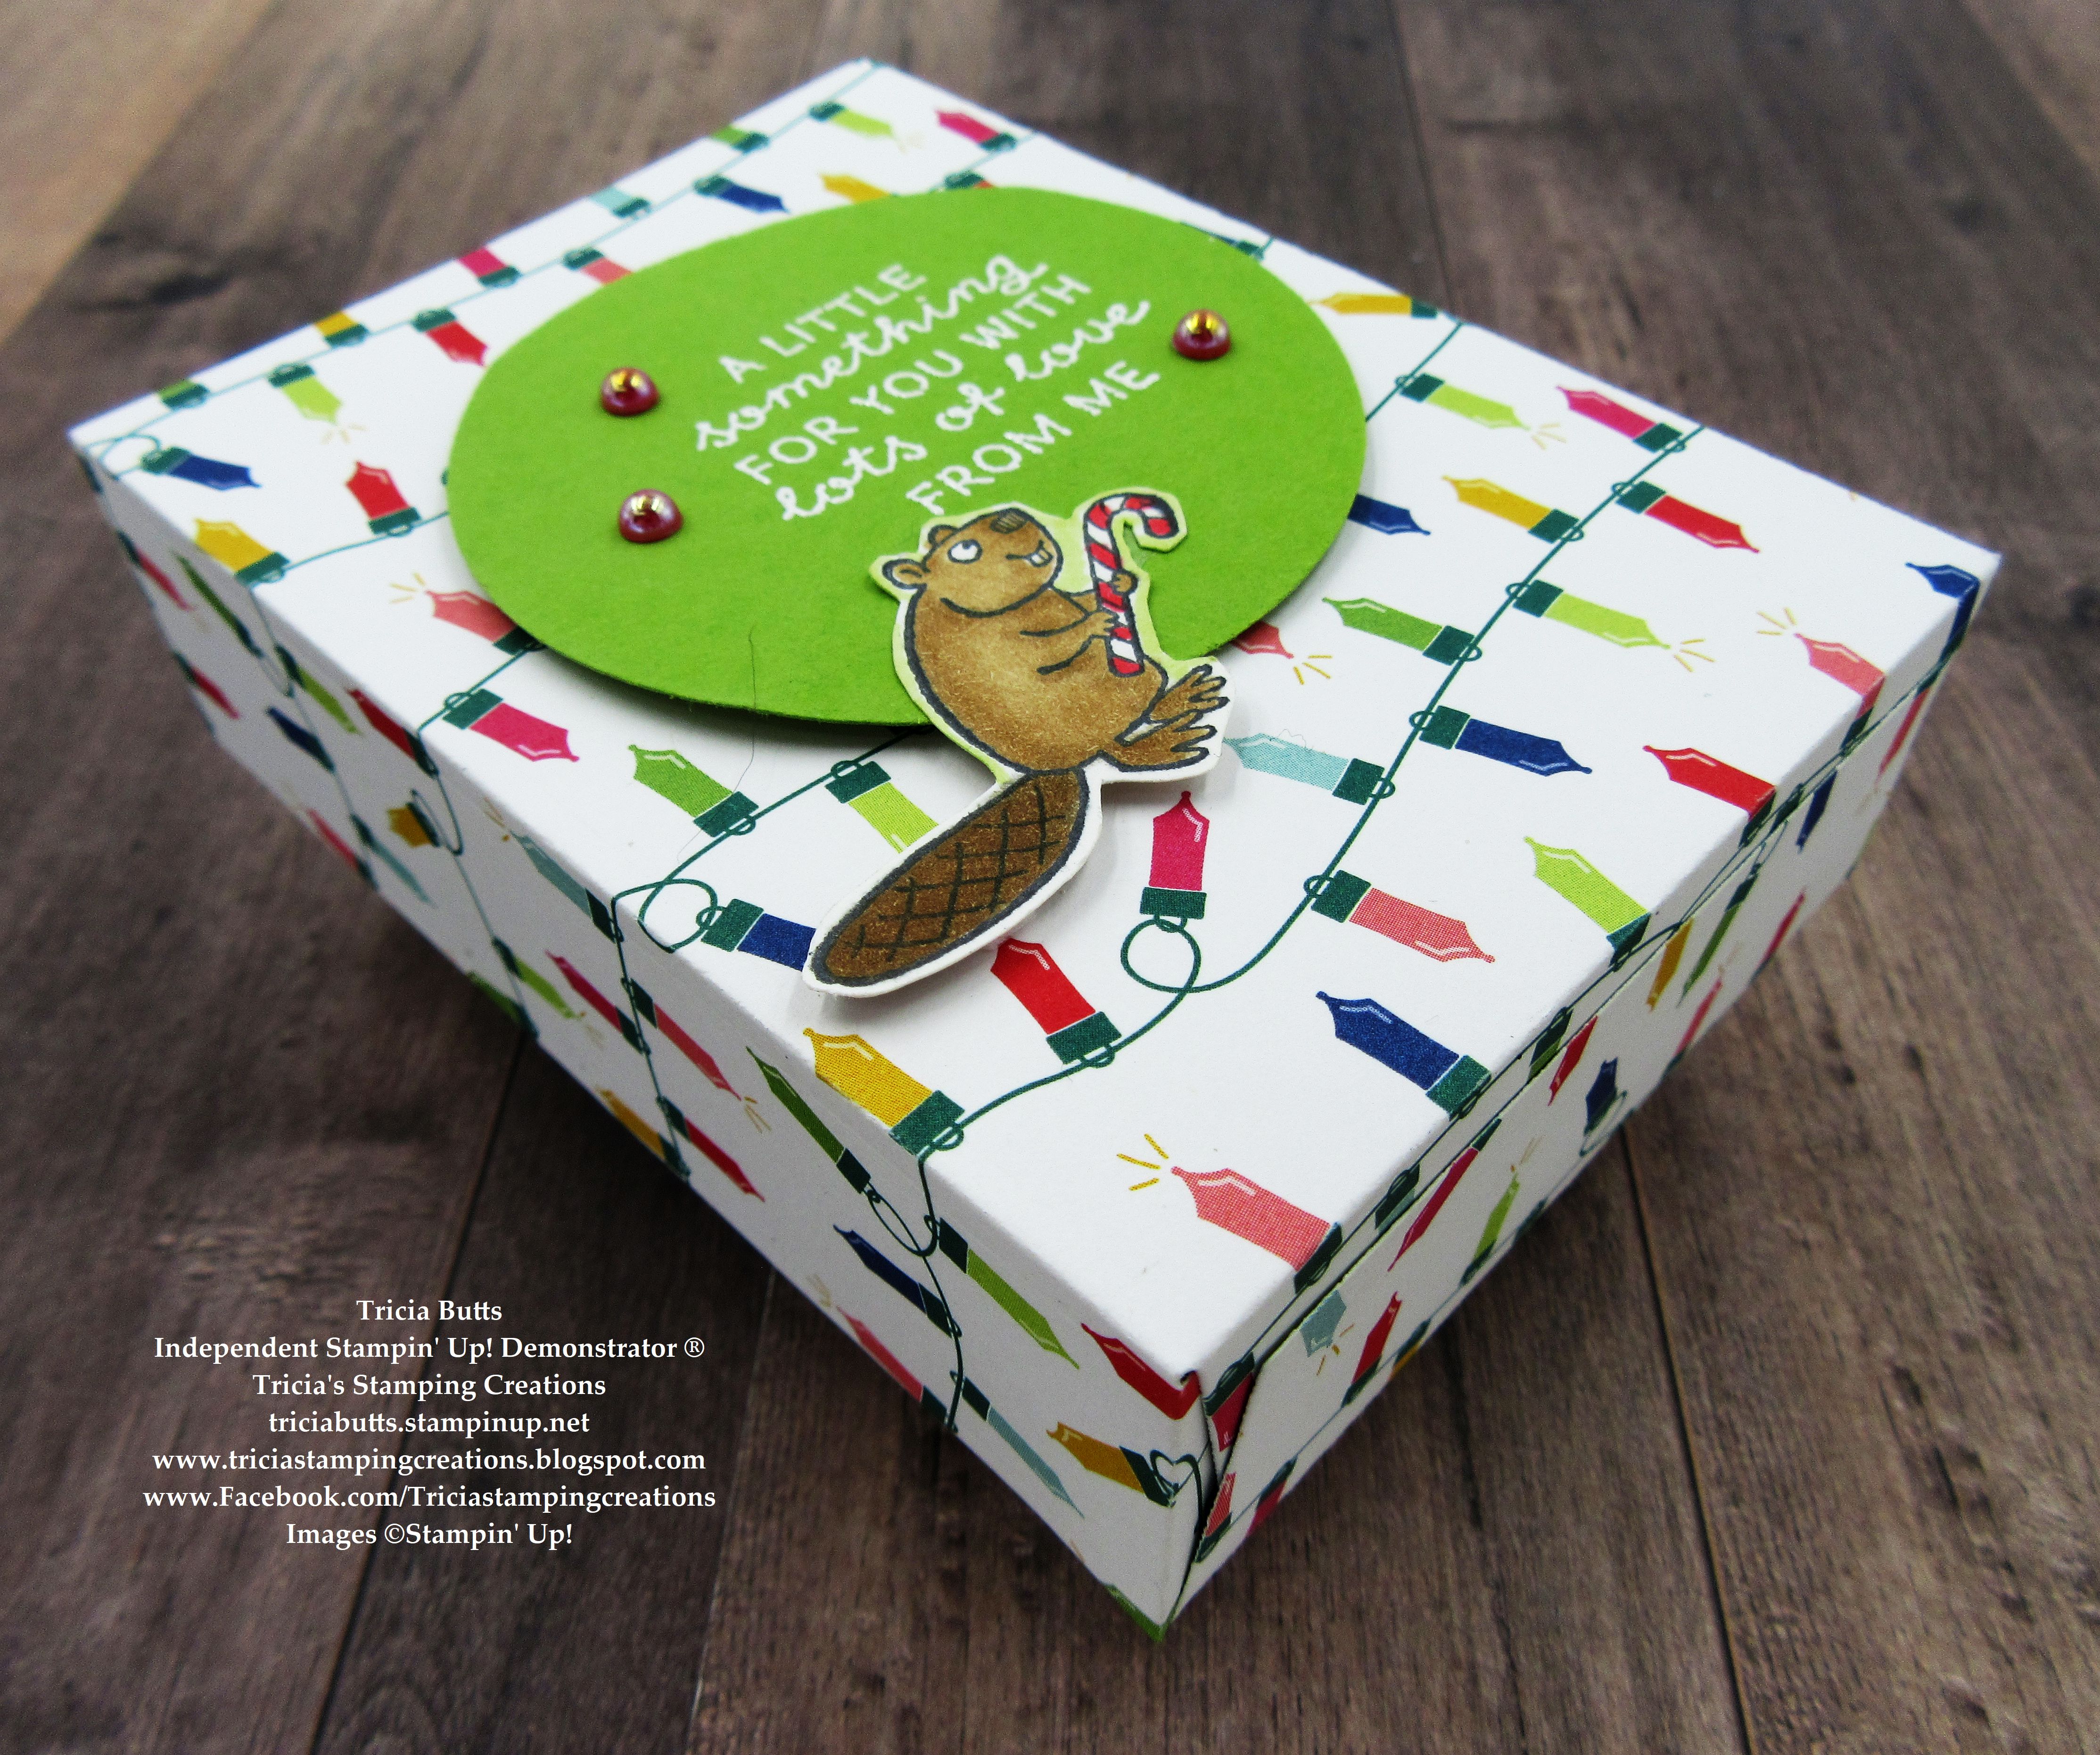
Today I wanted to share a fun treat holder idea that you can create as a quick gift for the holidays. The Tricks or Treats Dies is wonderful for creating a simple treat bag/box and I used a design from the Merry Bold & Bright Designer Series Paper to give it a fun and festive feel. You may remember that I used these dies to create bunch of these treat boxes for Halloween and they were a big hit with the kids who received them. 
Products Used:
Festive & Fun stamp set (item #162078)
Tricks Or Treats Dies (item #162225)
2 3/8" Circle Punch (item #161354)
Merry Bold & Bright Designer Series Paper (item #161945)
Granny Apple Green Cardstock (item #146990)
Basic White Cardstock (item #159276)
Pecan Pie Stampin' Blends Combo Pack (item #161574)
Pebbled Path Stampin' Blends Combo Pack (item #161658)
Poppy Parade Stampin' Blends Combo Pack (item #154958)
Memento Tuxedo Black Pad (item #132708)
Versamark Pad (item #102283)
Basics Embossing Powders (item #155554)
2022-2024 In Color Pearls (item #161621)
Tear & Tape Adhesive (item #154031)
Stampin' Dimensionals (item #104430)
Measurements:
Merry Bold & Bright Designer Series Paper
2 sides for box die cut with the Tricks or Treats Dies
Granny Apple Green Cardstock
Large Circle punched out with the 2 3/8" Circle Punch
Basic White Cardstock
Beaver image stamped and fussy cut with Paper Snips
This cute treat holder is perfect for the holidays and easy to assemble. I love that the die from the Tricks Or Treats Dies does all the work and all I have to do is decide what paper to use and then add some Tear & Tape Adhesive to put it together. The fun part is decorating it to make it extra special. For this treat holder, I used the Festive & Fun stamp set for the sentiment, which I heat embossed onto the Granny Apple Green circle and the cute little beaver that I colored with Stampin' Blends Markers and fussy cut with Paper Snips. I kept the embellishments simple with some Sweet Sorbet Pearls from the 2022-2024 In Color Pearls. Just think of how many treat holders you could create for neighbors and friends to hand out during the holidays. 
Thank you for taking the time to visit my blog. I hope that my project will inspire you to get creative and have fun making your own homemade gifts and decorations. There are so many wonderful possibilities to explore.
Now it's time to visit Deb's blog and see what she has created to share with us. Just click on the Next button to visit her blog. We would appreciate it if you would leave us a comment and let us know what you liked about our projects. I hope you enjoy the rest of our blog hop.


If you live in the U.S. and do not have a Stampin' Up! Demonstrator, please contact me and I would be happy to help you with your creative projects. You may also visit my Online Store to place your order and have it shipped to you. 

Until Next Time

Happy Stamping,

Tricia Butts
Independent Stampin' Up! Demonstrator

Like What You See? Visit My Online Store Here

Visit My Facebook Business Page for Updates & Ideas

Click here to Contact Me


One Day Only - December 14th
Free Shipping On Orders Of $75 Or More
Click Below To Start Shopping

Stock Up On Your Favorite Retiring Products
From The September-December 2023 Mini Catalog
Click Below To Visit My Online Store

Explore The Latest Additions
To The Online Exclusives
Click Below To Shop Now


Tuesday, November 24, 2020

PPP November Blog Hop Jolly Gingerbread

Welcome to the PPP November Blog Hop as we showcase alternative project ideas for the Jolly Gingerbread Kit. This fun, festive kit is perfect for the holidays and we are excited to share our ideas and projects with you to help you think outside of the box. 
The gift card holders in this Paper Pumpkin kit are so cute and I love all the wonderful detail. But what if you need something a little bigger to hold a treat? I decided to combine the supplies from the Jolly Gingerbread kit with the Little Treat Box Dies from the August-December 2020 Mini Catalog to create this fun treat holder for the holidays. With just a few coordinating supplies from the 2020-2021 Annual Catalog, this treat holder is simple to create and you can create a whole gingerbread village to give to family and friends. They would also be a sweet place card holder idea for the dinner table on Christmas Day. 
As you can see, I die cut one of the Little Treat Boxes using the die from the Little Treat Box Dies (item #153571) from Cinnamon Cider cardstock. I cut one of the gift card holder bases from the kit, along the score lines to create the front and back of the gingerbread house. I decorated the Whisper White layer for the front and back of the house using the exclusive stamp set from the kit and the Blushing Bride Ink Spot. I stamped the sentiment onto the sentiment label and embellished it with two small Basic Pearls that I colored with the Dark Calypso Coral Stampin' Blends Marker. I attached the decorated house layers to the front and back of the treat box with Stampin' Seal to complete the treat holder. The candy gems add the final touch.  
Products Used: 
Paper Pumpkin November Jolly Gingerbread Kit
Little Treat Box Dies (item #153571)
Cinnamon Cider Cardstock (item #153078)
Basic Pearl Jewels (item #144219)
Calypso Coral Stampin' Blends Combo Pack (item #154881)
Stampin' Seal (item #152813)
Measurements:
Cinnamon Cider Cardstock - 5 3/4" x 8 1/2" (For Little Treat Box die cut)
One Card Base from kit - cut along score lines to create front and back of the house
Two Whisper White House Shaped Die Cuts from Kit 
- stamp with images to decorate
One Sentiment Label - stamp with sentiment and attach to decorated house front with Stampin' Dimensionals in the kit
Thank you for taking the time to visit my blog. I hope that my treat holder will provide you with inspiration to help you create your own fun projects with this amazing Paper Pumpkin kit. There are so many wonderful possibilities when you combine the supplies in this kit with products in the August-December 2020 Mini Catalog. 

Now it's time to visit Terri's wonderful blog and see what she has created with this month's kit. Just click the Next button below to visit her blog. We would love it if you would leave us a comment and let us know what you enjoyed about our projects. I hope you enjoy the rest of our blog hop. 

If you live in the U.S. and do not already have a Stampin' Up! Demonstrator, please contact me and I would be happy to help you with your creative projects. Let me know if you have any questions about Paper Pumpkin or need help signing up to take advantage of the December Paper Pumpkin for a wonderful creative therapy experience. 

Until Next Time

Happy Stamping,

Tricia Butts
Independent Stampin' Up! Demonstrator
Like What You See? Visit My Online Store Here

Visit My Facebook Business Page for Updates & Ideas

Click here to Contact Me


Looking For A Beary Fun Gift Idea?

Subscribe To Receive The December Paper Pumpkin Kit

Click Below To Sign Up By December 10th


Create Amazing Projects

With Curvy Celebrations

Click Below To Visit My Online Store


Create Beautiful Projects For The Holidays
With Products In The August-December 2020 Mini Catalog
Click Below To Visit My Online Store