Showing posts with label Heart & Home Memories & More Cards & Envelopes. Show all posts

Wednesday, June 8, 2022

Around The World On Wednesday June Blog Hop Let's Hear It For The Boys

Welcome to the Around The World On Wednesday June Blog Hop as we celebrate our theme "Let's Hear it for the Boys". Our talented Design Team members will be sharing their projects and ideas to  help inspire you to create your own wonderful projects for the boys in your life, whether they are young or young at heart. 
For my card design, I decided to use a new bundle from the 2022-2023 Annual Catalog and combine it with a retiring product from the January-June 2022 Mini Catalog to create a clean and simple masculine birthday card. I love the images and coordinating dies in the He's All That Bundle and they are perfect for creating amazing guy cards. I chose to use one of the large card bases from the retiring Heart & Home Memories & More Cards & Envelopes because I loved the blue and white stripe for the background to showcase my card design. For my color combination, I chose to use Night of Navy, Bermuda Bay, Basic White and Silver. I love how this card design turned out and it was a great way to use these card bases for masculine cards. 
Products Used:
He's All That Bundle (item #159079) New
Stylish Shapes Dies (item #159183) New
Heart & Home Memories & More Cards & Envelopes 
(item #157958) Retiring
Night Of Navy Cardstock (item #100867)
Bermuda Bay Cardstock (item #131197)
Silver Foil Specialty Pack (item #156457)
Versamark Pad (item #102283)
Metallics Embossing Powders (item #155555)
Classic Matte Dots (item #158146)
Baker's Twine Essentials Pack (item #155475)
Stampin' Dimensionals (item #104430)
Measurements:
Heart & Home Memories & More Cards & Envelopes - Large Blue & White Striped
Bermuda Bay Cardstock
Large Stitched Square die cut with the Stylish Shapes Dies
Night Of Navy Cardstock
Focal image label die cut with the All That Dies
Small Banner die cut with the All That Dies
Silver Foil Specialty Pack (Mirrored Foil)
Small Banner die cut with the All That Dies
This clean and simple birthday card makes me think of driving around in my car with the radio turned up, singing along (usually off key) to my favorite songs. The Silver embossed focal image has a great classic car that was made for cruising and I just love the feeling this image gives to this card design. I layered the Night of Navy focal layer onto the Bermuda Bay Stitched Square to make it pop and add some color to the card design. I added it to the card base with Stampin' Dimensionals to pop it up and add dimension to the design. To embellish the card, I added some White Baker's Twine around the Bermuda Bay square and added the focal layer over the top with Stampin' Dimensionals. The Silver Foil and Night of Navy banners add a wonderful accent to the design and I added four of the White Classic Matte Dots to the corners of the Bermuda Bay square to complete the design. I love the fresh colors and clean lines of this card design and I think this masculine birthday card would work for guys of all ages. 
Thank you for taking the time to visit my blog. I hope that my card design will help you to explore creating your own wonderful masculine projects for the guys in your life. Don't be afraid to mix and match different products to create your own unique designs. 
Now it's time to visit Elaine's blog and see what she has created. Just click on the Next button to visit her blog or use the Roll Call List below to find your way. We would appreciate it if you would leave us a comment and let us know what you liked about our projects. I hope you enjoy the rest of our blog hop. 

Roll Call List

If you live in the U.S. and do not have a Stampin' Up! Demonstrator, please contact me and I would be happy to help you with your creative projects. You may also visit my Online Store to place your order and have it shipped to you. 

Until Next Time

Happy Stamping,

Tricia Butts
Independent Stampin' Up! Demonstrator

Like What You See? Visit My Online Store Here

Visit My Facebook Business Page for Updates & Ideas

Click here to Contact Me


Sunday, May 1, 2022

We Create May Blog Hop Flower Frenzy

Welcome to the We Create May Blog Hop as we celebrate this month's theme "Flower Frenzy". Stampin' Up! has so many wonderful products featuring flowers for us to share with you and help inspire you to get creative. I hope you will take the time to visit with our talented Design Team as they share their projects and ideas.
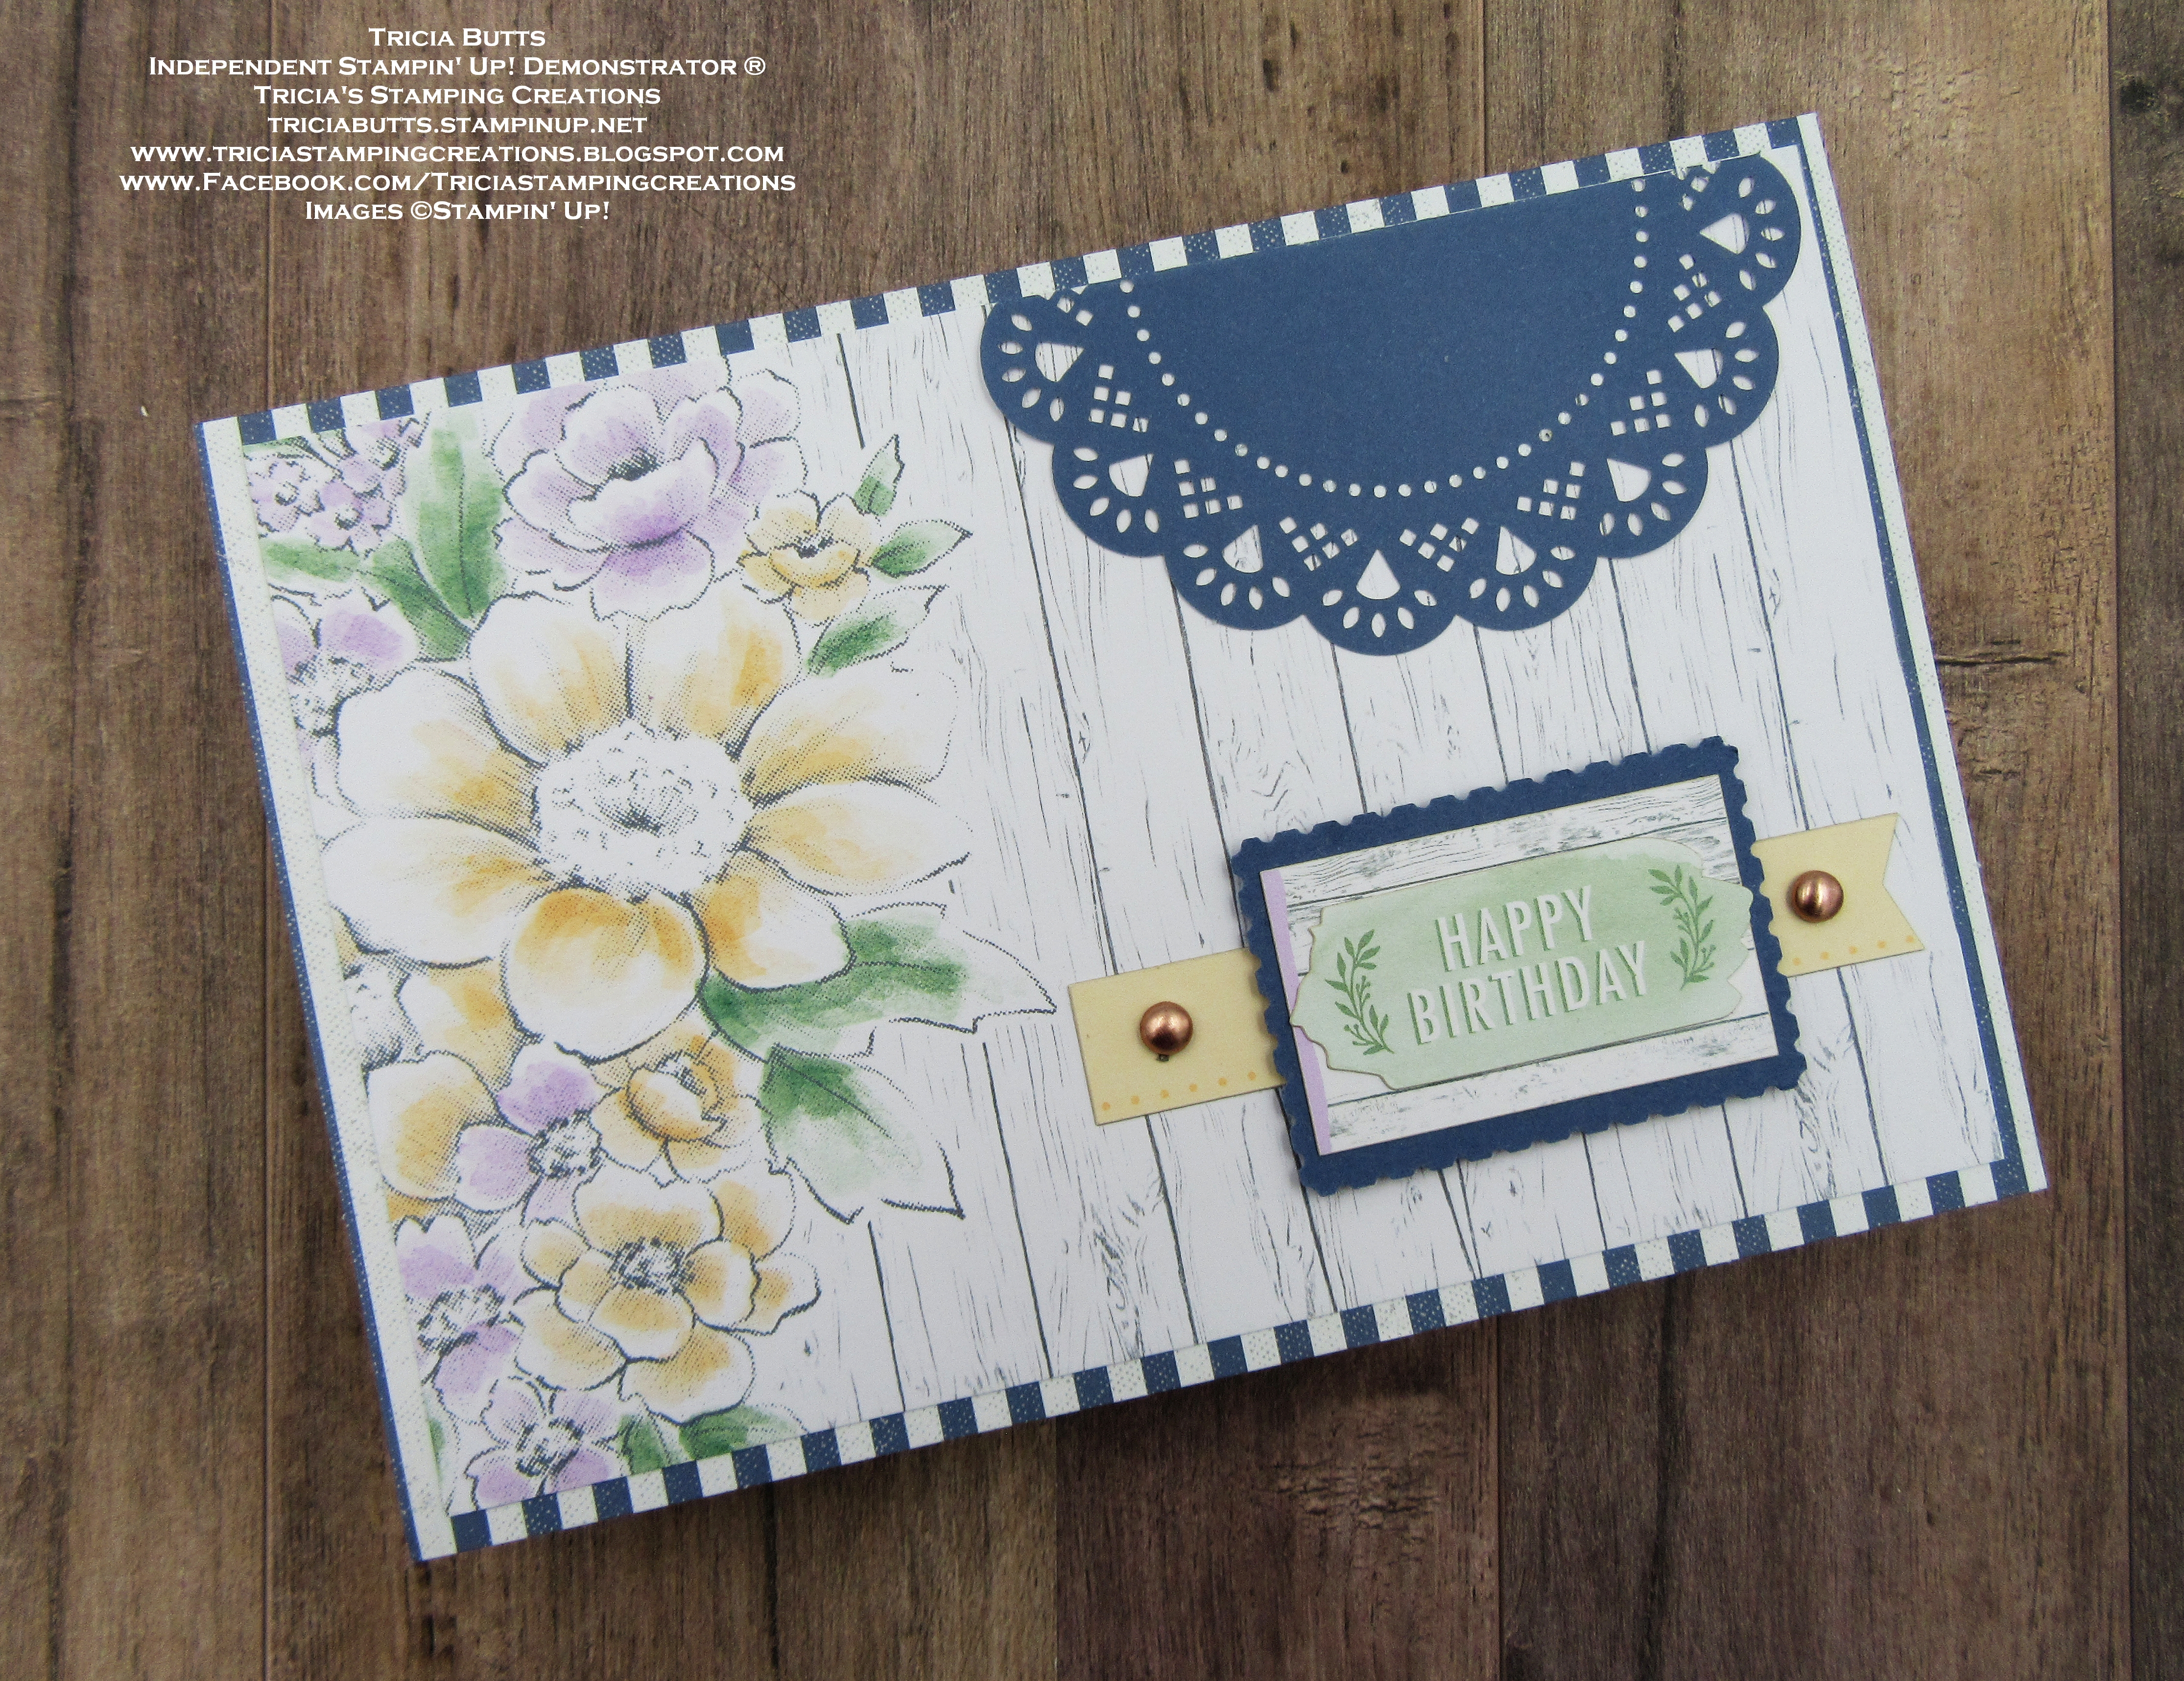
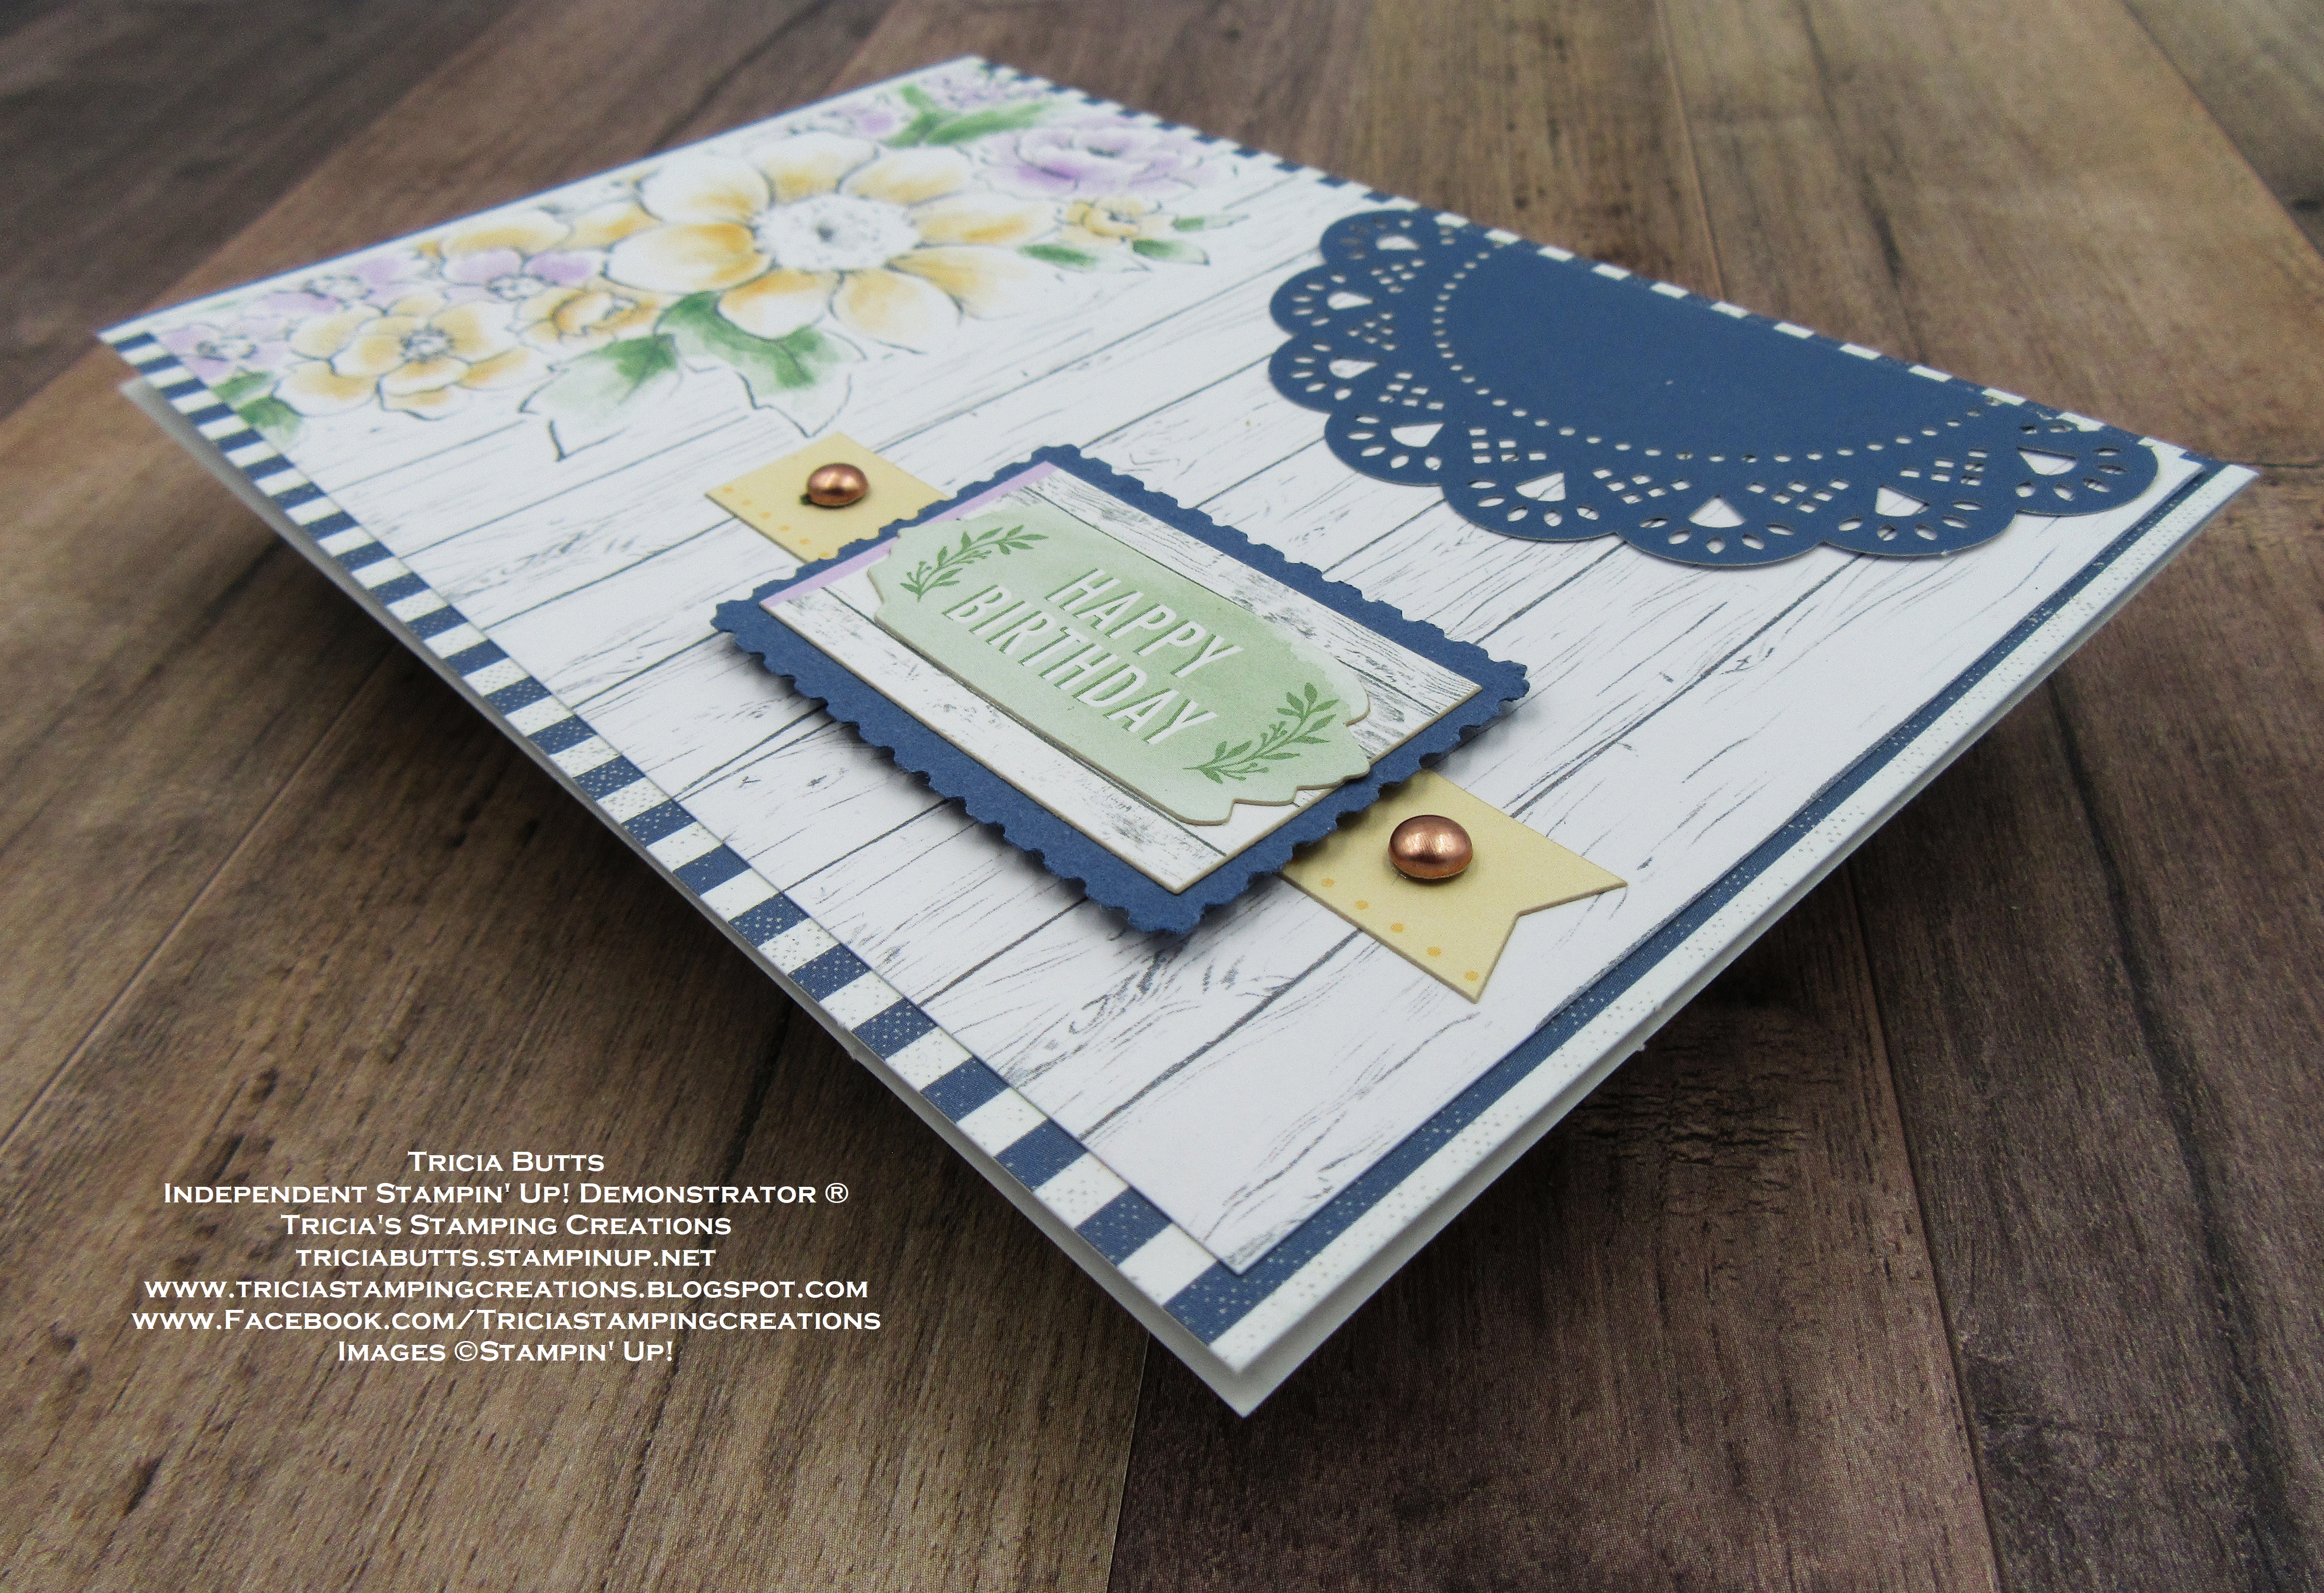
For my card design, I chose to use the Heart & Home Memories & More Card Pack with the coordinating Heart & Home Memories & More Cards & Envelopes, to create a beautiful birthday card. I love the striped background on the card base and how it frames the pretty floral Memories & More card that I used for the card front. The stickers in the card pack work well for creating the sentiment and accents for this card design. The Heart & Home Memories & More products are a great way to create beautiful card quickly and simply and you don't need to stamp. 
Products Used:
Heart & Home Memories & More Card Pack (item #157957)
Heart & Home Memories & More Cards & Envelopes 
(item #157958)
Heart & Home Doilies (item #157956)
Misty Moonlight Cardstock (item #153081)
Rectangular Postage Stamp Punch (item #152709)
Brushed Metallic Adhesive Backed Dots (item #156506)
Stampin' Dimensionals (item #104430)
Measurements:
Heart & Home Memories & More Striped Card Base- 41/4" x 6 1/4"
Large Memories & More Card - 4" x 6"
Misty Moonlight Rectangular Postage Label
1/2 Misty Moonlight Doily
To create this pretty card, it is simply a matter of layering the different elements to build the card. I used half of one of the Misty Moonlight doilies to embellish the top right edge of the card front. I love the way the lacy detail helps step up the card design. For the sentiment, I punched out a postage rectangle from Misty Moonlight cardstock with the Rectangular Postage Punch and added the woodgrain rectangle sticker to it to create the background for the sentiment, which is also a sticker from the card pack. I added the sentiment label to the card front with Stampin' Dimensionals and then added one of the Pale Papaya arrow stickers (cutting it in half) on either side of the sentiment label. To finish off the card design, I added two of the Copper Brushed Adhesive Backed Dots to the arrow. 
Thank you for taking the time to visit my blog. I hope that my card design will help inspire you to explore the beautiful products that Stampin' Up! has to offer to help you create your own wonderful projects.
Now it's time to visit Tanya's blog and see what she has to share with us. Just click the Next button below to visit her blog. We would appreciate it if you would leave us a comment and let us know what you liked about our projects. I hope you enjoy the rest of our blog hop. 


If you live in the U.S. and do not have a Stampin' Up! Demonstrator, please contact me and I would be happy to help you with your creative projects. You may also visit my Online Store to place your order and have it shipped to you. 

Until Next Time

Happy Stamping,

Tricia Butts
Independent Stampin' Up! Demonstrator

Like What You See? Visit My Online Store Here

Visit My Facebook Business Page for Updates & Ideas

Click here to Contact Me


Final Days!
Stock Up On Retiring Products Now
Click Below To Visit My Online Store

Explore The Amazing New 2022-2024 In Colors
With The May Paper Pumpkin Kit 
Click Below To Subscribe By May 10th