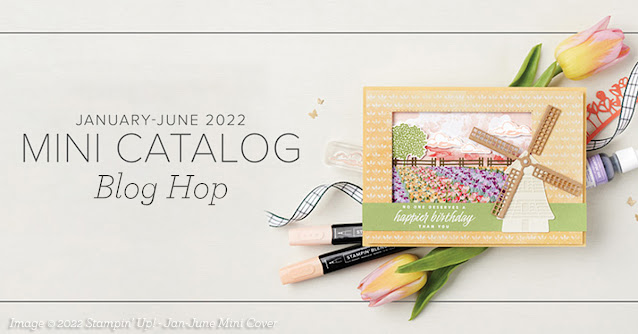
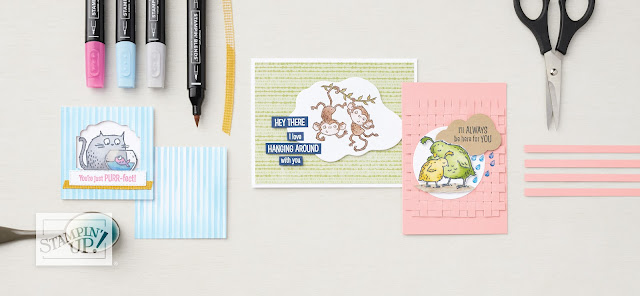
Welcome to the Around The World On Wedensday January Blog Hop as we start off the New Year with the theme "CASE the Mini Switcharoo". Basically, that means we have been challenged to CASE a project featured in the January-June 2022 Mini Catalog but we have to use a different stamp set and different colors than the sample project. But wait, there is a twist. If we happened to choose a page that had projects designed by Stampin' Up!'s Master Stamper, Cindy Schuster, we could choose to use the same products and colors as she did in her projects. Now below is the photo of the page that I chose to CASE a project from in the January-June 2022 Mini Catalog and Surprise! I chose Cindy's projects to CASE. Which makes me very happy because I just love this stamp set that she used and I love the colors that she chose.
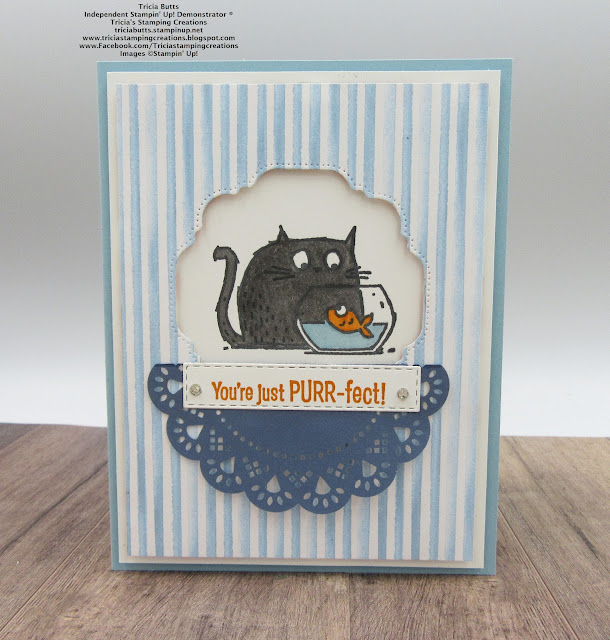
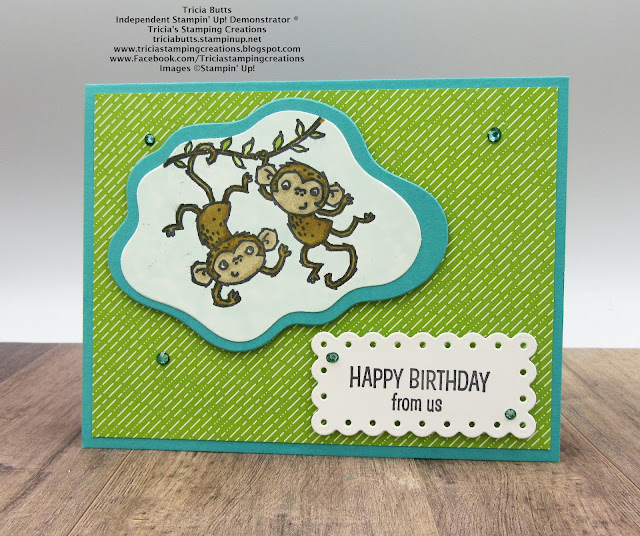
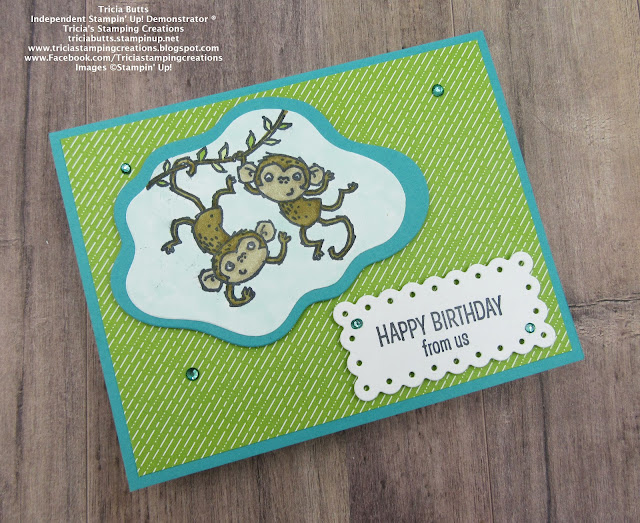
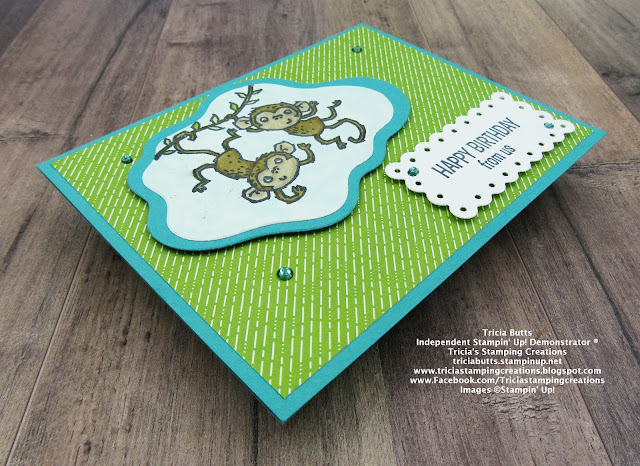
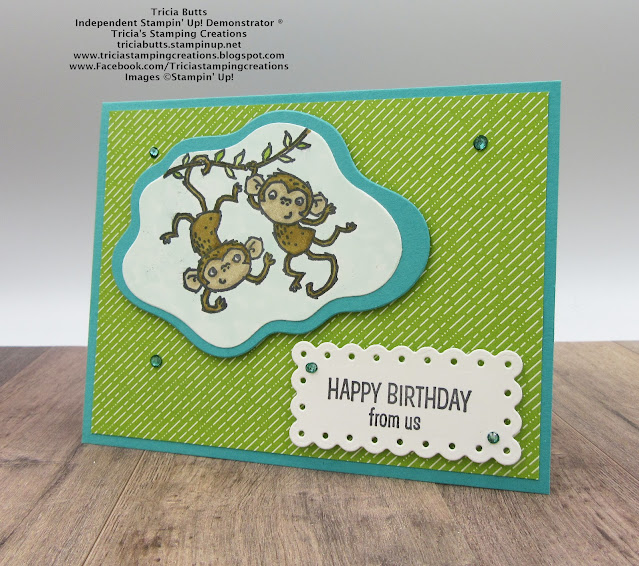
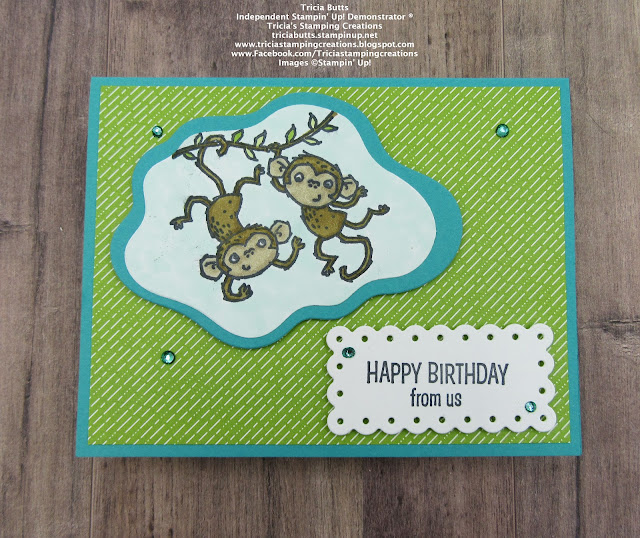
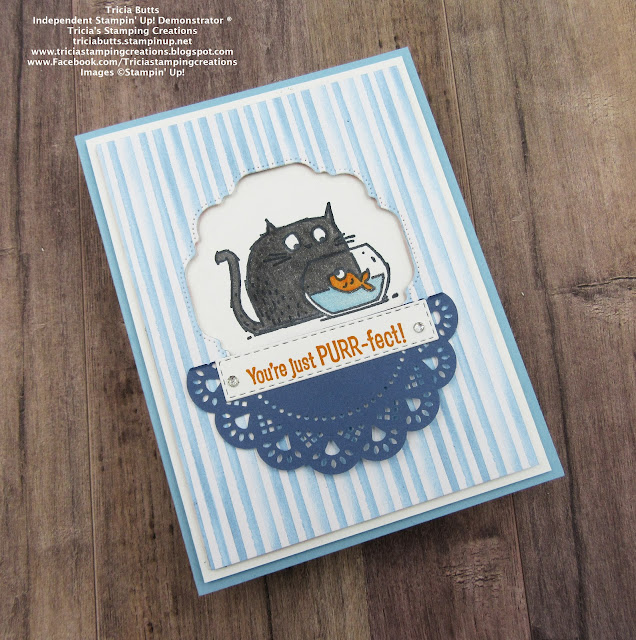
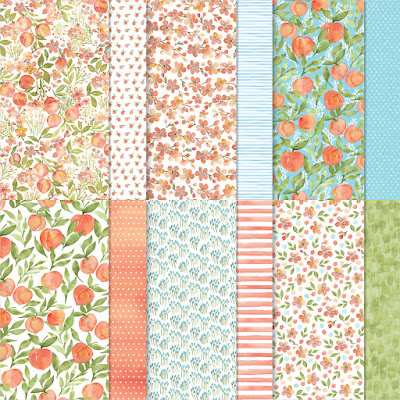
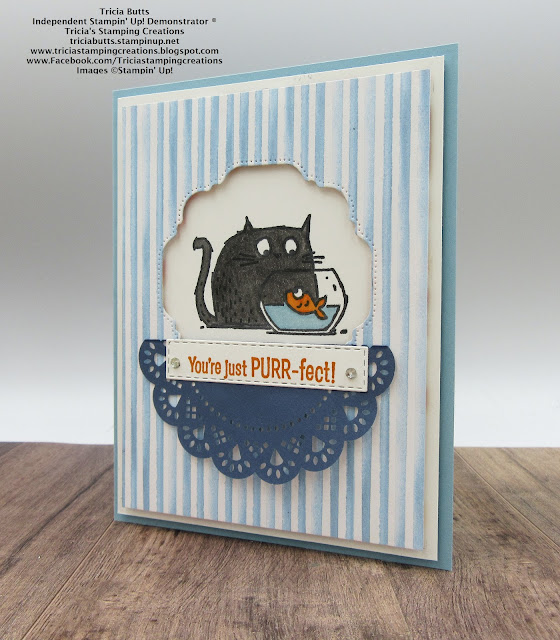
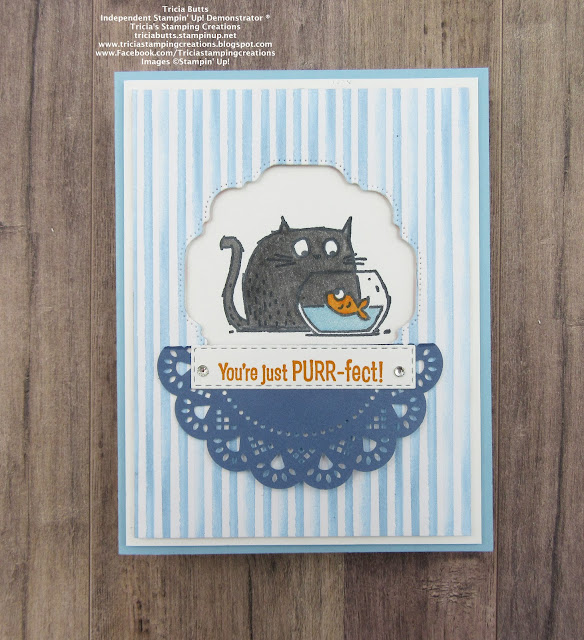
For my CASE of Cindy's card, I chose to create a full size card instead of the 3" square card she created for the catalog. I added a Balmy Blue cardstock card base and I used the Hippo & Friends Dies to create the opening for the card instead of the Label Me Lovely Punch that Cindy used for her card design. For the card front, I used the same piece of You're A Peach Designer Series Paper but instead of ribbon, I chose to use half of a Misty Moonlight Doily to embellish the card front. For the most part, I kept my card design the same as Cindy's original card with just a few small changes. I love how this card turned out and I love this adorable stamp set. I can't wait to try the other samples that Cindy has on this page of the catalog.
Products Used:
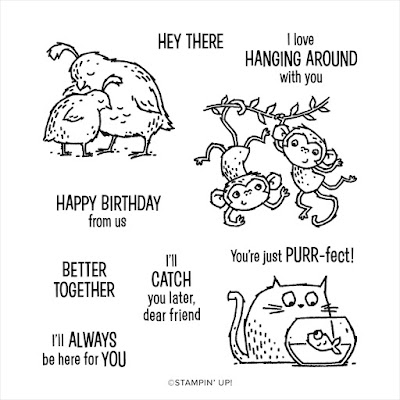
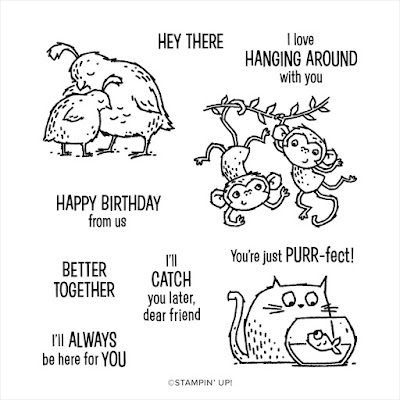
Catch You Later stamp set (item #158037)
Hippo & Friends Dies (item #153585)
Stitched Rectangles Dies (item #151820)
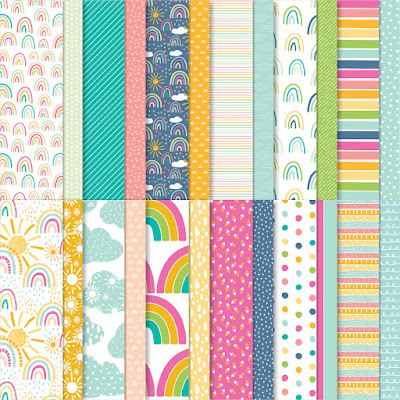
You're A Peach Designer Series Paper (item #155686)
Balmy Blue Cardstock (item #146982)
Basic White Cardstock (item #159276)
Pumpkin Pie Classic Ink Pad (item #147086)
Memento Tuxedo Black Pad (item #132708)
Clear Wink of Stella Glitter Brush (item #141897)
Smoky Slate Stampin' Blends Combo Pack (item #154904)
Balmy Blue Stampin' Blends Combo Pack (item #154830)
Pumpkie Pie Stampin' Blends Combo Pack (item #154897)
Color Lifter (item #144608)
Home & Heart Doilies (item #157956)
Basic Rhinestone Jewels (item #144220)
Stampin' Dimensionals (item #104430)

Balmy Blue Cardstock
Card Base - 8 1/2" x 5 1/2" (Scored at 4 1/4")
Basic White Cardstock
Layer 1 - 5 1/4" x 4"
Sentiment Label die cut with the Stitched Rectangles Dies
You're A Peach Designer Series Paper
Layer 2 - 5" x 3 3/4" with opening die cut with the
Hippo & Friends Dies
Misty Moonlight Heart & Home Doily
Cut in half
As I am a cat person, this card was so much fun for me to CASE. I chose to use the Dark Smoky Slate Stampin' Blend Marker to color my kitty so that it more closely resembles one of my own cats. I used the Color Lifter to lighten and blend the fur, especially around the face. For the fish, I chose to use the Pumpkin Pie Stampin' Blends Markers and I used the Pumpkin Pie Classic ink to stamp the sentiment to coordinate with the fish. For the water in the bowl, I used the Balmy Blue Stampin' Blends Markers and colored over it with Clear Wink of Stella to give it shimmer. To make sure the cat image is positioned in the right place on the Basic White cardstock layer, I used a pencil to trace around the edge of the die cut opening and also marks at the corners to help line the designer series paper layer on top. I popped up the designer series paper with Stampin' Dimensionals to attach it to the Basic White layer to add dimension to the design. For the doily, I cut it in half and attached one half across the lower section of the opening just below the fish bowl. I then added the Stitched Rectangle sentiment label along the top edge of the doily, making sure to center it. For a touch of bling, I added two small Basic Rhinestones to complete the card design. I love that I was able to take Cindy's original card design and make some small changes to make it my own.
Thank you for taking the time to visit my blog. I hope that my card design will help inspire you to explore the beautiful samples in the January-June 2022 Mini Catalog and try CASEing to create your own beautiful projects.
Now it's time to visit Elaine's blog and see what she has chosen to CASE for this blog hop. Just click on the Next button or use the Roll Call List below to visit her blog. We would love it if you would leave us a comment and let us know what you liked about our projects. I hope you enjoy the rest of our blog hop.

Roll Call List

If you live in the U.S. and do not have a Stampin' Up! Demonstrator, please contact me and I would be happy to help you with your creative projects. You may also visit my Online Store to place your order and have it shipped to you.
Until Next
Time
Happy
Stamping,
Tricia Butts
Independent Stampin' Up!
Demonstrator
Like What You
See? Visit My Online Store Here
Visit My Facebook Business Page for Updates & Ideas
Click here to Contact Me
Explore Your Creativity
With The January-June 2022 Mini Catalog
Click Below To Visit My Online Store
Earn Amazing Free Products
During Sale-a-bration
Click Below For More Details