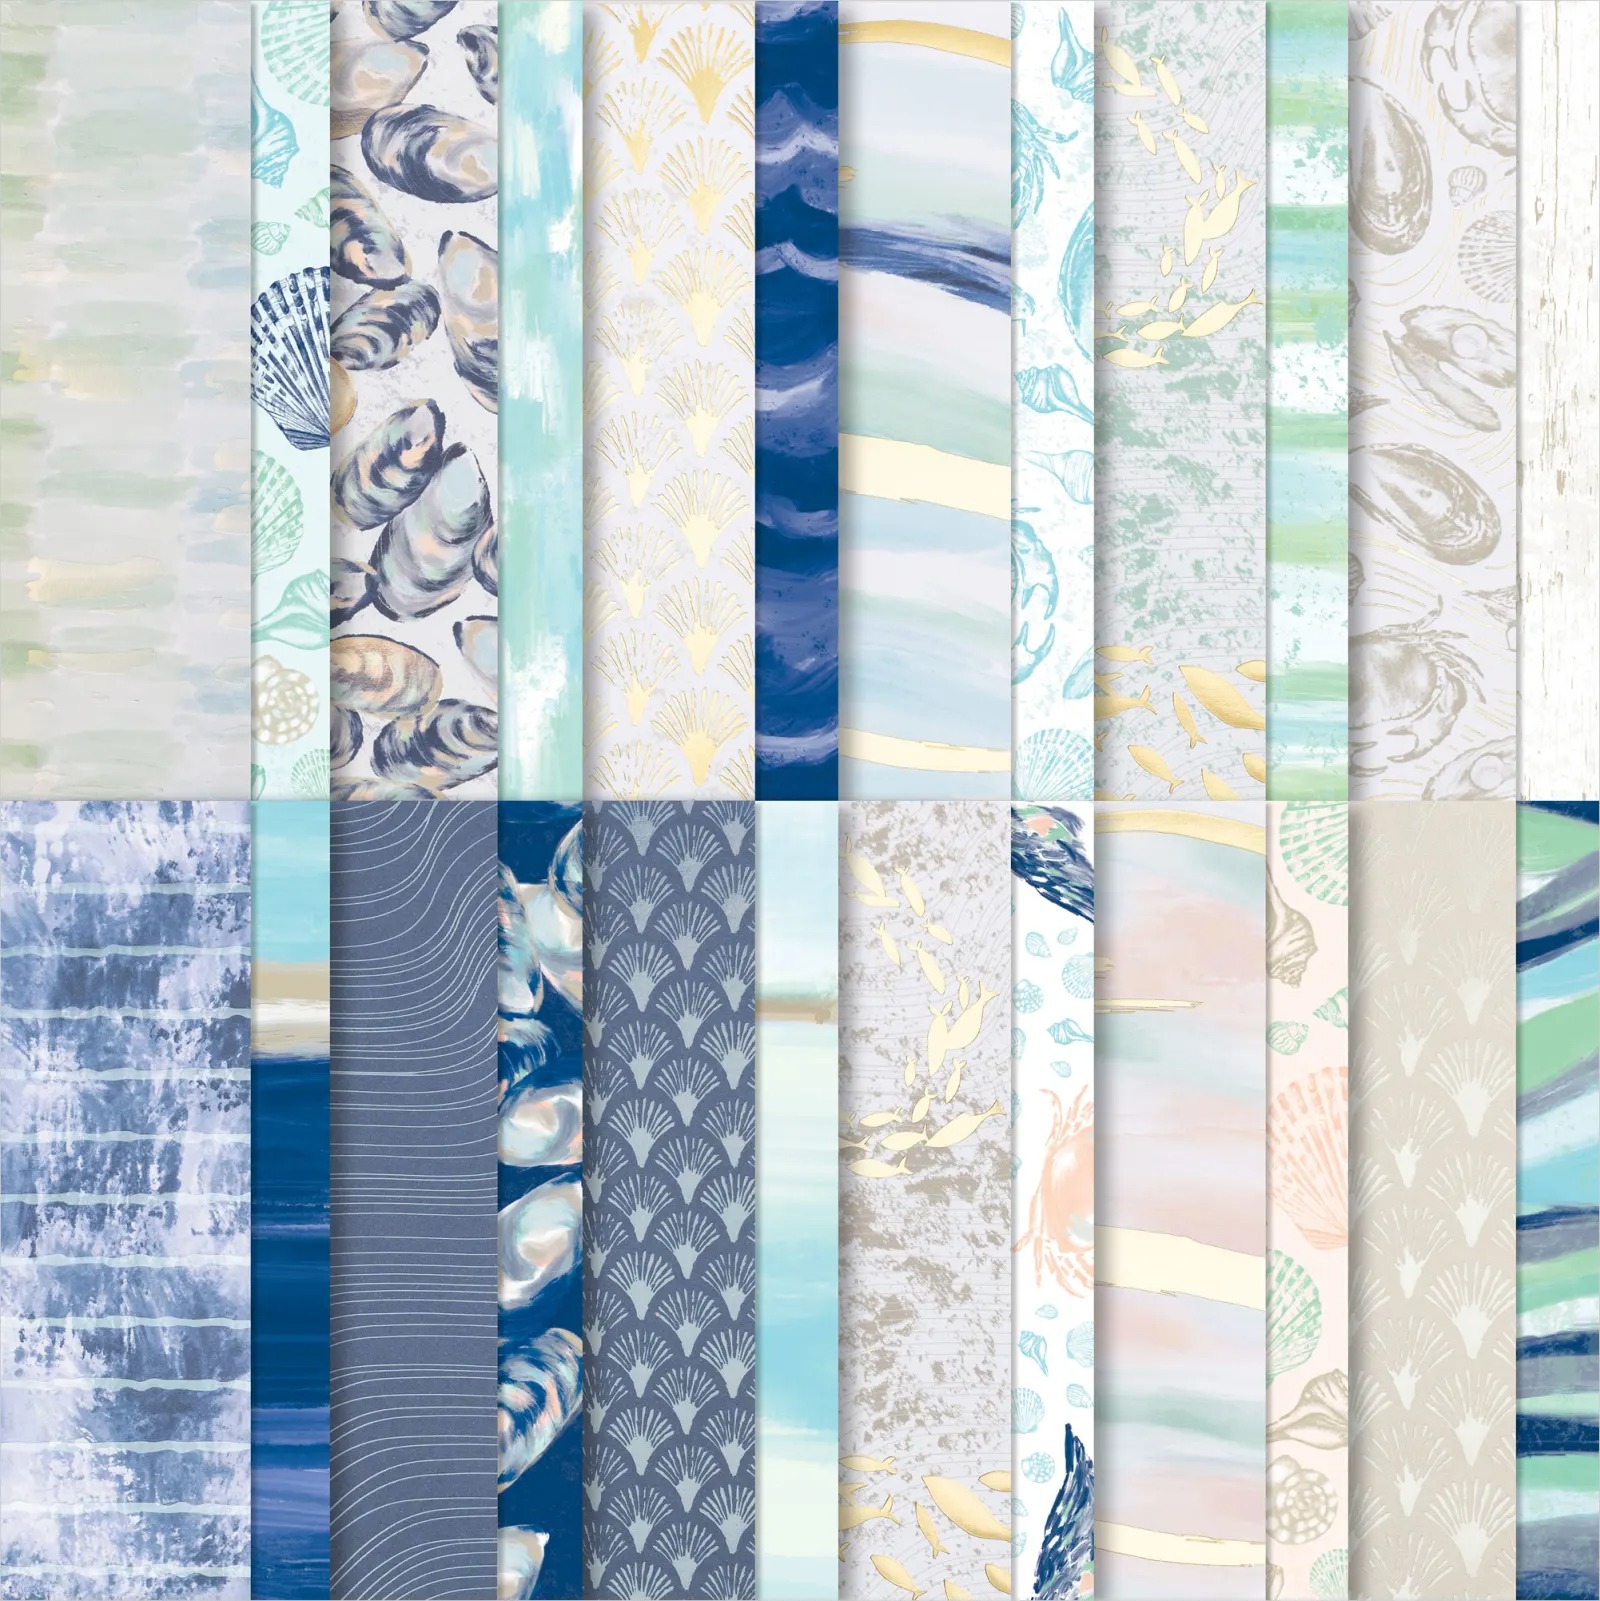
Showing posts with label By The Bay Designer Series Paper. Show all posts

Saturday, April 22, 2023

Ink. Stamp. Share. April Blog Hop Showcase

Welcome to the Ink. Stamp. Share. April Monthly Blog Hop as we showcase projects we are currently working on. You will be visiting with our talented Design Team members as they share their projects and ideas, which may include Sneak Peeks of new products from the upcoming 2023-2024 Annual Catalog as well as projects featuring retiring products that we are saying goodbye to. 
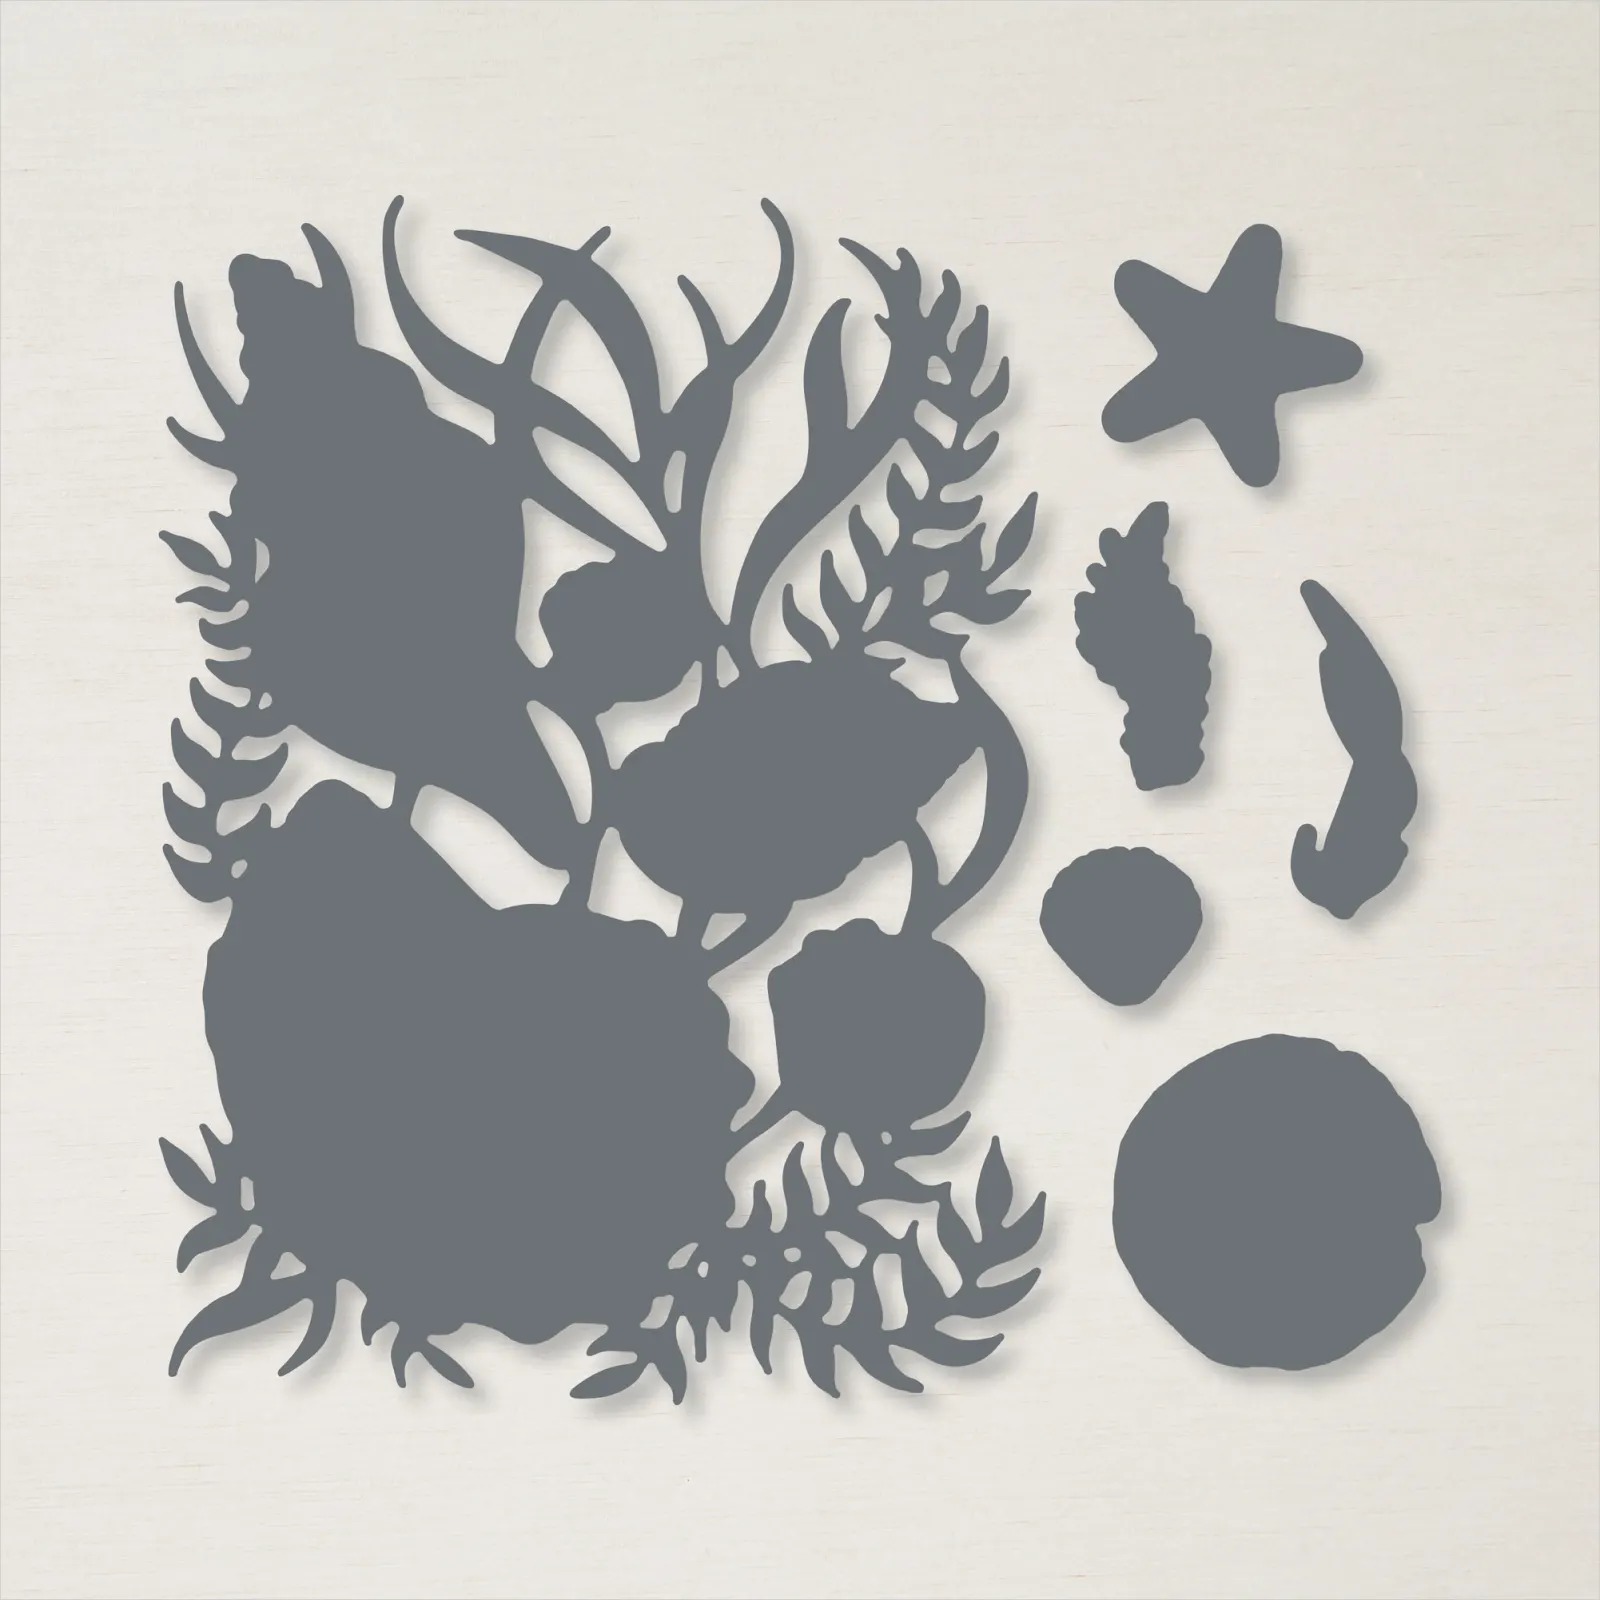
Today's card design features some of my retiring favorites from both the 2022-2023 Annual Catalog and January-April 2023 Mini Catalog. I love the ocean and going to the beach, so I wanted to create a design reflecting these places. The Friends Are Like Seashells stamp set and coordinating Seaside Seashells Dies are wonderful for beach theme cards and I paired them with the beautiful By The Bay 6"x 6" Specialty Designer Series Paper to create that had a calm, peaceful feel to it. I love this soft color combination and the subtle shimmer of the Clear Wink of Stella on the seashells adds a touch of sparkle. 
Products Used:
Friends Are Like Seashells stamp set (item #154368) Retiring
Seaside Seashells Dies (item #156095) Retiring
Harvest Dies (item #156504) Retiring 
By The Bay 6"x 6" Specialty Designer Series Paper (item #160434) Retiring 
Pool Party Cardstock (item #154894) 
Basic White Cardstock (item #159276)
Sahara Sand Cardstock (item #121043) Retiring
Pool Party Classic Ink Pad (item #147107)
Petal Pink Classic Ink Pad (item #147108)
Sahara Sand Classic Ink Pad (item #147117) Retiring
Versamark Pad (item #102283)
Metallics Embossing Powders (item #155555)
Clear Wink of Stella Glitter Brush (item #141897)
Basic Pearl Jewels (item #144219) Retiring
Stampin' Dimensionals (item #104430)
Measurements:
Pool Party Cardstock
Card Base - 8 1/2" x 5 1/2" (Scored at 4 1/4")
Sentiment Label die cut with the Harvest Dies
Basic White Cardstock
Background Layer - 3 1/4" x 4 5/8"
Seashells stamped and die cut with the Seaside Seashells Dies
Sahara Sand Cardstock
Sand Dollar image stamped and die cut with the Seaside Seashells Dies
By The Bay Specialty Designer Series Paper
4 Strips - 1" x 3"
This strip technique is a great way to use up scraps for designer series paper and I was able to cut 4 strips of 1"x 3" from a scrap piece of the designer series paper that I had left over from another project. I attached them to the Basic White cardstock layer, spacing them evenly before adhering them. I stamped the Pool Party card base with the "sand" image stamp around the edge of the front of the card using Pool Party Classic ink for a tone on tone design to add some texture. I attached the focal layer to the center of the card base with Stampin' Dimensionals to pop it up. For the sentiment, I heat embossed the image with Gold embossing powder onto Pool Party cardstock, to coordinate with the Gold accents on the designer series paper strips. I used a die from the Harvest Dies to die cut the long sentiment. I stamped the Sand Dollar stamp image onto Sahara Sand cardstock with Sahara Sand ink and then die cut it with the coordinating dies. I also stamped the seashells, one in Petal Pink Classic ink and one in Sahara Sand Classic ink onto Basic White cardstock and then fussy cut them both out. To create the design on the card front, I added the long sentiment label towards the bottom of the focal layer. I added the shells to the card front, popping the Petal Pink seashell up with Stampin' Dimensionals, overlapping them slightly over the sentiment label. Using Clear Wink of Stella, I added some shimmer to the seashells. To finish off the design, I added some Basic Pearls for a touch of bling. 
Thank you for taking the time to visit my blog. I hope that my card design will inspire you to take another look at the retiring products from the 2022-2023 Annual Catalog and January-April 2023 Mini Catalog. You will love the way they mix and match to help you create your own beautiful projects. 
Now it's time to visit with my fellow Design Team members and see what they have to share with us. Just use the Roll Call List below to visit their blogs to see their wonderful projects. We would appreciate it if you would leave us a comment and let us know what you liked about our projects. I hope you enjoy the rest of our blog hop.

If you live in the U.S. and do not have a Stampin' Up! Demonstrator, please contact me and I would be happy to help you with your creative projects. You may also visit my Online Store to place your order and have it shipped to you. Don't forget to check the Last Chance Retiring Products Sale and take advantage of up to 60% off select retiring products. These products are available only while supplies last, so don't delay in placing your order. 

Until Next Time

Happy Stamping,

Tricia Butts
Independent Stampin' Up! Demonstrator

Like What You See? Visit My Online Store Here

Visit My Facebook Business Page for Updates & Ideas

Click here to Contact Me


Save Up To 60% Off Select Retiring Products
From The Last Chance Products Sale
Click Below To Shop From My Online Store

Saturday, March 18, 2023

Stamping With Friends March Blog Hop Anything Goes

Welcome to the Stamping With Friends March Blog Hop and this month our theme is "Anything Goes". I love this kind of theme because it means we have the freedom to let our creativity loose and see where it takes us. Our Design Team Members will be sharing their wonderful projects and ideas to help inspire you and hopefully spark your creativity. 
My card design today was inspired by a card I recently saw created by fellow Stampin' Up! Demonstrator, Susan Campfield, during her Facebook Live. I really loved the layout that she used for her card and decided to CASE it to create my own version. What is CASE? It means Copy And Share Everything or Copy And Selectively Edit, and it's a wonderful way to find inspiration, especially if you are having a creative block. For my card design, I chose to use the Sea Turtles stamp set with the By The Bay 6"x6" Designer Series Paper to create a lovely clean and simple birthday card. 
Products Used:
Sea Turtle stamp set (item #160500)
Go To Greetings stamp set (item #158763)
Something Fancy Dies (item #160424)
By The Bay 6"x6" Designer Series Paper (item #160434)
Night of Navy Cardstock (item #100867)
Basic White Cardstock (item #159276)
Mint Macaron Classic Ink Pad (item #147106)
Night of Navy Classic Ink Pad (item #147110)
Versamark Pad (item #102283)
Metallics Embossing Powders (item #155555)
2021-2023 In Color Opal Rounds (item #159185)
Mini Stampin' Dimensionals (item #144108)
Measurements:
Night of Navy Cardstock
Card Base - 8 1/2" x 5 1/2" (Scored at 4 1/4"_
Sentiment Label die cut with the Something Fancy Dies 
Basic White Cardstock
Layer 1 - 3 1/4" x 4 5/8"
Sea Turtle stamped and fussy cut with Paper Snips
By The Bay Designer Series Paper
4 Strips - 1" x 3"
I love the soft mix of blues and greens in the designer series paper that I chose for the background and I wanted it to really pop on my card design. For this reason, I chose to use Night of Navy cardstock for the card base and I stamped the small school of fish image onto the background with Night of Navy Classic ink to create a tone on tone design. I arranged the 4 strips of designer series paper onto the Basic White Layer and then added the layer to the card base with Mini Stampin' Dimensionals. For the sentiment, I heat embossed the image from the Go To Greetings stamp set using Silver embossing powder, onto a Night of Navy sentiment label die cut with the Something Fancy Dies. I attached the sentiment to the card front with Mini Stampin' Dimensionals towards the bottom right corner. To create the turtle, I stamped the detailed image with Mint Macaron Classic ink onto Basic White cardstock and then flipped the stamp image over to stamp again over the top of the detailed image, making sure to stamp off once on a scrap piece of paper to create the lighter background color. I used Paper Snips to fussy cut the turtle and then attached it to the card front with Mini Stampin' Dimensionals so that it slightly overlaps the sentiment label. I added a touch of sparkle to the turtle by coloring it with Clear Wink of Stella and finished off the card design with several of the 2021-2023 In Color Opal Rounds, using the Soft Succulent and Evening Evergreen gems. This card is so versatile and I think it would make a great masculine design.
Thank you for taking the time to visit my blog. I hope that my card design will help inspire you to get creative with your supplies and create your own beautiful designs. It is so much fun to mix and match different products to create your own unique projects.
Please take the time to visit with my fellow Design Team members and see what they have created this month. Just click on the links in the Roll Call List to visit their blogs and journey along our blog hop. We would love it if you would leave us a comment and let us know what you liked about our projects.

If you live in the U.S. and do not have a Stampin' Up! Demonstrator, please contact me and I would be happy to help you with your creative projects. You may also visit my Online Store to place your order and have it shipped to you. 

Until Next Time

Happy Stamping,

Tricia Butts
Independent Stampin' Up! Demonstrator

Like What You See? Visit My Online Store Here

Visit My Facebook Business Page for Updates & Ideas

Click here to Contact Me


Online Exclusives Now Available
While Supplies Last
Click Below To Place Your Order

Explore Your Creativity
With The January-April 2023 Mini Catalog
Click Below To Visit My Online Store


Wednesday, February 15, 2023

New At SU February Blog Hop Something Fancy Bundle

Welcome to the New At SU February Blog Hop as we showcase the wonderful bundles in the January-April 2023 Mini Catalog. There is such a wide variety of themes to choose from and our talented Design Team members will be sharing their ideas and projects to help inspire you. 
The bundle I chose to showcase is the Something Fancy Bundle, which is a part of the Fancy Flora Suite Collection. I love the wonderful range of sentiments in the stamp set and the coordinating dies are perfect for die cutting labels to fit them. For my card design, I decided to pair it with the By The Bay 6"x6" Designer Series Paper and the Seaside Bay Dies to show the versatility of this bundle. 
Products Used:
Something Fancy Bundle (item #160425)
Seaside Bay Dies (item #160444)
By The Bay 6"x6" Specialty Designer Series Paper (item #160434)
Gold & Rose Gold 6"x6" Metallic Specialty Paper (item #156844)
Sahara Sand Cardstock (item #121043)
Coastal Cabana Cardstock (item #131297)
Petal Pink Cardstock (item #146985)
Versamark Pad (item #102283)
Metallics Embossing Powders (item #155555)
Gold 3/8" Satin Edged Ribbon (item #159555)
Iridescent Pastel Gems (item #1604298)
Mini Stampin' Dimensionals (item #144108)
Measurements:
Sahara Sand Cardstock
Card Base - 8 1/2" x 5 1/2" (Scored at 4 1/4")
Sentiment Label die cut with the Something Fancy Dies
Petal Pink Cardstock 
Large Label die cut with the Something Fancy Dies 
Coastal Cabana Cardstock
Seaweed die cut with the Seaside Bay Dies 
By The Bay Designer Series Paper
Card Front - 5 1/4" x 4"
This soft and pretty birthday card is simple to create and I love how the sentiment is the focal point for the design. The By The Bay Designer Series Paper creates a beautiful background and I added the detailed die cuts from the Seaside Bay Dies to help step up the card design. The Gold Satin Edge Ribbon adds an elegant touch to the card and I love how the Gold Metallic Specialty Paper adds some sparkle to the shells. The Something Fancy Dies layer beautifully to create the sentiment label and I love the font for the Happy Birthday sentiment from the Something Fancy stamp set. The colors I chose are from the designer series paper and they work beautifully together to create a pretty seaside scene. To finish off the card design, I added several Iridescent Pastel Gems to add some sparkle.
Thank you for taking the time to visit my blog. I hope that my card design will help inspire you to explore the wonderful bundles available in the January-April 2023 Mini Catalog. The Something Fancy Bundle is a very versatile bundle that works well with a wide variety of products to create projects for all occasions. 
Please take the time to visit my fellow Design Team members by clicking on the Roll Call List below to see their amazing projects. Everyone has chosen a different bundle from the January-April 2023 Mini Catalog to help spark your creativity. We would appreciate it if you would leave us a comment and let us know what you like about our projects. I hope you enjoy the rest of our blog hop. 

If you live in the U.S. and do not have a Stampin' Up! Demonstrator, please contact me and I would be happy to help you with your creative projects. You may also visit my Online Store to place your order and have it shipped to you. 

Until Next Time

Happy Stamping,

Tricia Butts
Independent Stampin' Up! Demonstrator

Like What You See? Visit My Online Store Here

Visit My Facebook Business Page for Updates & Ideas

Click here to Contact Me


Time Is Running Out
To Take Advantage Of Sale-a-bration
Click Below For More Details

Explore The Amazing New Products
In The January-April 2023 Mini Catalog
Click Below To Visit My Online Store