
Welcome to the Around The World On Wednesday July Blog Hop and this month we are CASEing fellow Design Team members, but with a twist. Our Team Leader, Angie McKenzie, has paired us up with a partner that we haven't worked with before, to CASE another Team member that neither of us have CASEd before and pick a color that we will both use in our projects. It's a fun way to get to know each other and spark our creativity at the same time. I hope you will enjoy this creative journey this month.

So, you may be asking, what does CASE mean? It stands for Copy And Share Everything and it's a great way to take inspiration from someone's else project to create your own. You can choose to copy the design exactly or take elements from the project such as the layout, color combination, product combination or some other element to create your own design. For today's blog hop, I am partnered with the wonderful Melissa Gifford and we decided to CASE our fellow Design Team member, Mikaela Titheridge, who just happens to be a Stampin' Up! Artisan Design Team member. I love Mikaela's style and her use of color, so this was a fun challenge for me. Melissa and I decided to use Pretty Peacock and Lost Lagoon to create our projects using the card design below for our CASE. I love the layout of the card we chose (see Mikaela's blog post here) and wanted to use that for my card design.

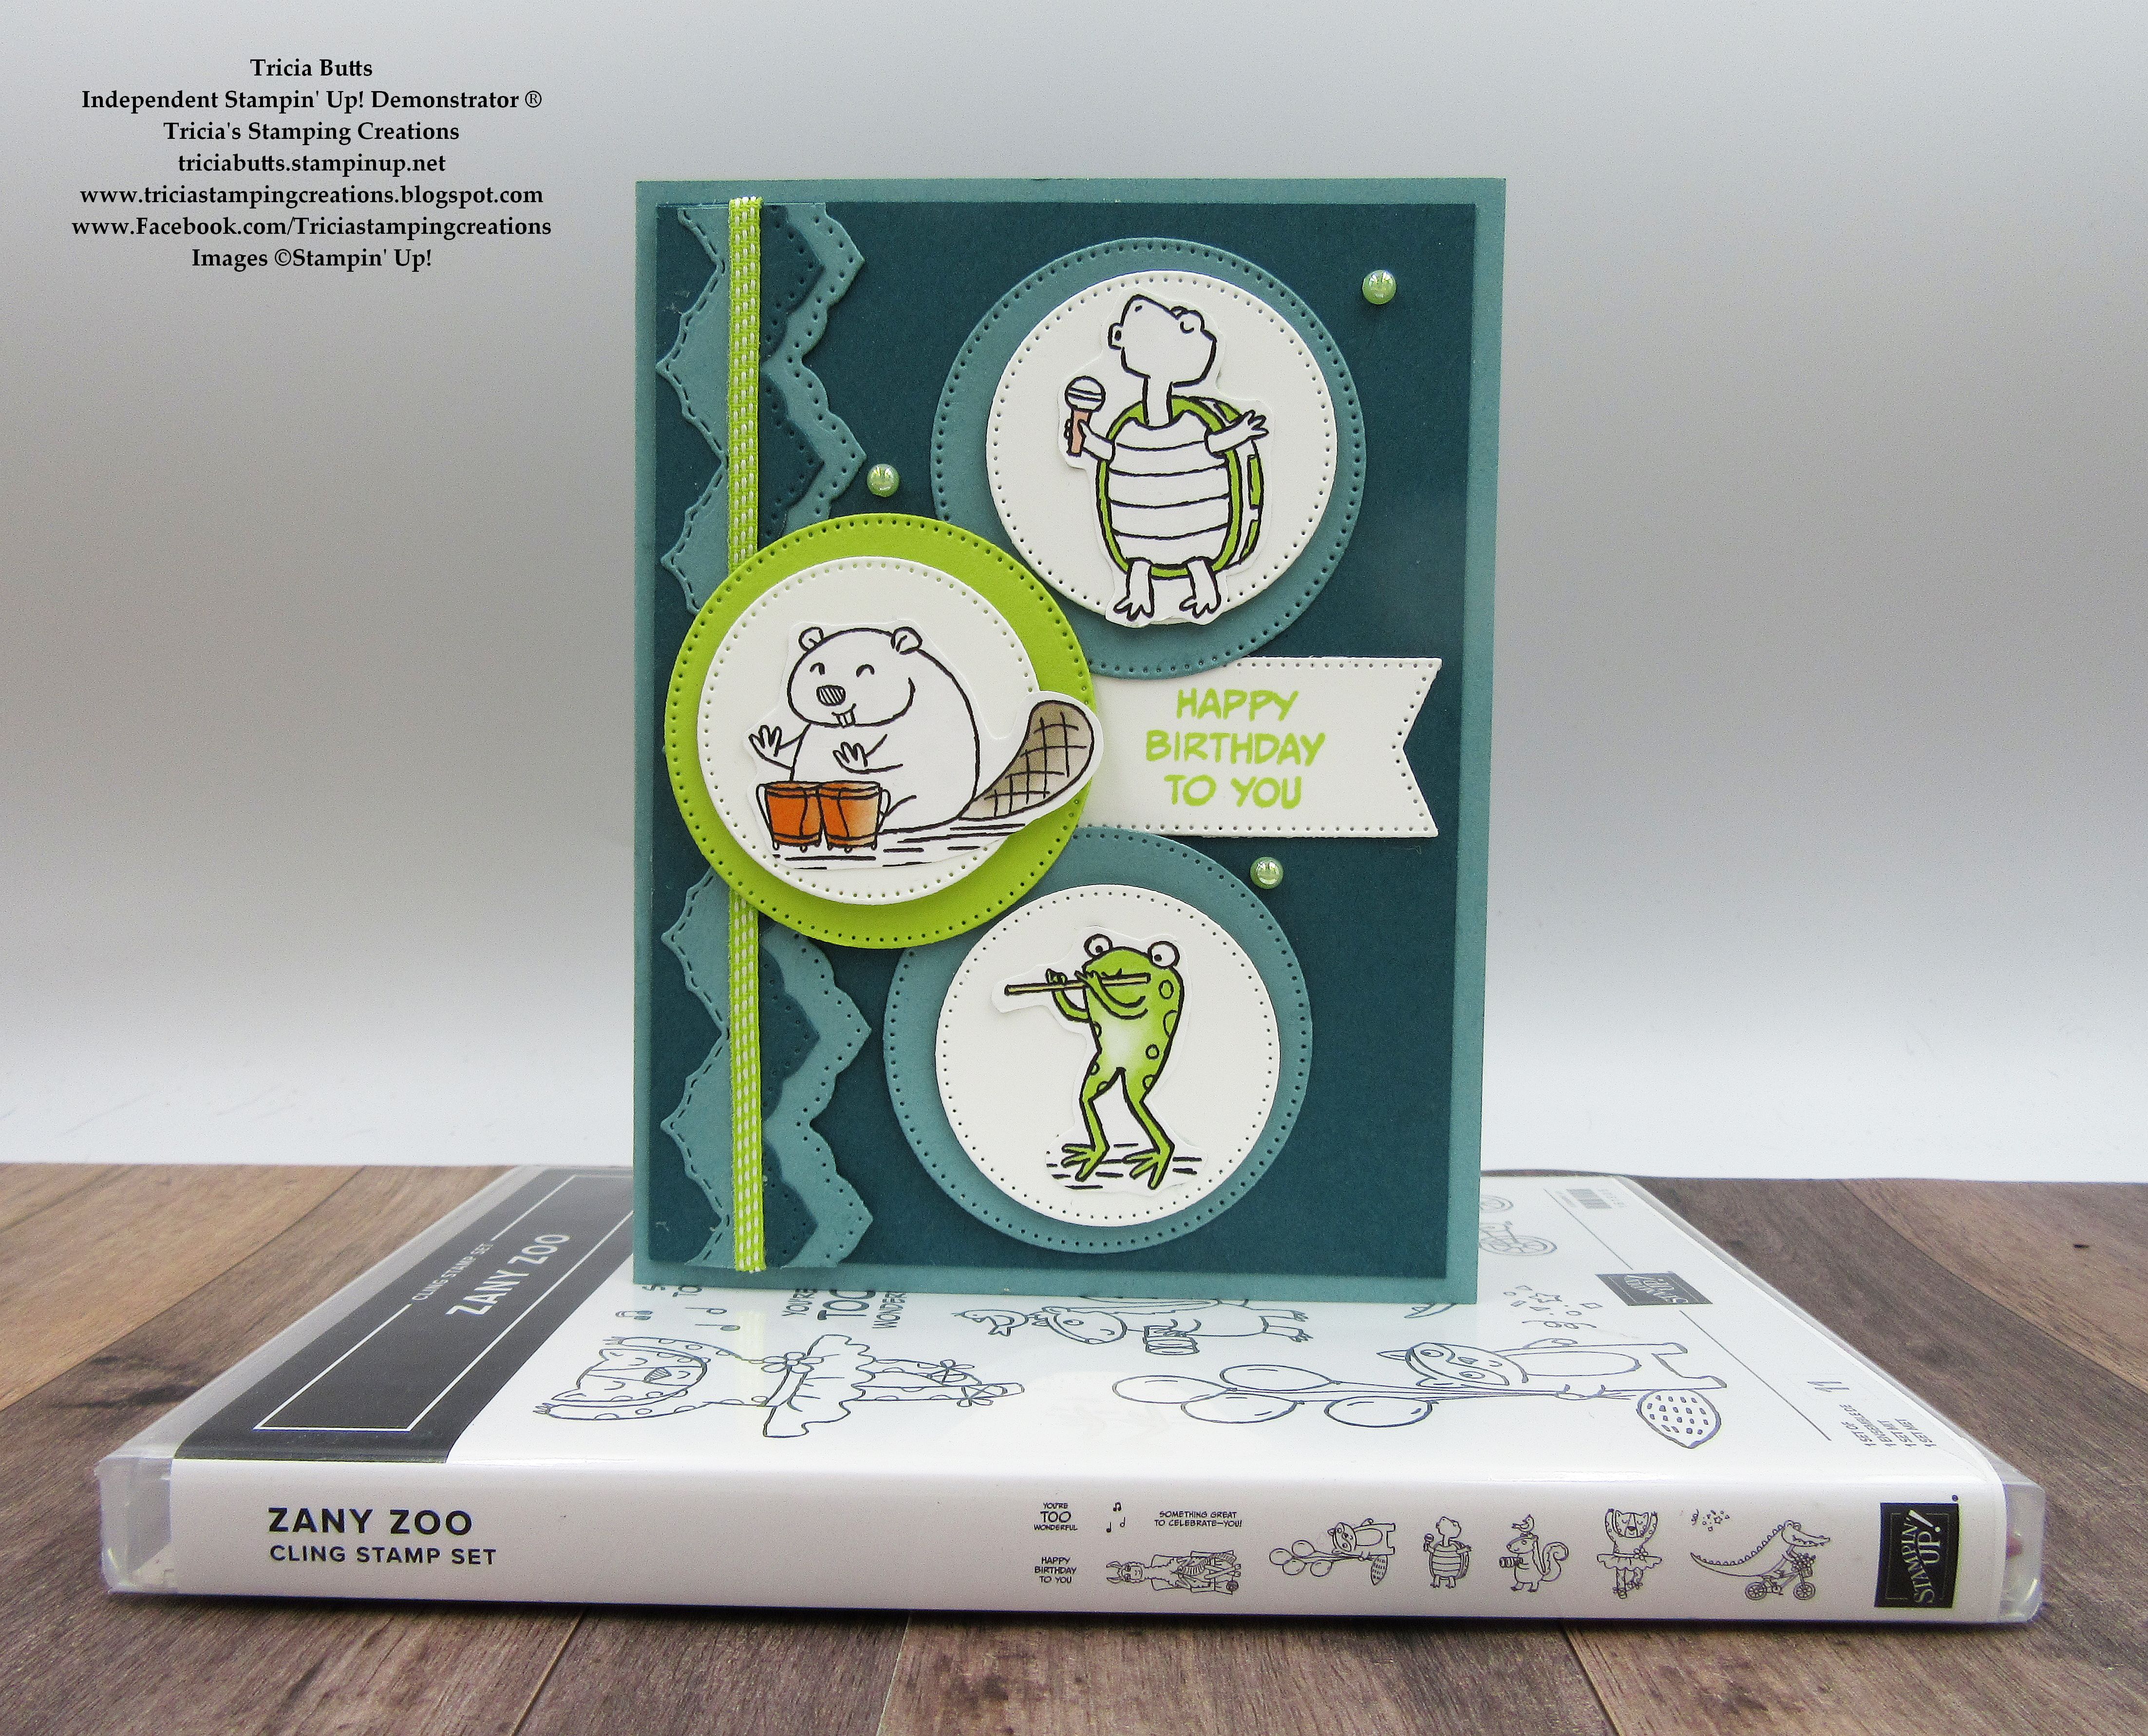
I just love the clean and simple design of Mikaela's card design and the bright, cheerful color combination she chose. For my card design, I wanted to replicate the layout and find a way to create a bright, cheerful color combination, including Lost Lagoon and Pretty Peacock. For my focal images, I chose to use the Zoo Crew Designer Series Paper as it has so many fun animal images that I felt would be the perfect fit for my card design.

Products Used:
Zany Zoo stamp set (item #161305)
Stylish Shapes Dies (item #159183)
Basic Borders Dies (item #155558)
Zoo Crew Designer Series Paper (item #161304)
Lost Lagoon Cardstock (item #133679)
Pretty Peacock Cardstock (item #150880)
Lemon Lime Twist Cardstock (item #144245)
Lemon Lime Twist Classic Ink Pad (item #147145)
Ribbon Duo Combo Pack (item #161318)
2022-2024 In Color Pearls (item #161621)
Stampin' Dimensionals (item #104430

Measurements:
Lost Lagoon Cardstock
Card Base - 8 1/2" x 5 1/2" (Scored at 4 1/4")
2 Medium Circles die cut with the Stylish Shapes Dies
1"x 5 1/4" Strip die cut with the Basic Borders Dies
Pretty Peacock Cardstock
Card Front - 5 1/4" x 4"
1"x 5 1/4" die cut with the Basic Borders Dies
Lemon Lime Twist Cardstock
1 Medium Circle die cut with the Stylish Shapes Dies
Basic White Cardstock
3 Small Circles die cut with the Stylish Shapes Dies
Sentiment Label die cut with the Stylish Shapes Dies
Zoo Crew Designer Series Paper
Frog, Beaver and Turtle images fussy cut

To create my card design, I focused on using Lost Lagoon for the card base and Pretty Peacock for the card front. I chose 3 of the images from the Zoo Crew Designer Series Paper and fussy cut them out and attached them to the Basic White circles. I stamped the sentiment with Lemon Lime Twist Classic ink onto the Basic White label. I die cut the Lost Lagoon and Pretty Peacock strips with one of the Basic Borders Dies and staggered the layers to create a border pattern. I added a piece of Lemon Lime Twist Ribbon down the center of the border layer and then attached the layer to the card front on the left side. I attached the beaver to the center of the Lemon Lime Twist circle and the frog and turtle to the Lost Lagoon circles, slightly off center. To assemble the card, I attached the sentiment first towards the right side of the card front, near the center. I added the turtle and frog to the top and bottom of the card front, towards the right side, slightly overlapping the sentiment label. To finish off the card design, I added the beaver circle with Stampin' Dimensionals towards the center left side of the card front so that it overlapped both the turtle and frog circles. For a touch of bling, I added several Parakeet Party Pearls to the card front.

Thank you for taking the time to visit my blog. I hope that my card design will help inspire you to try CASEing to spark your creativity. You will be amazed at how many ways there are to use elements from projects created by others, to give you a starting point to create your own works of art. Don't forget to check out my partner, Melissa Gifford's project, to see how she was inspired by Mikaela's card design.

Roll Call List

If you live in
the U.S. and do not have a Stampin' Up! Demonstrator, please contact me and I
would be happy to help you with your creative projects. You may also visit my
Online Store to place your order and have it shipped to you.

Until Next
Time
Happy
Stamping,
Tricia Butts
Independent Stampin' Up!
Demonstrator
Like What You
See? Visit My Online Store Here
Visit My Facebook Business Page for Updates & Ideas
Click here to Contact Me
Bonus Coupons Are Here
Earn A $5 Coupon For Every $50 You Spend
Redeem Your Coupons In August
Click Below To Start Shopping

New Online Exclusives
Available Now While Supplies Last
Click Below To Visit My Online Store


