Showing posts with label Perfectly Penciled Designer Series Paper. Show all posts

Saturday, February 11, 2023

Stamping Inkspirations February Blog Hop Color Challenge

It's time to hop along with the Stamping Inkspiration February Blog Hop and this month we have a Color Challenge. Our challenge is to create a project using 3-5 of the following colors - So Saffron, Sweet Sorbet, Tahitian Tide, Orchid Oasis and Shaded Spruce. Our talented Design Team members will be sharing their projects and ideas to help inspire you to create your own wonderful projects using these beautiful colors.
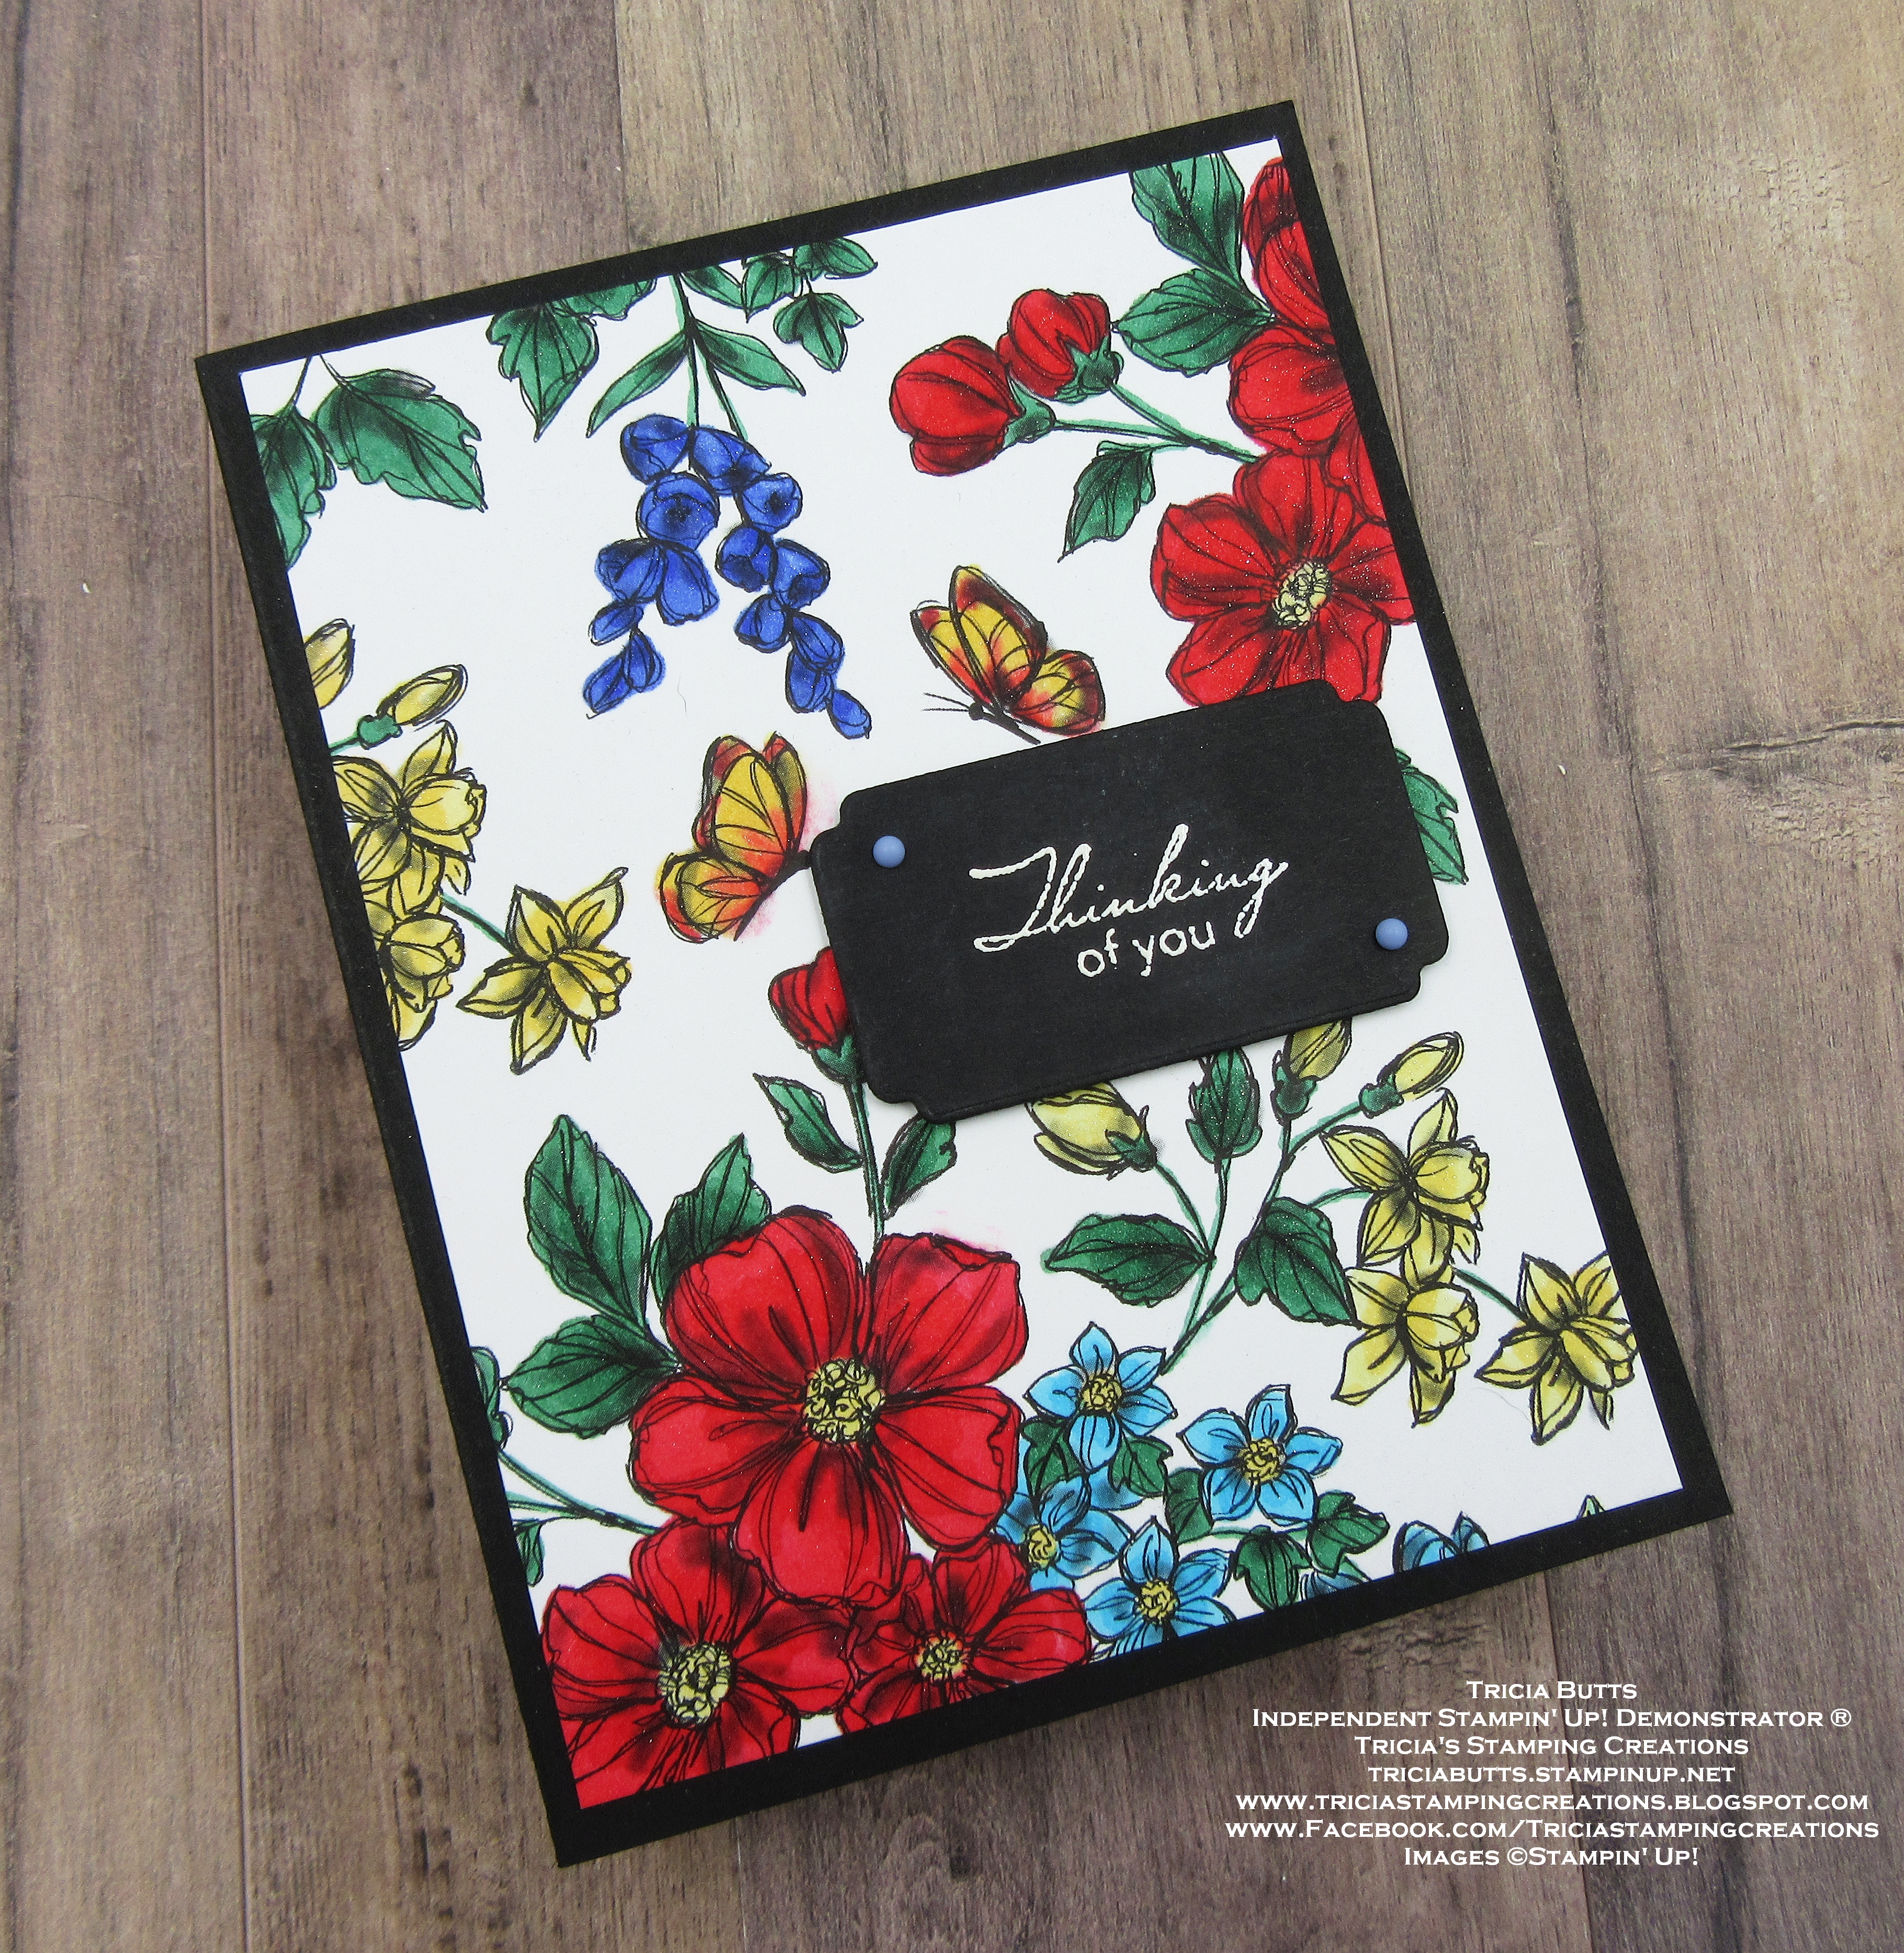
Today I chose to create a beautiful clean and simple card design using all 5 of the colors in this month's challenge. I was so happy that there are Stampin' Blends Markers for each of these colors, which lead me to the beautiful Perfectly Penciled Designer Series Paper as the focal point for my card design. The pretty black and white images in this paper pack are perfect for coloring with Stampin' Blends Markers and I thought that the bright, vibrant colors would help bring the images to life. I find coloring so relaxing and I had a wonderful time planning out the colors for my design and transforming this beautiful pattern into a beautiful garden. 
Products Used:
Very Best Occasions stamp set (item #159871)
Something Fancy Dies (item #160424)
Perfectly Penciled Designer Series Paper (item #159244)
Basic Black Cardstock (item #121045)
Versamark Pad (item #102283)
Basics Embossing Powders (item #155554)
So Saffon Stampin' Blends Combo Pack (item #154905)
Sweet Sorbet Stampin' Blends Combo Pack (item #159224)
Tahitian Tide Stampin' Blends Combo Pack (item #159221)
Orchid Oasis Stampin' Blends Combo Pack (item #159222)
Shaded Spruce Stampin' Blends Combo Pack (item #154903)
Clear Wink of Stella Glitter Brush (item #141897)
2022-2024 In Color Matte Decorative Dots (item #159186)
Stampin' Dimensionals (item #104430)
Measurements:
Basic Black Cardstock
Card Base - 8 1/2" x 5 1/2" (Scored at 4 1/4")
Sentiment Label die cut with the Something Fancy Dies
Perfectly Penciled Designer Series Paper
Card Front - 5 1/4" x 4"
I love that three of the challenge colors are from the 2022-2024 In Colors - Orchid Oasis, Tahitian Tide and Sweet Sorbet, so I knew they would work well together. The addition of So Saffron and Shaded Spruce added the perfect balance for coloring my floral design. I wanted the larger flowers to really pop, so I chose to use Sweet Sorbet to color these blossoms. For the smaller blossoms, I worked out where the other colors would look the best and I chose to use Orchid Oasis for the smallest blossoms at the top because I didn't want this darker color to overpower the design. Shaded Spruce was the perfect color for the leaves and I used a combination of So Saffron and Sweet Sorbet to color the butterflies so that they would pop rather than get lost in the background. 
To help frame the card front, I chose to use Basic Black cardstock and I love how it made the colors really come alive. For the sentiment, I heat embossed the image with White embossing powder onto a Black cardstock label and added it to the card front with Stampin' Dimensionals. To finish off the design, I added two of the small Orchid Oasis Matte Decorative Dots for a touch of color. This was such a fun card to create and I love that I got to use some of my favorite designer series paper from the Annual Catalog. 
Thank you for taking the time to visit my blog. I hope that my card design will help inspire you to explore creating your own beautiful projects with these colors. There are so many wonderful options available to help you add color to your projects. 
Now it's time to visit Jan's blog and see what she has created with this month's Color Challenge. Just click the Next button below to visit her blog or use the Roll Call List to find your way. We would love it if you would leave us a comment and let us know what you liked about our projects. I hope you enjoy the rest of our blog hop.


If you live in the U.S. and do not have a Stampin' Up! Demonstrator, please contact me and I would be happy to help you with your creative projects. You may also visit my Online Store to place your order and have it shipped to you. 

Until Next Time

Happy Stamping,

Tricia Butts
Independent Stampin' Up! Demonstrator

Like What You See? Visit My Online Store Here

Visit My Facebook Business Page for Updates & Ideas

Click here to Contact Me


Time Is Running Out
To Take Advantage Of Sale-a-bration
Click Below For More Details


Sunday, June 19, 2022

Kre8tors June Blog Hop CASE Tic-Tac-Toe Challenge

Welcome to the Kre8tors June Blog Hop as we take part in the CASE Tic-Tac-Toe Challenge to help spark our creativity. You will have the opportunity to visit with our talented Design Team as they share their projects and ideas by choosing a row either vertically, horizontally or diagonally from the Tic-Tac-Toe diagram. As you visit our blogs, I hope you will be inspired to choose your own combination to create your own wonderful project. 
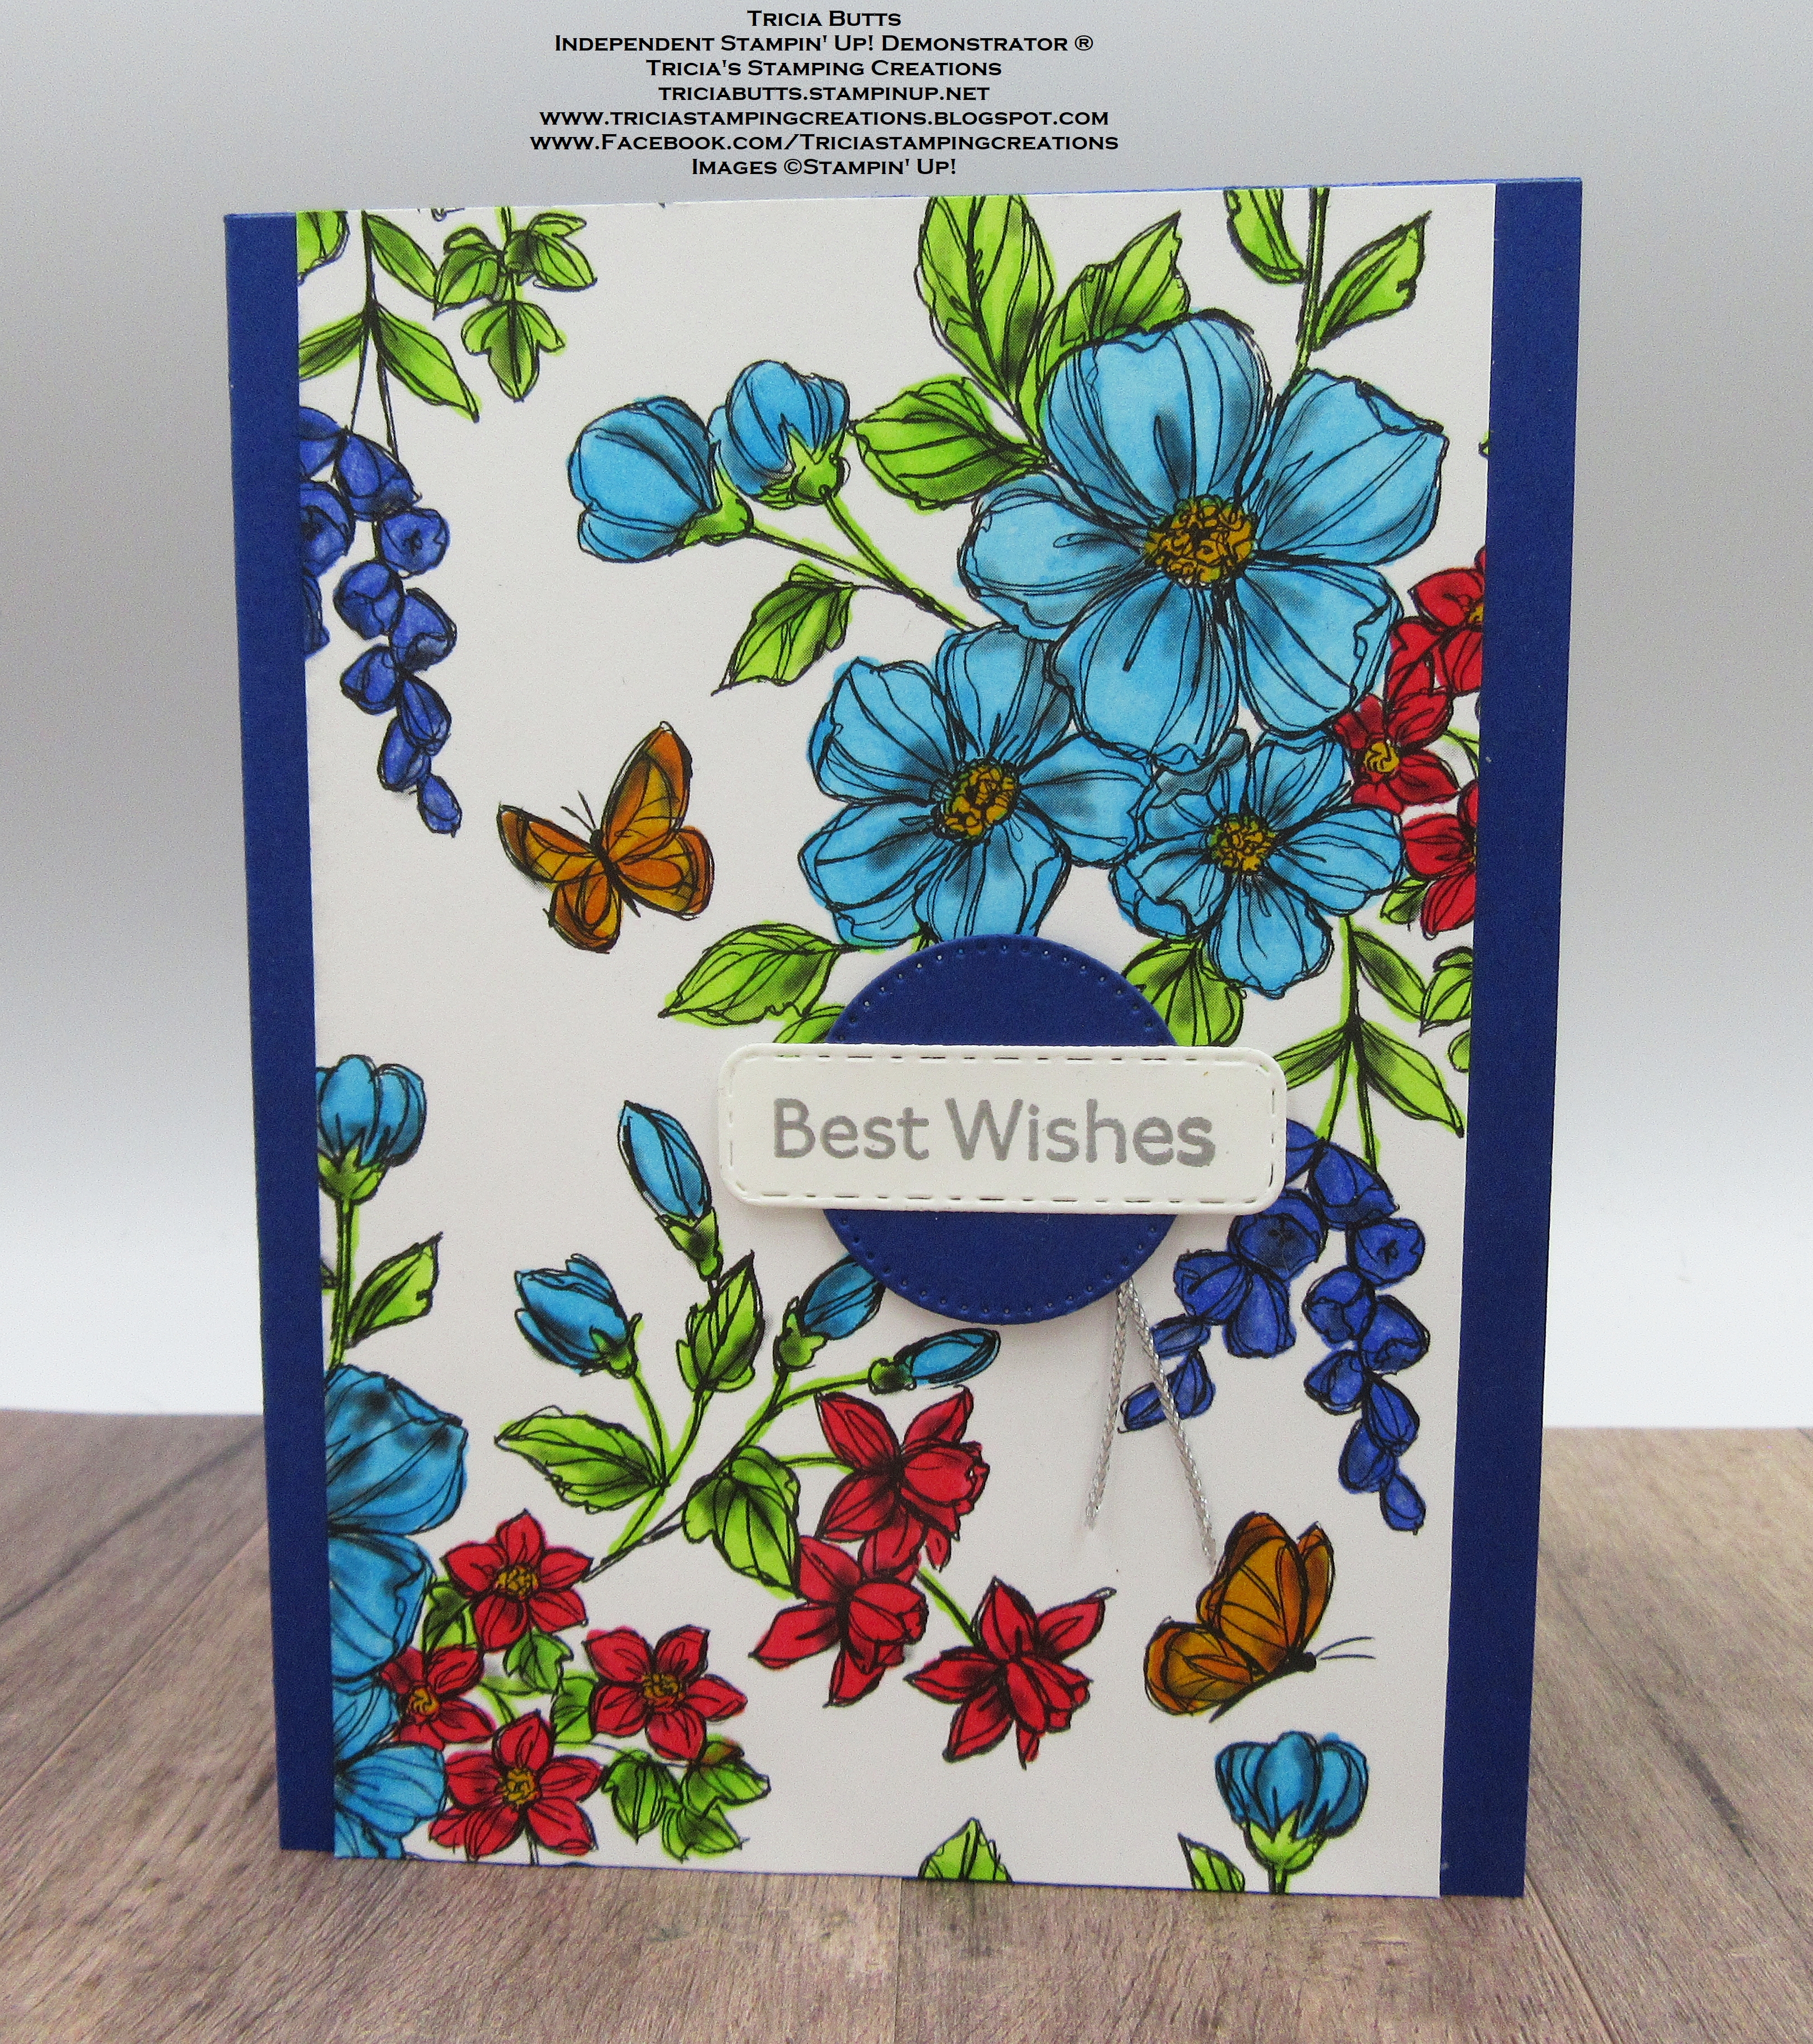
For my card design, I chose to go diagonally with CASE 22-23 Annual Catalog, Use A New In Color and Add Something Metallic. The card sample I chose to CASE from the 2022-2023 Annual Catalog can be found on page 119 and used the same designer series paper and layout for my design but changed the color combination and sentiment label for my card design. 
One of my favorite designer series papers in the new Annual Catalog, is the beautiful Perfectly Penciled Designer Series Paper. The black and white designs are perfect for coloring with Stampin' Blends and I chose to use most of the new 2022-2024 In Colors to color in this beautiful design. For my metallic element, I heat embossed the sentiment with Silver embossing powder and added a piece of Silver Metallic Trim from the Simply Elegant Trim. I love the clean and simple lines of this card layout and I think it showcases this pretty paper so well.
Products Used:
Art Gallery stamp set (item #154421)
Stylish Shapes Dies (item #159183)
Hydrangea Dies (item #154326)
Perfectly Penciled Designer Series Paper (item #159244)
Starry Sky Cardstock (item #159263)
Basic White Cardstock (item #159276)
Tahitian Tide Stampin' Blends Combo Pack (item #159221)
Sweet Sorbet Stampin' Blends Combo Pack (item #159224)
Orchid Oasis Stampin' Blends Combo Pack (item #159223)
Parakeet Party Stampin' Blends Combo Pack (item #159220)
Daffodil Delight Stampin' Blends Combo Pack (item #154883)
Pumpkin Pie Stampin' Blends Combo Pack (item #154897)
Color Lifter (item #144608)
Versamark Pad (item #102283)
Metallics Embossing Powders (item #155555)
Simply Elegant Trim (item #155766)
Stampin' Dimensionals (item #104430)
Measurements:
Starry Sky Cardstock
Card Base - 8 1/2" x 5 1/2" (Scored at 4 1/4")
Small Stitched Circle die cut with the Stylish Shapes Dies
Basic White Cardstock
Sentiment Label die cut with the Hydrangea Dies
Perfectly Penciled Designer Series Paper
Card Front - 3 3/4" x 5 1/2" Colored with Stampin' Blends Markers
This beautiful card has been brought to life using Stampin' Blends Markers. I love the vibrant colors, especially the new 2022-2024 In Colors. I love how these colors work together to create a fresh Summer garden design. I wanted the designer series paper to be the star of the show, so I chose to keep the sentiment label simple with a touch of elegance created by the Silver embossing. The small piece of Silver Trim finishes off the design. This card design would work well for a variety of occasions and you can change the look and feel of the design by changing the color combination. 
Thank you for taking the time to visit my blog. I hope that my card design will help inspire you to take part in this challenge to create your own wonderful project. There are so many wonderful possibilities to try and it really is a great starting point for your creative journey. 
Now it's time to visit Sandra's wonderful blog and see what she has chosen to use for her Tic-Tac-Toe Challenge. Just click on the Next button to visit her blog or use the Roll Call List to find your way. We would appreciate it if you would leave us a comment and let us know what you liked about our projects. I hope you enjoy the rest of our blog hop. 

Roll Call List

If you live in the U.S. and do not have a Stampin' Up! Demonstrator, please contact me and I would be happy to help you with your creative projects. You may also visit my Online Store to place your order and have it shipped to you. 

Until Next Time

Happy Stamping,

Tricia Butts
Independent Stampin' Up! Demonstrator

Like What You See? Visit My Online Store Here

Visit My Facebook Business Page for Updates & Ideas

Click here to Contact Me


Stock Up On Your Favorite Retiring Products
From The January-June 2022 Mini Catalog Last Chance Sale
Click Below To Visit My Online Store

Create & Save With The Kits Collection
Buy One, Get One 50% Off Sale
Click Below To Shop Now


Saturday, May 7, 2022

Stamping With Friends May Blog Hop A Bouquet of Flowers

Welcome to the Stamping With Friends May Blog Hop as we showcase this month's theme of "A Bouquet of Flowers". Our Design Team members will be sharing their amazing projects and ideas to help inspire you to create your own wonderful projects. 
For my card design today, I decided to share some of the new products from the new 2022-2023 Annual Catalog. The beautiful Perfectly Penciled Designer Series Paper has wonderful designs in black and white that work well either plain or colored to create wonderful projects. For my card design, I die cut the center with the Stitched Rectangles Dies and flipped the paper so that the flowers faced up and provided a wonderful contrast when colored against the background from the reverse side. I colored the flowers with Sweet Sorbet and Party Parakeet Stampin' Blends Markers from the new 2022-2024 In Colors and I just love how the vibrant colors pop against the black and white card design. This clean and simple card design has so many wonderful possibilities and you can change the look and feel of the card just by changing the colors for the flowers.
Products Used:
Celebrating You stamp set (item #158028)
Stitched Rectangles Dies (item #151820)
Stylish Shapes Dies (item #159183) New
Perfectly Penciled Designer Series Paper (item #159244) New
Basic Black Cardstock (item #121045)
Versamark Pad (item #102283)
Basics Embossing Powders (item #155554)
Sweet Sorbet Stampin' Blends Combo Pack (item #159224) New
Parakeet Party Stampin' Blends Combo Pack (item #159220) New
2022-2024 In Color Baker's Twine Pack (item #159195) New
Classic Matte Dots (item #158145)
Stampin' Dimensionals (item #104430)
Mini Stampin' Dimensionals (item #144108)
Measurements:
Basic Black Cardstock
Card Base - 5 1/2" x 4 1/2" (Scored at 4 1/4")
Rectangle layer die cut with the Stitched Rectangles Dies
Sentiment Label die cut with the Stylish Shapes Dies
Perfectly Penciled Designer Series Paper
Card Front - 5 1/4" x 4"
The wonderful thing about this card design is that it requires just a few supplies to create and it's an economical way to use your designer series paper to create a simply Wow design. Using the 5th largest Stitched Rectangle Die, I die cut the center of the designer series paper card front to create the focal layer. The frame for this layer was die cut with the 4th largest Stitched Rectangle Die from Basic Black cardstock. I attached the larger frame designer series paper piece, with the cross hatch background facing upwards, onto the Basic Black card base. Using the Sweet Sorbet and Parakeet Party Stampin' Blends Markers, I colored the flowers on the reverse side of the center designer series paper panel and attached it to the Basic Black Stitched Rectangle layer. For the sentiment, I heat embossed the image with White embossing powder onto the Basic Black cardstock label. To embellish the card, I wrapped a piece of the Parakeet Party Baker's Twine around the bottom of the center panel twice and tied a knot on the left side and then attached the panel to the card front over the opening in the frame of the background. Using the Light Parakeet Party Stampin' Blends Marker, I colored two of the large and one of the small white dots from the Classic Matte Dots and attached the small one to the sentiment label and the larger two to the card front. I attached the sentiment label to the card front so that it overlaps the focal panel, using a Mini Stampin' Dimensional to attach it to the card front. I love how the bright colors bring this card design to life and I can't wait to try this technique with the other patterns in this pretty paper pack. 
Thank you for taking the time to visit my blog. I hope that my card design will help inspire you to explore the wonderful range of products that Stampin' Up! has to offer to create your own beautiful projects.
Now it's time to visit Mo's wonderful blog and see what she has created to share with us. Just click on the Next button to visit her blog or use the Roll Call List below to find your way along our blog hop. We would love it if you would leave us a comment and let us know what you enjoyed about our projects. Thanks for taking the time to visit with us.


If you live in the U.S. and do not have a Stampin' Up! Demonstrator, please contact me and I would be happy to help you with your creative projects. You may also visit my Online Store to place your order and have it shipped to you. 

Until Next Time

Happy Stamping,

Tricia Butts
Independent Stampin' Up! Demonstrator

Like What You See? Visit My Online Store Here

Visit My Facebook Business Page for Updates & Ideas

Click here to Contact Me


Get Creative
With The 2022-2023 Annual Catalog
Click Below To Visit My Online Store

Explore The Amazing New 2022-2024 In Colors
With The May Paper Pumpkin Kit
Click Below To Subscribe By May 10th

Take Advantage Of The Free In Color Products
Included With The Starter Kit During The Month Of May
Click Below To Find Out How You Can Join My Team