Showing posts with label Emboss Resist. Show all posts

Sunday, November 19, 2023

Stamptastic Friends November Blog Hop CASE A Stamptastic Friend

Welcome to the Stamptastic Friends November Blog Hop and this month we are CASEing a Stamptastic Friend. In case you are not familiar with the term CASE, it stands for Copy And Share Everything or Copy And Selectively Edit, and it's a wonderful way to spark your creativity. Our Design Team will be sharing their projects and ideas inspired by one our fellow Stamptastic friends that will hopefully help inspire you to give it a try. 
For my card design, I decided to CASE my friend, Ginny Harrell, and create a beautiful Winter themed card design based on the card she created in this blog post here
I love the simple layout of this beautiful card design and thought it would be perfect for the idea that I had in mind. My favorite color is blue, so I had fun picking out two blues that I thought would look perfect together for my design. To CASE Ginny's card, I chose to use the layout, textured background and emboss resist technique to create my card. I hope you enjoy what I came up with for my CASE.
Products Used:
Beary Cute stamp set (item #162016)
Very Best Occasions stamp set (item #159871)
Chic Dies (item #158815)
Nested Essentials Dies (item #161597)
Snowflake Sky 3D Embossing Folder (item #162026)
Azure Afternoon Cardstock (item #161719)
Blueberry Bushel Cardstock (item #146968)
Basic White Cardstock (item #159276)
Azure Afternoon Classic Ink Pad (item #161663)
Blueberry Bushel Classic Ink Pad (item #147138)
Versamark Pad (item #102283)
Basics Embossing Powders (item #155554)
White 1/2" Iridescent Ribbon (item #161955)
Basic Rhinestone Jewels (item #144220)
Stampin' Dimensionals (item #104430)
Measurements:
Blueberry Bushel Cardstock
Card Base - 8 1/2" x 5 1/2" (Scored at 4 1/4")
Strip - 2" x 5 1/4"
Sentiment Label die cut with the Nested Essentials Dies
Azure Afternoon Cardstock
Card Front - 5 1/4" x 4" Embossed with the Snowflake Sky 3D Embossing Folder
Basic White Cardstock
Strip 1 - 1 3/4" x 5 1/4"
Strip 2 - 1 1/2" x 5 1/4" Emboss resist with the Beary Cute stamp set 
Snowflakes die cut with the Chic Dies
I had so much fun CASEing Ginny's beautiful card design and chose a Winter Wonderland theme for my card. When I think of Winter, I think of snowy days and pretty snowflakes. For the background of my card front, I chose the Snowflake Sky 3D Embossing Folder to add some subtle detailed texture to the design. I love heat embossing, so I had to recreate the emboss resist technique that Ginny used to creat my focal panel. I chose the snowflake images from the Beary Cute stamp set and heat embossed them with Clear embossing powder. Using a Blending Brush, I applied Azure Afternoon and Blueberry Bushel Classic inks to help bring out the detail in the embossed snowflakes to make them pop. I layered the focal panel onto a layer of Basic White cardstock and then attached it to the strip of Blueberry Bushel cardstock to frame the main design. For the sentiment, I heat embossed the image from the Very Best Occasions stamp set onto a Blueberry Bushel label die cut with the Nested Essentials Dies. I added a piece of the pretty White Iridescent Ribbon to the back of the sentiment label to help step up the design and added three snowflakes that I die cut with the Chic Dies to complete the card. For a touch of bling, I added some Basic Rhinestone Jewels to the centers of the snowflakes. I love how this card design turned out and I hope I did justice to Ginny's beautiful card. It was the perfect inspiration. 
Thank you for taking the time to visit my blog. I hope that my card design will help inspire you to try CASEing as a way to get creative and try something new. There are so many wonderful possibilities to explore.
Please take a moment to visit with my fellow Stamptastic Friends and see who they have chosen to CASE and how their projects turned out. Just click on the links in the Roll Call List to journey along our blog hop. We would love it if you would leave us a comment and let us know what you enjoyed about our projects. 

If you live in the U.S. and do not have a Stampin' Up! Demonstrator, please contact me and I would be happy to help you with your creative projects. You may also visit my Online Store to place your order and have it shipped to you. 

Until Next Time

Happy Stamping,

Tricia Butts
Independent Stampin' Up! Demonstrator

Like What You See? Visit My Online Store Here

Visit My Facebook Business Page for Updates & Ideas

Click here to Contact Me


Get Creative For The Holidays
With The September-December 2023 Mini Catalog
Click Below To View In My Online Store

New Online Exclusives Products
Now Available While Supplies Last
Click Below To Shop Now


Saturday, January 7, 2023

Stamping With Friends Emboss Resist Technique Blog Hop

Welcome to the Stamping With Friends Blog Hop as we start off the New Year with a fun technique. This month we have been challenged to create a project using the Emboss Resist technique and I can't wait to see what my fellow Design Team members have to share with us this month. This is one of my favorite techniques and I can't wait to share my project with you.
For my card design, I chose to use the new Watercolor World stamp from the new January-April 2023 Mini Catalog to create my background. My emboss resist has a twist to it, as I stamped the image first with ink and then heat embossed the image with Clear embossing powder to create the resist as I sponged on the ink for the oceans. I love how it turned out and it makes a great masculine card for a variety of occasions.
Products Used:
Watercolor World stamp set (item #160708)
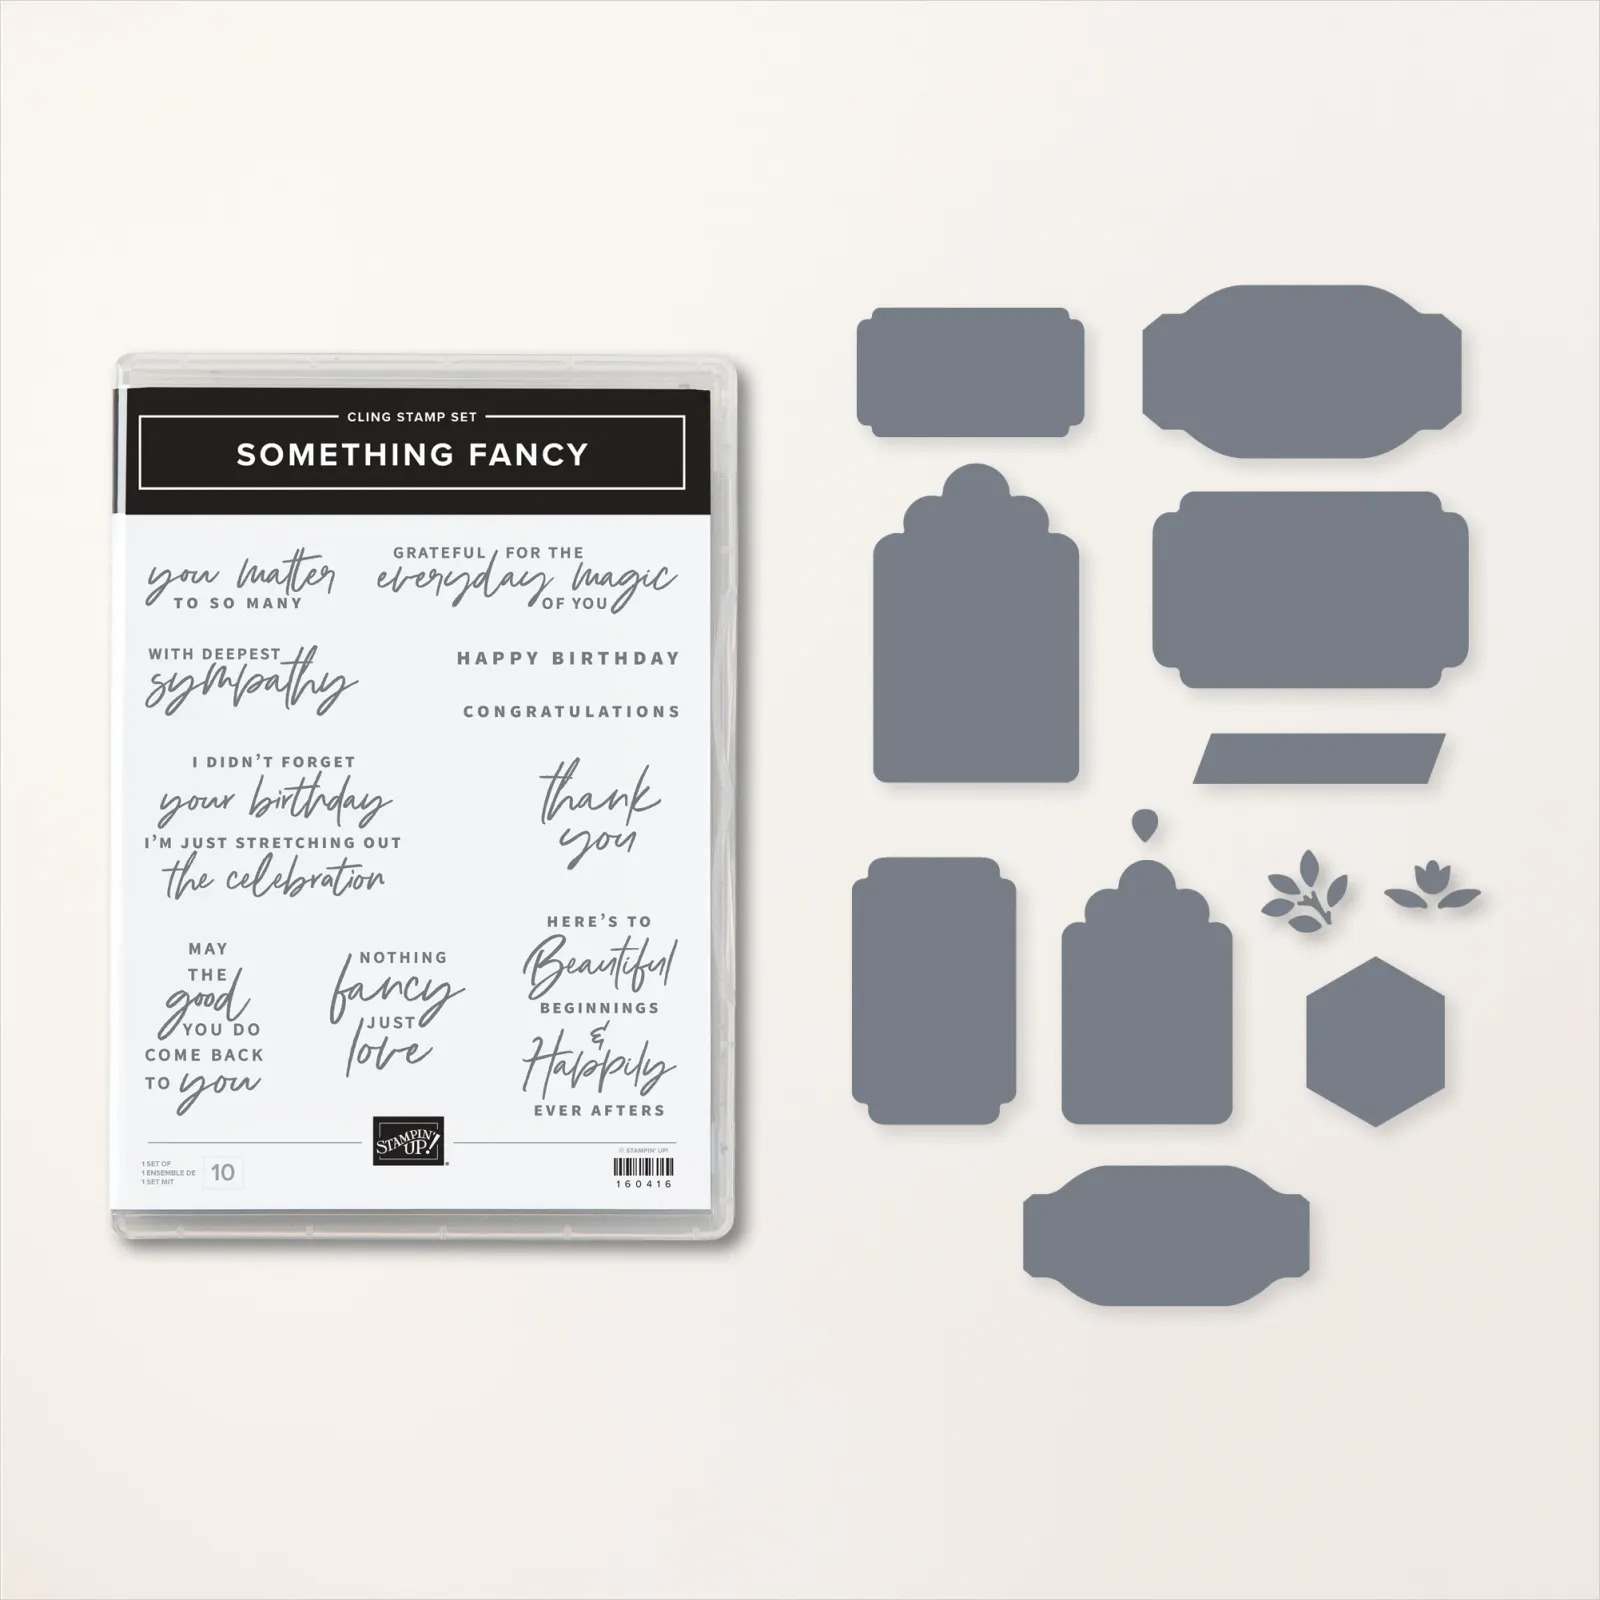
Something Fancy Bundle (item #160425)
Starry Sky Cardstock (item #159263)
Basic White Cardstock (item #159276)
Crumb Cake Classic Ink Pad (item #147116)
Old Olive Classic Ink Pad (item #147090)
Tahitian Tide Classic Ink Pad (item #159210)
Orchid Oasis Classic Ink Pad (item #159214)
Versamark Pad (item #102283)
Basics Embossing Powders (item #155554)
Metallics Embossing Powders (item #155555)
Rustic Metallic Adhesive Backed Dots (item #159082)
Stamparatus (item #146276)
Sponge Daubers (item #133773)
Blending Brushes (item #153611)
Mini Stampin' Dimensionals (item #144108)
Measurements:
Starry Sky Cardstock
Card Base - 8 1/2" x 5 1/2" (Scored at 4 1/4")
Sentiment Label die cut with the Something Fancy Dies
Basic White Cardstock
Card Front - 5 1/4" x 4"
To create the background for this card, I stamped the world image several times to create the emboss resist. I used the Stamparatus so that I could stamp the image multiple times in the same position, using different inks, to create the design. First, I stamped the image using Crumb Cake Classic ink and then I sponged some Old Olive Classic ink onto the lighter areas using a Sponge Dauber, to create more depth and dimension. Next, I stamped the image over the top of the existing Crumb Cake stamped image using Versamark ink and then heat embossed the image with Clear embossing powder. This creates a clear coating over the original stamped image so that it will resist the ink when I sponge the oceans. To create the oceans, I gently sponged some Old Olive ink around the edges of some of the continents to create some contrast. Next, I sponged the card front with Tahitian Tide Classic ink using a Blending Brush, building up layers of color over the embossed image. To finish off the background, I gently sponged some Orchid Oasis Classic ink around the edges of the card front and gently over the embossed area to deepen the color of the oceans. Using a tissue, I wiped the card front to remove the excess ink from the embossed image to make it pop. To create the sentiment, I used my new favorite bundle, Something Fancy, and stamped the sentiment with Versamark onto a scrap of Starry Sky cardstock and then heat embossed it with Gold embossing powder. I die cut the sentiment using the coordinating die from the Something Fancy Dies from the bundle, and attached it to the card front with Mini Stampin' Dimensionals. To complete the card design, I added two small Rustic Metallic Adhesive Backed Dots to embellish the sentiment label. I love how the Starry Sky cardstock makes the card front pop and the Gold embossing for the sentiment just helps step up the design to the next level. 
Thank you for taking the time to visit my blog. I hope that my card design will help inspire you to give this fun technique a try and create your own beautiful projects. There are so many wonderful possibilities to explore. 
Please take the time to visit with my fellow Design Team members and share some love by leaving them a comment, letting them know what you love about their projects. Just click on the links in the Roll Call List to visit their blogs. I hope you enjoy the rest of our blog hop.

If you live in the U.S. and do not have a Stampin' Up! Demonstrator, please contact me and I would be happy to help you with your creative projects. You may also visit my Online Store to place your order and have it shipped to you. 

Until Next Time

Happy Stamping,

Tricia Butts
Independent Stampin' Up! Demonstrator

Like What You See? Visit My Online Store Here

Visit My Facebook Business Page for Updates & Ideas

Click here to Contact Me


Celebrate The New Year
With The January-April 2023 Mini Catalog
Click Below To Visit My Online Store

Earn Free Exclusive Products
During Sale-a-bration 2023
Click Below For More Details

Join The Stampin' Up Family
Choose From 3 Amazing Options
Click Below For More Details