
Welcome to the Stamping Inkspirations March Blog Hop as we showcase projects with this month's Technique Challenge - Die Cutting. This technique is a great way to add dimension and detail to your projects and is a favorite for those of us who are not a fan of fussy cutting with Paper Snips. Our wonderful Design Team members will be sharing their projects and ideas to help inspire you to create your own beautiful projects.


Products Used:
Two Tone Flora Bundle (item #160414)
Go To Greetings stamp set (item #158763)
Something Fancy Dies (item #160424)
2022-2024 In Color 6"x6" Glimmer Paper (item #159246)
Sweet Sorbet Cardstock (item #159268)
Basic White Cardstock (item #159276)
Pale Papaya Classic Ink Pad (item #155670)
Flirty Flamingo Classic Ink Pad (item #147052)
Sweet Sorbet Classic Ink Pad (item #159216)
Sweet Succulent Classic Ink Pad (item #155778)
Soft Sea Foam Classic Ink Pad (item #147102)
Versamark Pad (item #102283)
Metallics Embossing Powders (item #155555)
Iridescent Rinestones Basic Jewels (item #158130)
Mini Stampin' Dimensionals (item #144108)

Measurements:
Sweet Sorbet Cardstock
Card Base - 8 1/2" x 5 1/2" (Scored at 4 1/4")
Sentiment Label die cut with the Something Fancy Dies
Sweet Sorbet Glimmer Paper
Layer 1 - 5 3/8" x 4 1/8"
Basic White Cardstock
Card Front - 5 1/2" x 4 1/4" Die cut with the Two Tone Flora Dies and trimmed to 5 3/8" x 4 1/8"
Assorted Flowers and leaves stamped and die cut with the Two Tone Flora Bundle


Thank you for taking the time to visit my blog. I hope that my card design will help inspire you to explore the wonderful technique of Die Cutting to help you step up your projects. There are so many wonderful options available.

Now it's time to visit Danielle's blog and see what beautiful projects she has to share with us. Just click on the Next button below to visit her blog or use the Roll Call List to find your way. We would appreciate it if you would leave us a comment and let us know what you liked about our projects. I hope you enjoy the rest of our blog hop.

Roll Call List
Gez Carpenter ● Aurélie Fabre ● Jan Musselman
Karen Henderson ● Ann Krucek ● Lorraine Tierney
Marieke Bart ● Tricia Butts ● Danielle Kassing
Linda Moore ● Susan Webster ● Shel Anderson
Vickie Littlewood ● Judith Patterson
If you live in
the U.S. and do not have a Stampin' Up! Demonstrator, please contact me and I
would be happy to help you with your creative projects. You may also visit my
Online Store to place your order and have it shipped to you.

Until Next
Time
Happy
Stamping,
Tricia Butts
Independent Stampin' Up!
Demonstrator
Like What You
See? Visit My Online Store Here
Visit My Facebook Business Page for Updates & Ideas
Click here to Contact Me
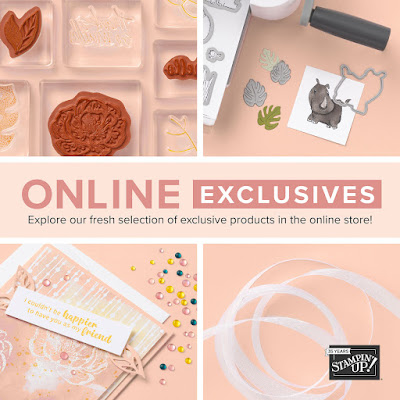
Online Exclusives Now Available
While Supplies Last
Click Below To Shop From My Online Store
Explore Your Creativity
With The January-April 2023 Mini Catalog
Click Below To Visit My Online Store

Lovely card Tricia, such bright and cheerful colours x
ReplyDeleteThank you. I have been having fun exploring different color combinations with this beautiful bundle.
DeleteBeautiful and love the shimmer!
ReplyDeleteThank you Shel. I love this beautiful shimmer paper. It really helps step up the card design.
DeleteBeautiful card, Tricia.
ReplyDeleteThank you Lorraine. I love the using this bundle to create beautiful cards.
DeleteGorgeous card, Tricia! Love your color choices. Thanks for sharing this!💕
ReplyDeleteThank you Jan. It was fun playing with this color combination. It was something new for me.
DeleteGorgeous! Kind regards, Danielle
ReplyDeleteThank you Danielle. This was a fun technique challenge.
DeleteThe intricate die cut works so well with the bright cheerful colour and sparkle. So many possibilities with all the colours to choose from.
ReplyDeleteWow, fantastic project.
ReplyDeleteI love your colors!
ReplyDelete