
Welcome to the Global Stamping Friends February Blog Hop as we explore the theme "Stamp Free". This theme can be taken in several different ways, including creating a project with "Free stamps" like the free stamp sets available during Sale-a-bration or perhaps a project which does not use any stamps. Our wonderful Design Team members will be sharing their take on this month's theme to share their projects and ideas to help inspire you to get creative.

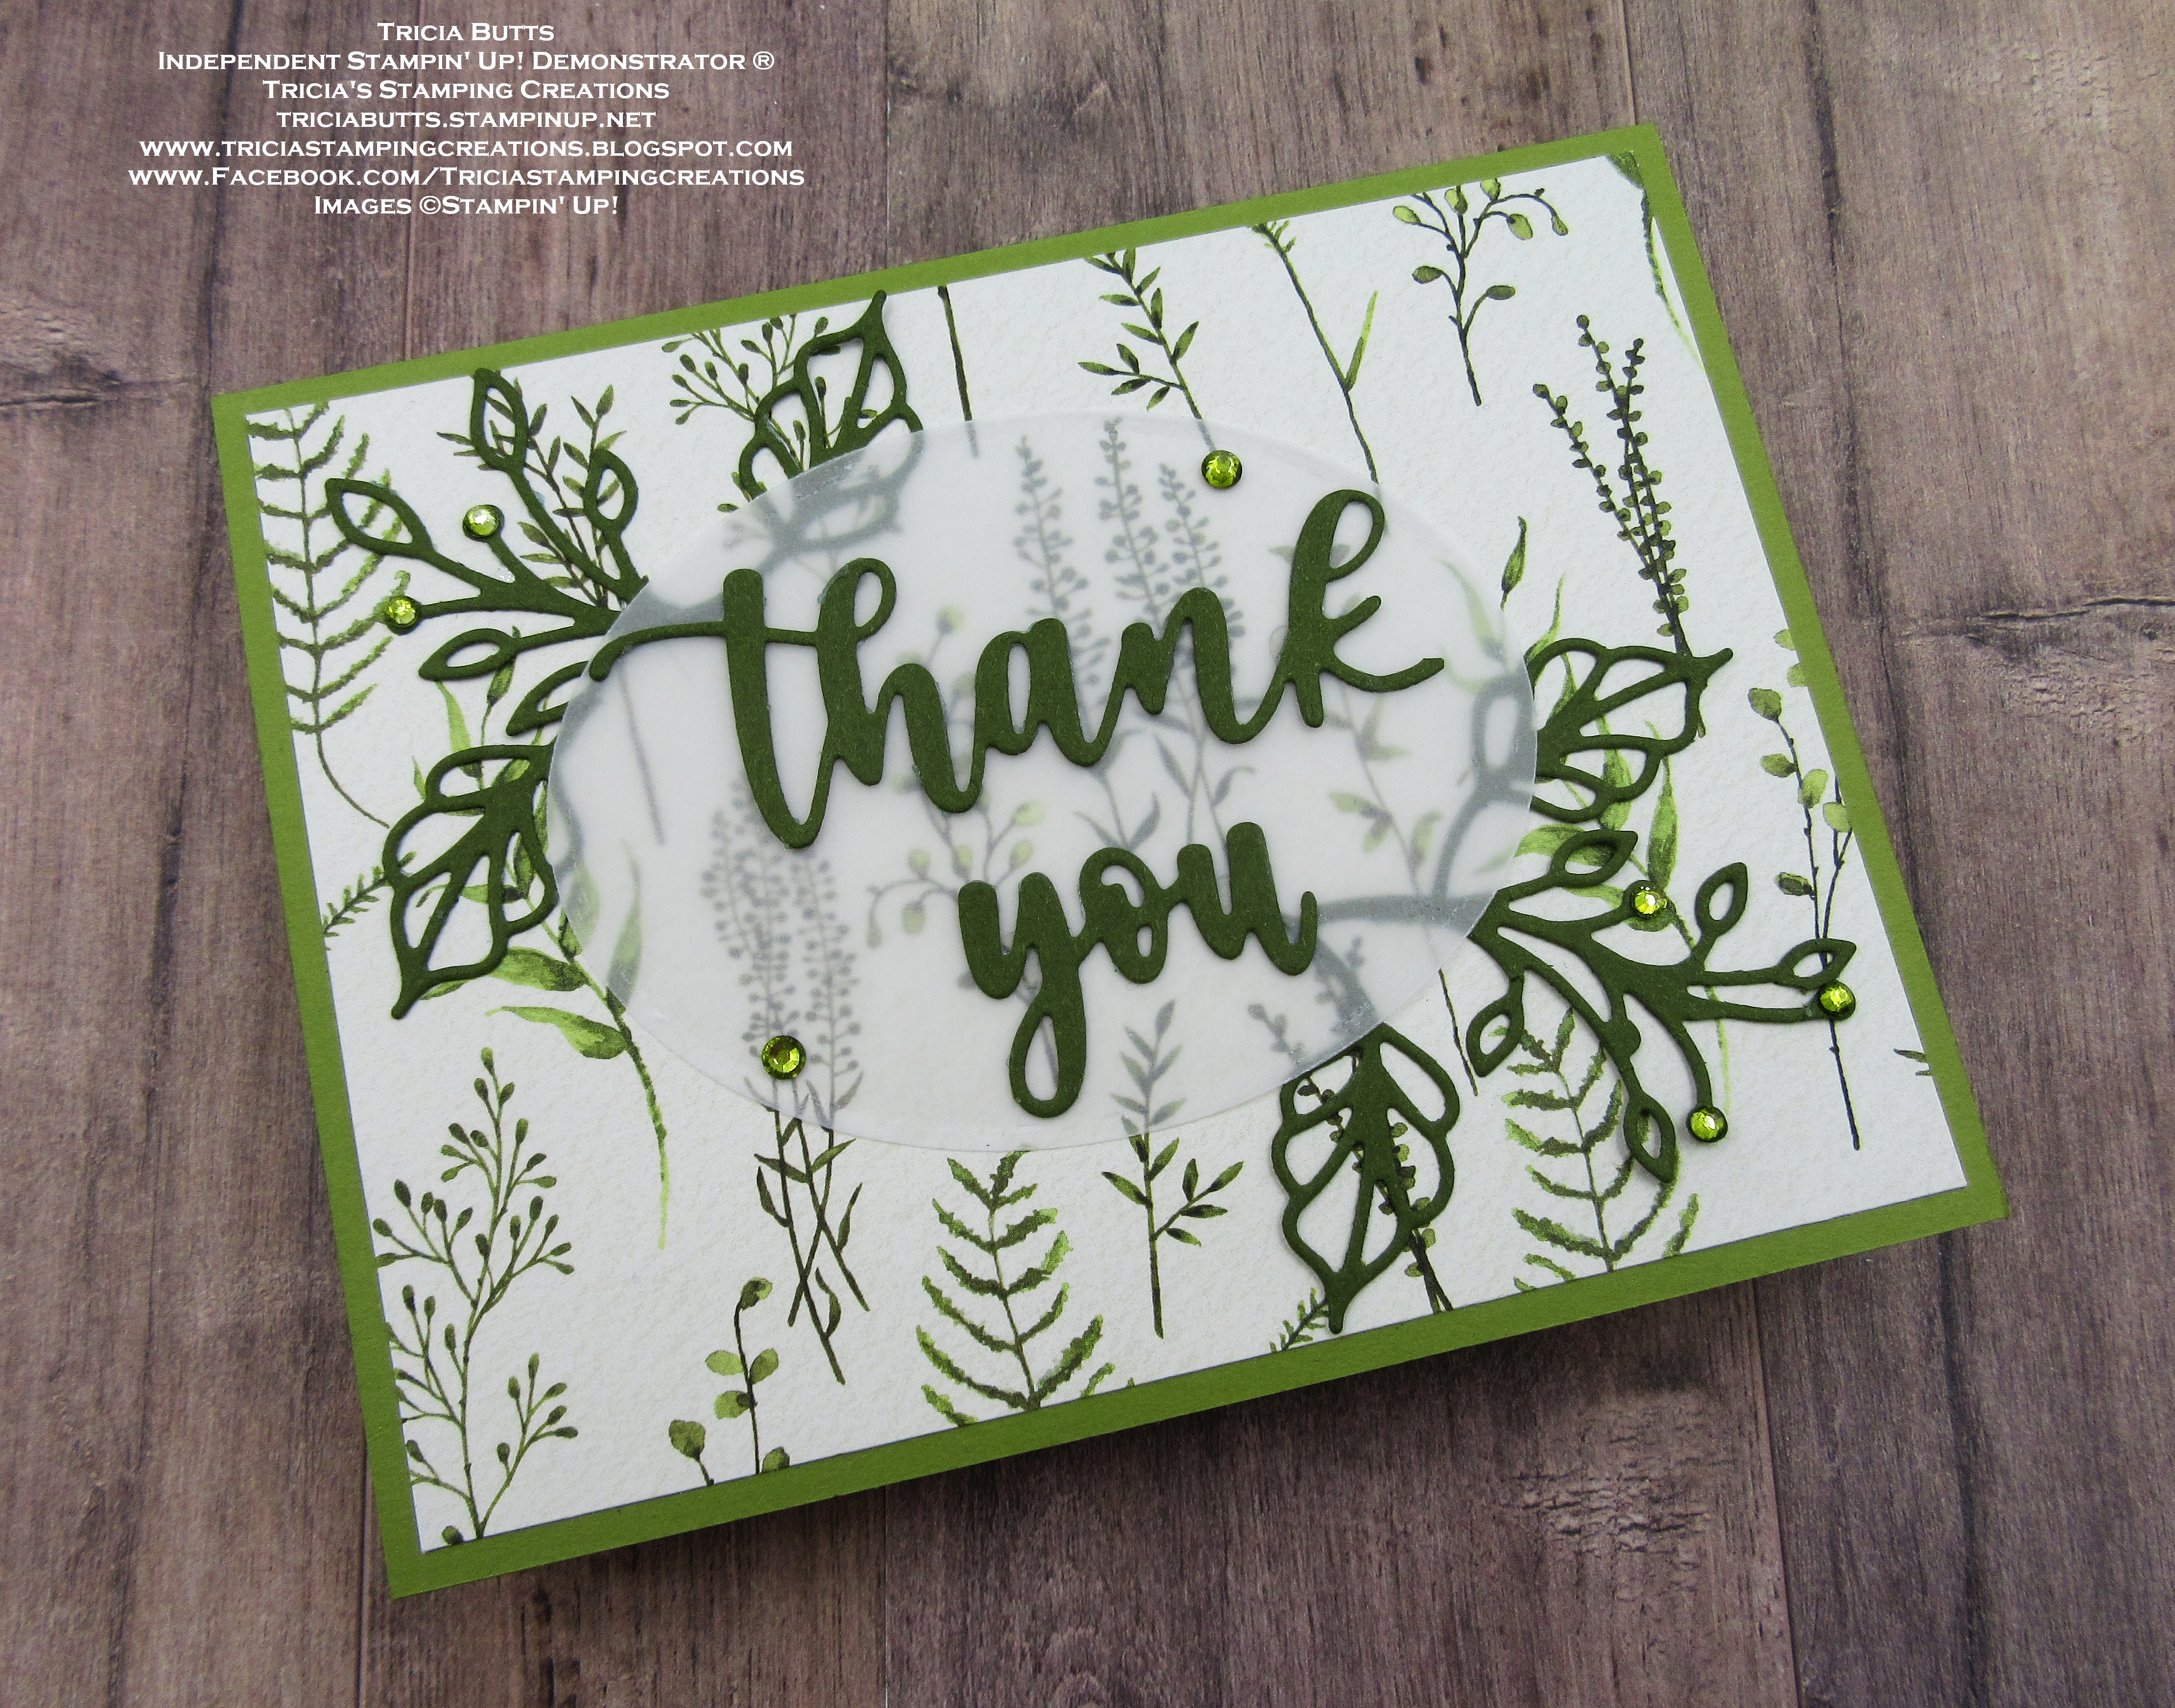
For my card today, I decided to go with a no stamping design using the Amazing Thanks Dies, an old favorite from the 2022-2023 Annual Catalog. I love the flowing script of the words in this die set and I thought they would work well with the pretty designs in the Dainty Flowers Designer Series Paper, a Level 1 Sale-a-bration Reward you can earn free with a qualifying order ($50 in the U.S.) I added a vellum oval to create a soft layer behind the sentiment and some die cut leaves to step up the design. I love the organic feel of this layout and how simple it was to create.
Products Used:
Amazing Thanks Dies (item #157816)
Framed Florets Dies (item #160523)
Dainty Flowers Designer Series Paper (item #160834) Sale-a-bration Level 1 Reward
Old Olive Cardstock (item #100702)
Mossy Meadow Cardstock (item #133676)
Lovely Layers Vellum 3 3/4" x 5" (item #158919)
Old Olive Stampin' Blends Combo Pack (item #154892)
Basic Rhinestone Jewels (item #144220)
Mini Glue Dots (item #103683)

Measurements:
Old Olive Cardstock
Card Base - 8 1/2" x 5 1/2" (Score at 4 1/4")
Mossy Meadow Cardstock
Sentiment Words die cut with the Amazing Thanks Dies
Assorted Leaves die cut with the Framed Florets Dies
Lovely Layers Vellum - Plain
Large Oval die cut with the Framed Florets Dies
Dainty Flowers Designer Series Paper
Card Front - 5 1/4" x 4"

This pretty monochromatic card design focuses on the beautiful designer series paper background and the assortment of die cuts that help create the focal design. I chose Mossy Meadow and Old Olive from the colors used in the designer series paper to create this card. I chose to use the Lovely Layers Vellum for the oval because I love the size of the pieces of vellum in this pack. It's a wonderful way to have a supply of vellum on hand ready to use. For the sentiment, I trimmed the Thanks die cut to remove the "s" and then adhered it and the You die cut to the vellum oval. Using Mini Glue Dots, I attached the vellum oval to the designer series paper card front, hiding the Glue Dots behind the letters so that they don't show through the vellum. I added the die cut leaves to the top left and bottom right corners of the vellum oval, hiding the ends of the stems behind the sentiment letters. To complete the design, I colored several Basic Rhinestones with the Dark Old Olive Stampin' Blends Marker and added them to the vellum oval and several of the leaves. This clean and simple Thank You card has an elegant feel to it that would also work for other occasions.

Thank you for taking the time to visit my blog. I hope that my card design will help inspire you to explore creating projects "stamp free". There are so many wonderful options to choose from.

Now it's time to visit Jan's blog and see what she has to share with us. Just click on the Next button below to visit her blog. We would love it if you would leave us a comment and let us know what you liked about our projects. I hope you enjoy the rest of our blog hop.

Roll Call List
1. Kimberley
Morris
2. Tricia
Butts
3. Jan
Musselman
4. Marieke
Bart

If you live in
the U.S. and do not have a Stampin' Up! Demonstrator, please contact me and I
would be happy to help you with your creative projects. You may also visit my
Online Store to place your order and have it shipped to you.

Until Next
Time
Happy
Stamping,
Tricia Butts
Independent Stampin' Up!
Demonstrator
Like What You
See? Visit My Online Store Here
Visit My Facebook Business Page for Updates & Ideas
Click here to Contact Me
Take Advantage Of New Sale-a-bration Products
You Can Earn Free With A Qualifying Order
Click Below For More Details

Very pretty! That vellum layer is perfect for popping the greeting on the front. I often don't think about it, because I don't want to stamp on it and have to emboss it to make sure the ink sets. I forget that it is perfect for layering. Thanks for sharing :-D
ReplyDeleteThanks Kimberley. I don't use vellum as much as I should. I do love the smaller sizes of the sheets in the Lovely Layers Vellum pack. It's perfect for projects like this.
DeleteLovely card, Tricia! It has a monochromatic feel to it ( which I always like ). Thanks for sharing this!💕
ReplyDeleteThank you Jan. I love the monochromatic feel too. This designer series paper is wonderful for creating clean and simple cards like this.
DeleteWell done without stamps! TFS
ReplyDeleteThank you Marieke. It was a challenge but I love how it turned out.
Delete