

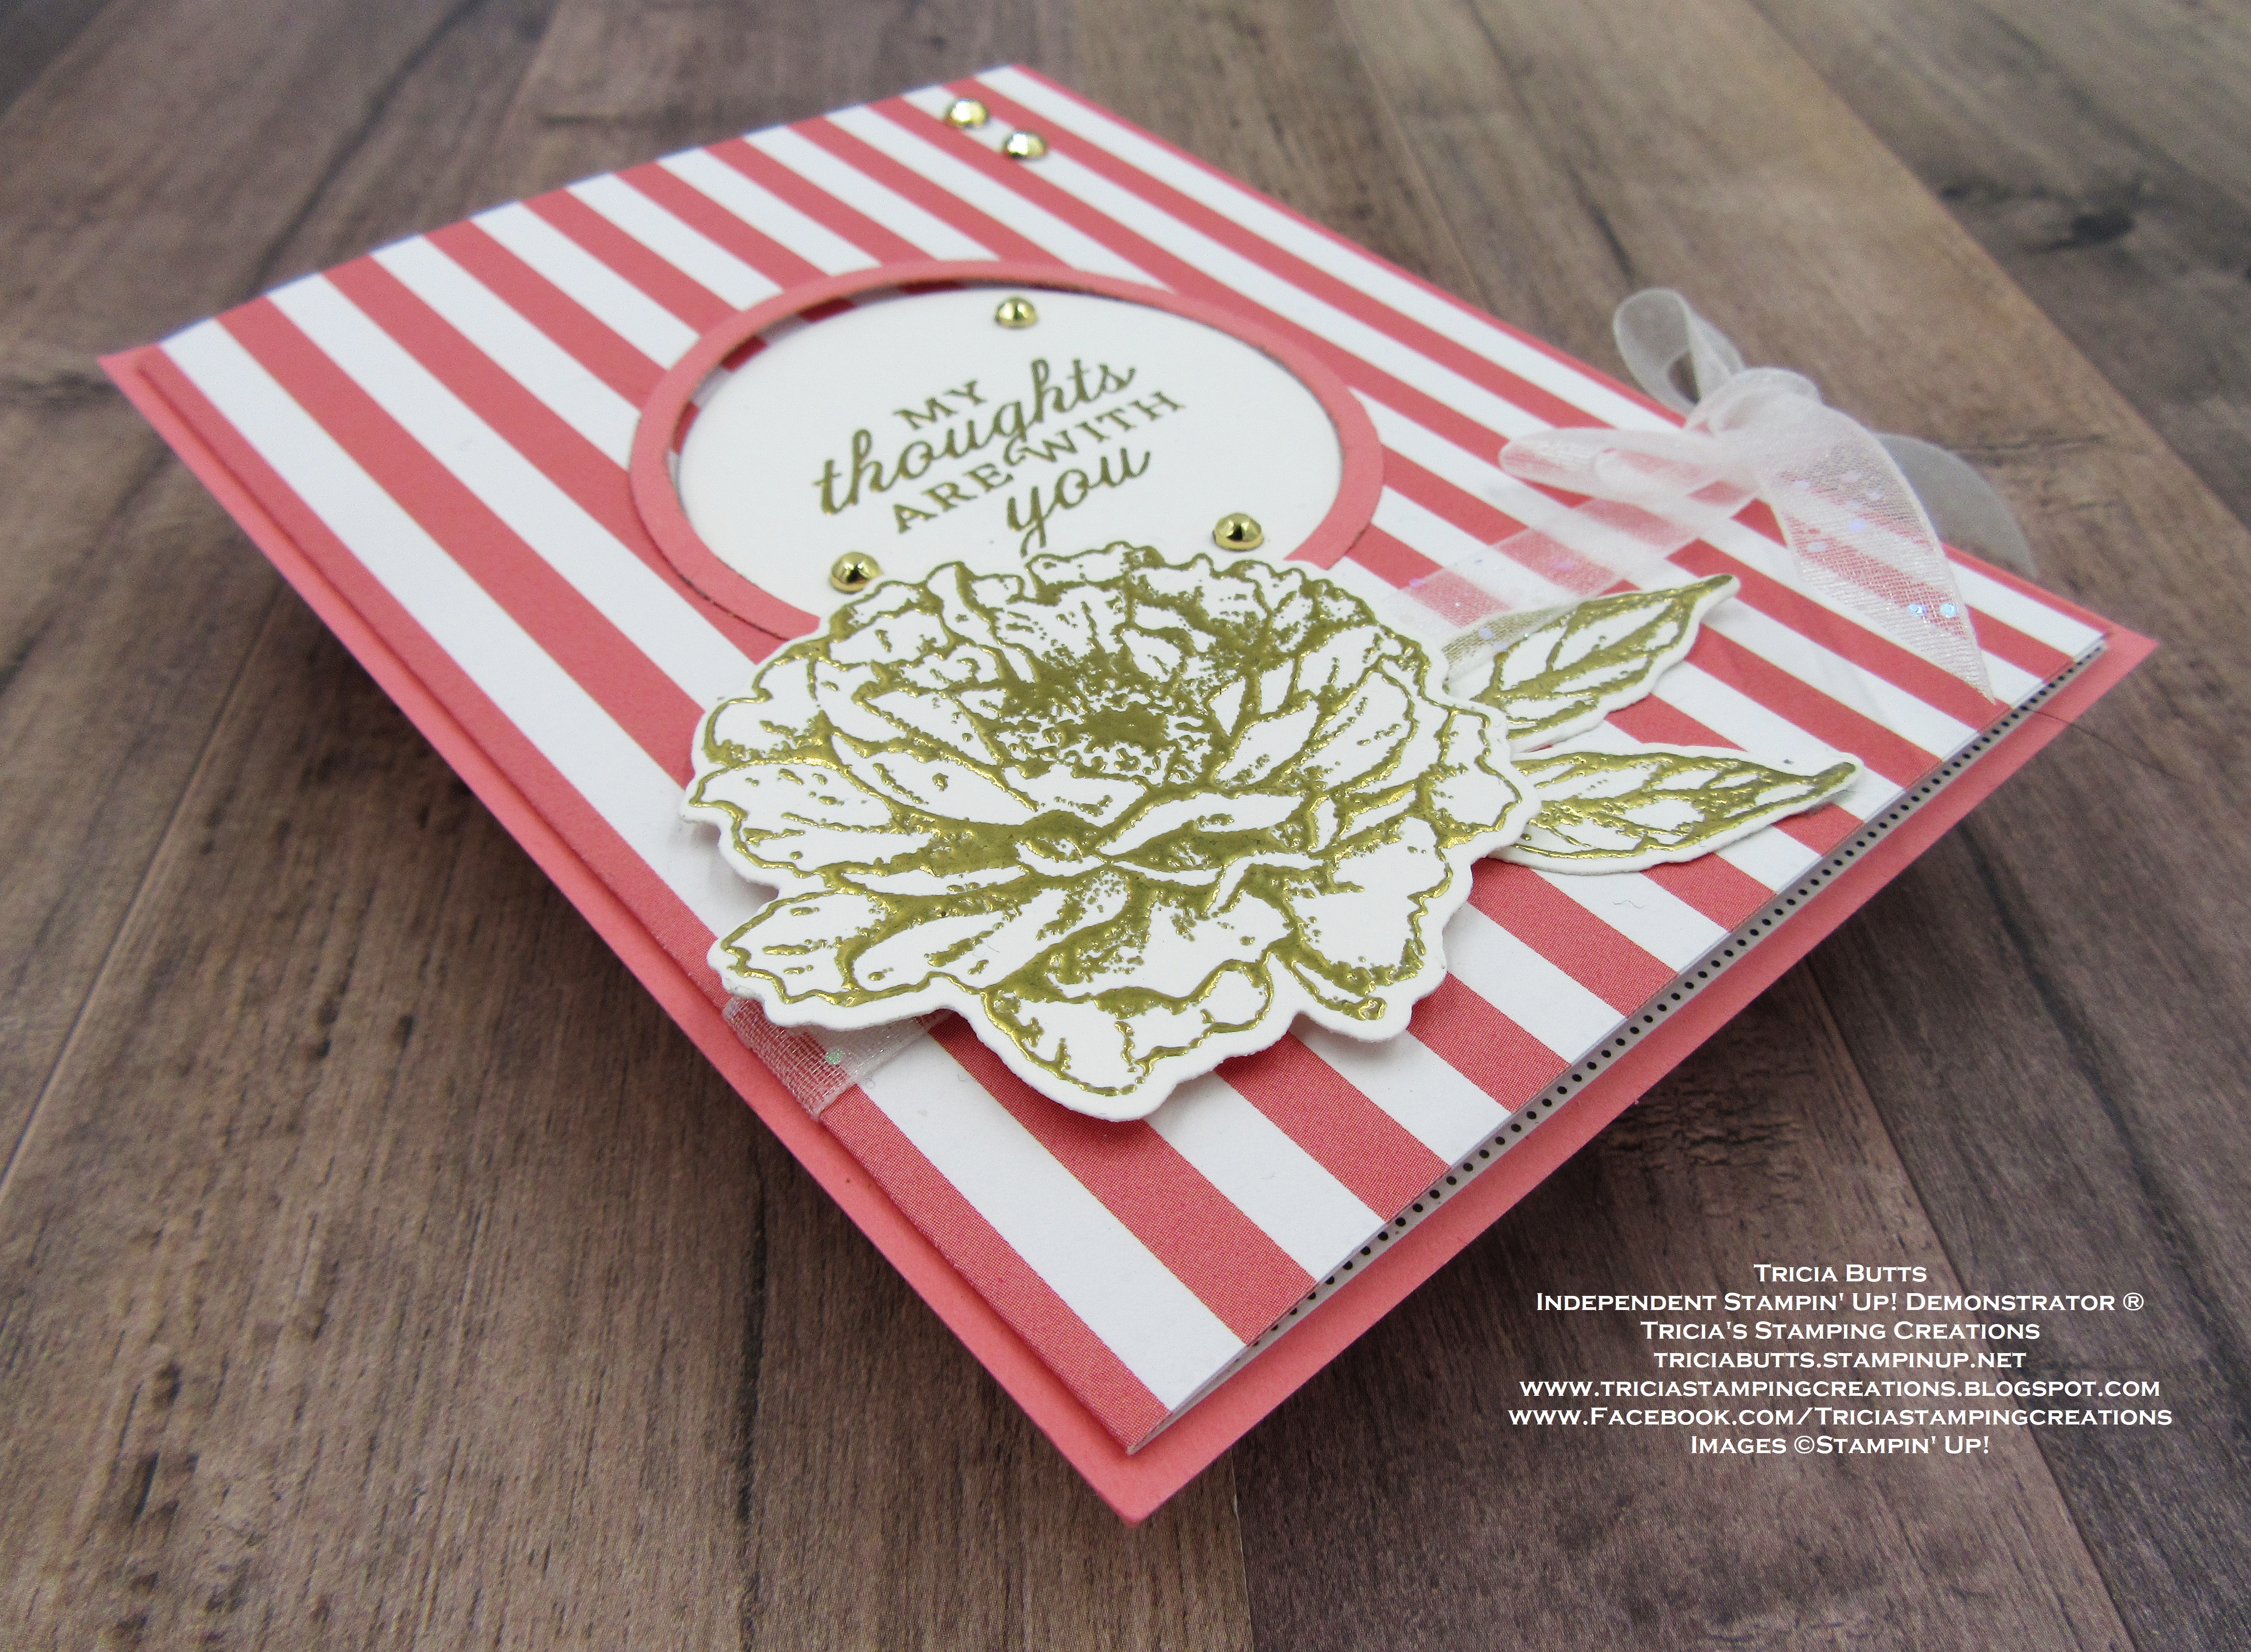
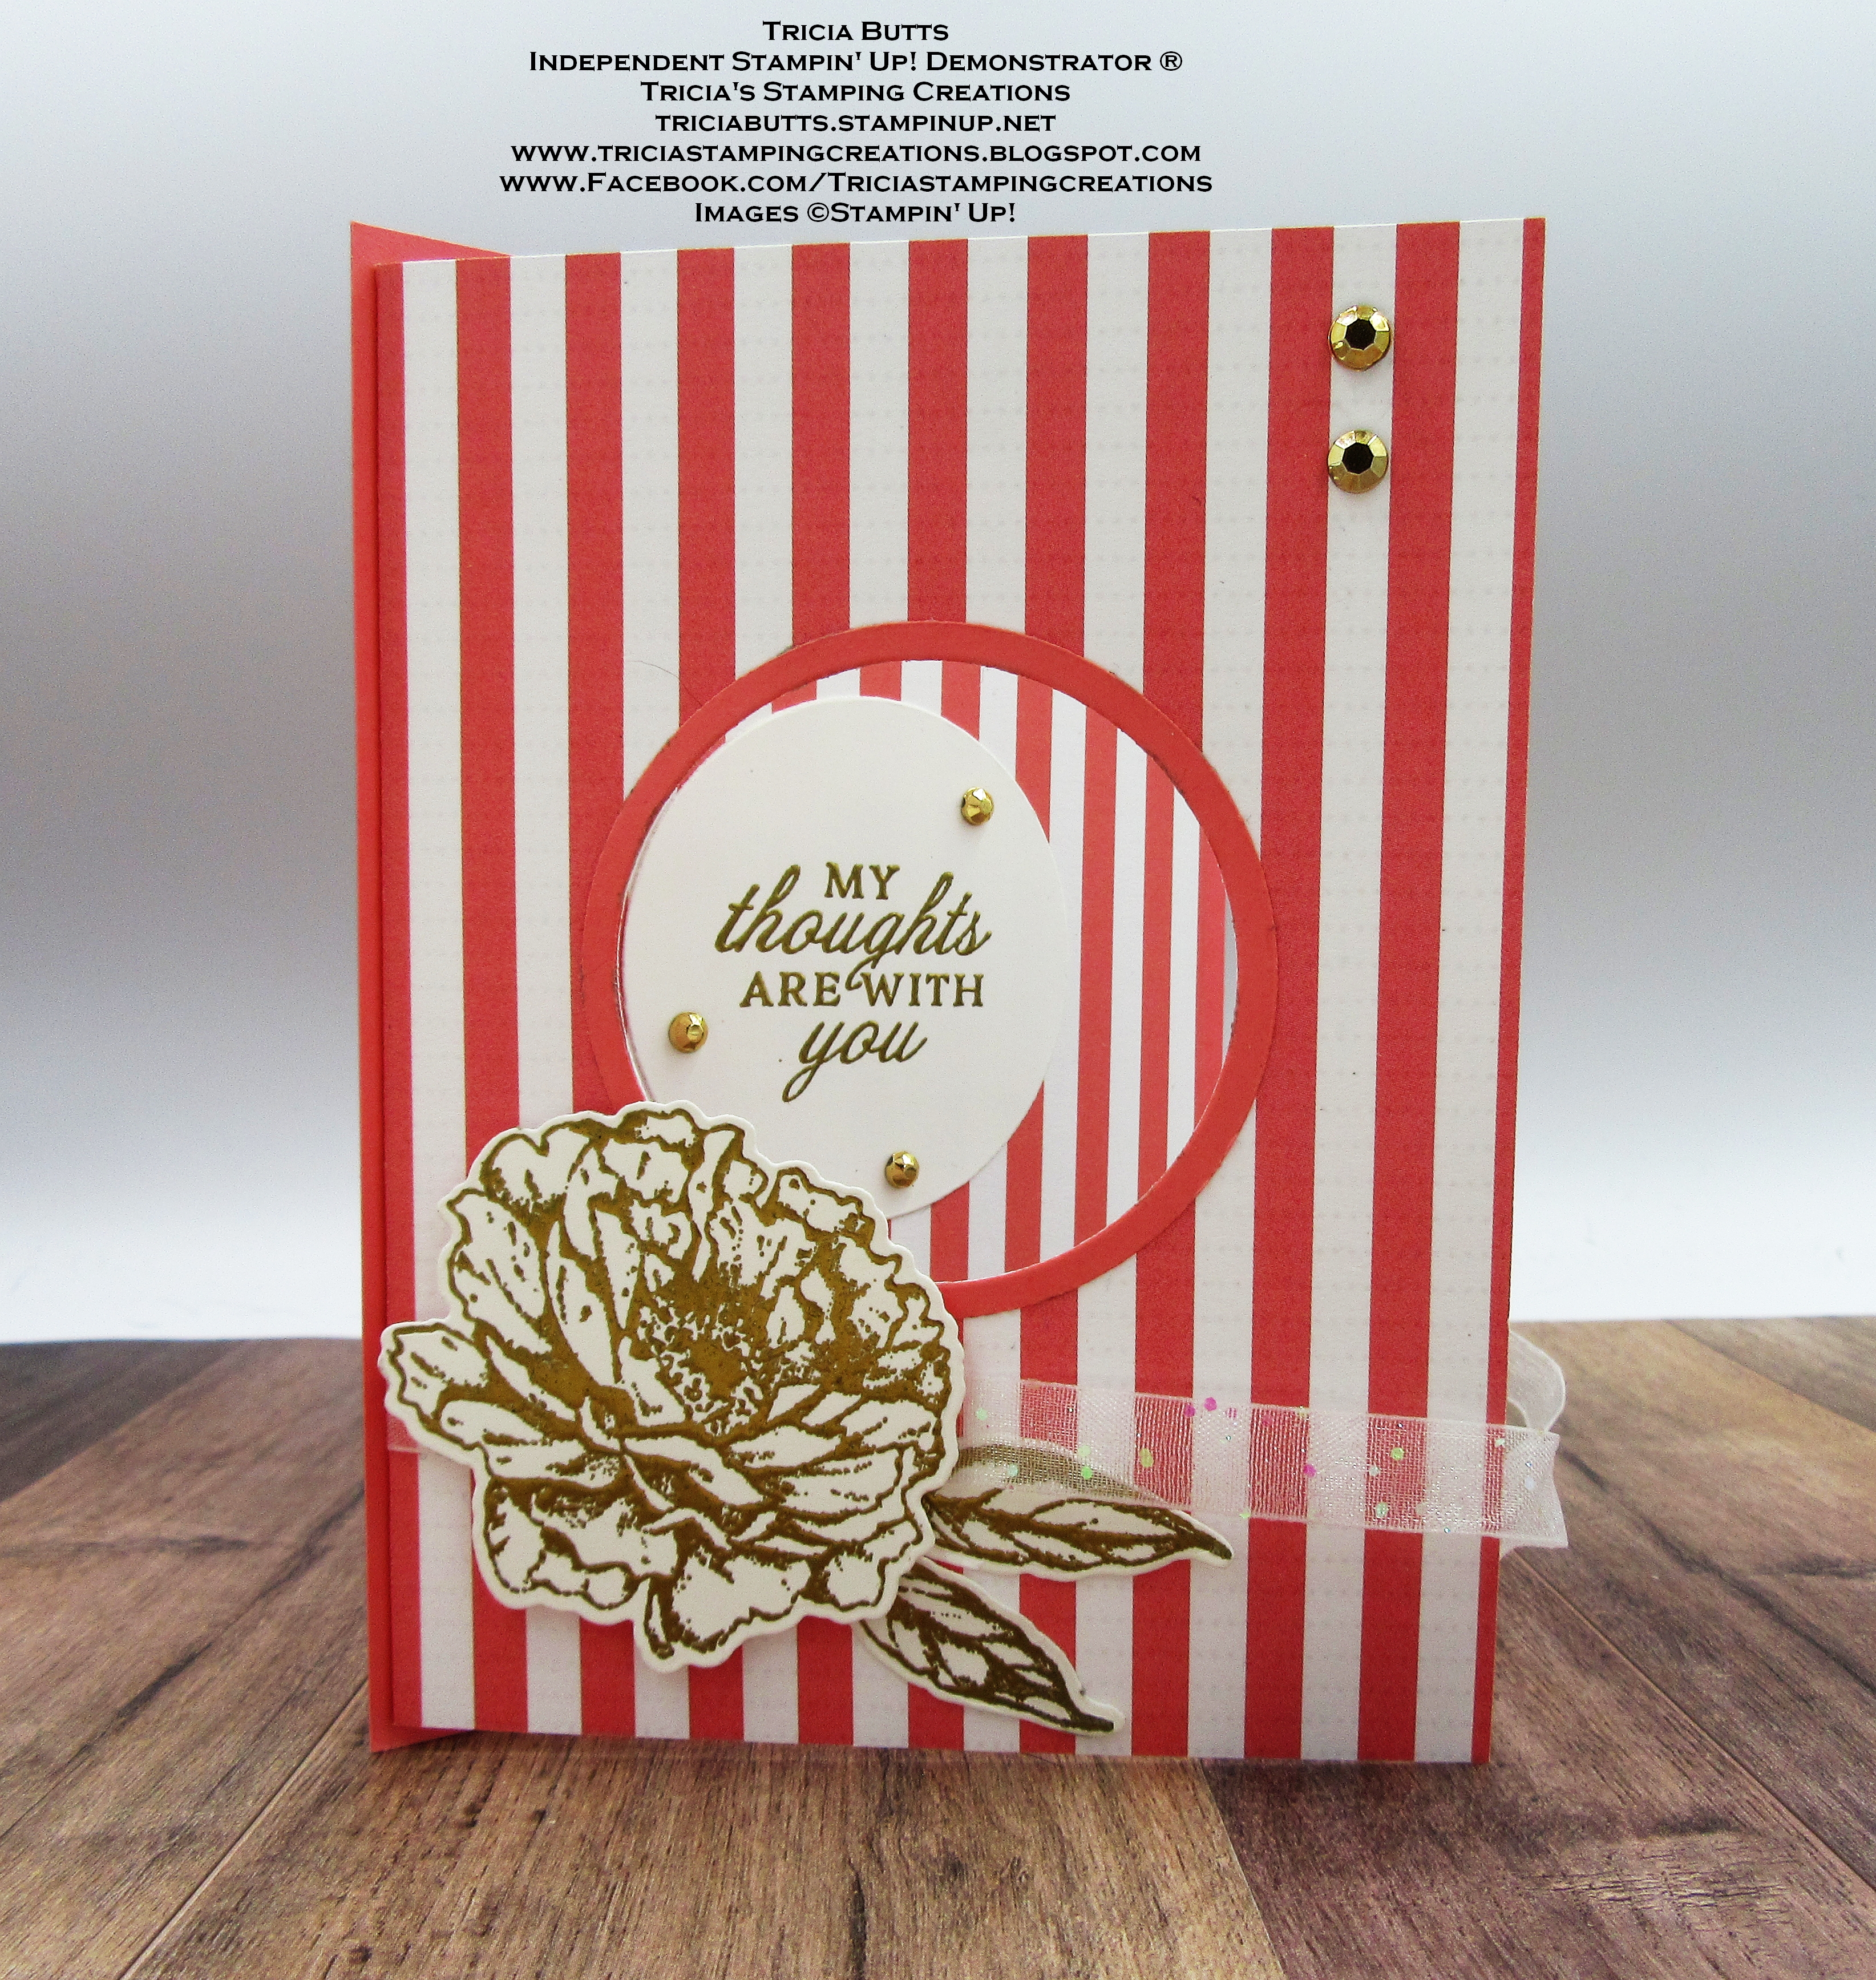
For my fun fold card design, I decided to use up some of my retiring designer series paper. I chose one of the designs from the Pattern Party Designer Series Paper, which is one of the retiring Host Rewards in the 2021-2022 Annual Catalog. I paired it with the retiring Prize Peony stamp set and coordinating Peony Dies to create this clean and simple card design. For the stamped images, I chose to heat emboss them with Gold embossing powder to add a touch of elegance. The front of the card has a peek-a-boo window which shows the sentiment on the inside layer.


Products Used:
Prized Peony stamp set (item #152504) Retiring
Peony Dies (item #152701) Retiring
Layering Circles Dies (item #151770)
Pattern Party Designer Series Paper Host Reward (item #155426) Retiring
Flirty Flamingo Cardstock (item #141416)
Basic White Cardstock (item #159276)
Flirty Flamingo Classic Ink Pad (item #147052)
Versamark Pad (item #102283)
Metallics Embossing Powders (item #155555)
White 3/8" Glittered Organdy Ribbon (item #156408)
Gilded Gems (item #152478) Retiring
Stampin' Dimensionals (item #104430)

Measurements:
Flirty Flamingo Cardstock
Card Base - 5 1/2" x 4 1/4"
Thin Circle Frame die cut with the Layering Circles Dies
Pattern Party Designer Series Paper
5 1/4" x 12" scored at 4" and 8"
Basic White Cardstock
Inside Layer - 5" x 3 3/4"
Sentiment Circle die cut with the Layering Circles Dies

To create this simple fun fold, I started by scoring the 5 1/4" x 12" designer series paper layer at 4" and 8" along the long side and then fold the panels towards the middle so that the front panel is on top. Next I die cut the circle opening from the front panel and added the Flirty Flamingo cardstock frame around the opening. I heat embossed the sentiment with Gold embossing powder onto the Basic White circle. With the panels closed, I placed the Basic White circle inside the opening and attached it to the inside designer series paper panel. I stamped the Basic White layer with the floral images using Flirty Flamingo Classic ink and opened up the card to attach it to the inside center panel of the card. To decorate the front panel, I heat embossed the flower and two leaves with Gold embossing powder and onto a piece of Basic White cardstock and die cut them out with the coordinating dies. Closing the card up again, I wrapped a piece of White Glittered Organdy Ribbon around the card and tied a bow on the lower right side of the card to hold it closed. I attached the embossed flower to the card front with Stampin' Dimensionals so that it slightly overlapped the opening of the circle and added the two leaves underneath the flower towards the bottom right side. To embellish, I added three of the small Gilded Gems to the sentiment circle and two of the larger size to the top right corner. To complete the card, I attached the Flirty Flamingo card base to the back of the center panel to provide stability and to frame the front panel design. I love how simple this fun fold is to create and how versatile it is as it works for a variety of occasions.

Thank you for taking the time to visit my blog. I hope that my card design helps inspire you to explore creating your own beautiful fun fold cards. There are so many wonderful options to explore. Don't forget to check out the Last Chance Retirement List to stock up on your favorite retiring products from the 2021-2022 Annual Catalog. These products are available while supplies last, so don't delay in placing your order soon to avoid missing out.
Now it's time to visit with our talented Design Team Members to see what fun folds they have to share with us. Just click on the Next or Previous to continue on with the blog hop or use the Roll Call List to find your way. We would appreciate it if you would leave us a comment and let us know what you liked about our projects.
If you live in
the U.S. and do not have a Stampin' Up! Demonstrator, please contact me and I
would be happy to help you with your creative projects. You may also visit my
Online Store to place your order and have it shipped to you.

Until Next
Time
Happy
Stamping,
Tricia Butts
Independent Stampin' Up!
Demonstrator
Like What You
See? Visit My Online Store Here
Visit My Facebook Business Page for Updates & Ideas
Click here to Contact Me
Stock Up On Your Favorite Retiring Products
From The 2021-2022 Annual Catalog
Click Below To Visit My Online Store
Save 20% With The Savings Are In Bloom Promotion
During The Month Of March
Click Below For More Details

Available For A Limited Time
The Amazing Waves Of The Ocean Collection
Click Below For More Details

Lovely card Tricia x
ReplyDeleteThank you Carol. It was a fun way to use this pretty paper.
DeleteLove this fun fold Tricia, such an elegant card x
ReplyDeleteThank you Mo. I love this beautiful stamp set and it looks great embossed in gold.
DeleteLovely card and a great fun fold :-)
ReplyDeleteThank you Nigezza. This fun fold is a great way to use up designer series paper.
DeleteThis comment has been removed by the author.
ReplyDeleteLovely card Tricia xx
ReplyDeleteSuch a pretty card!
ReplyDelete