Welcome to the Paper Pumpkin Possibilities Blog Hop as we showcase alternative projects using the Kisses and Hugs Kit. Our talented Design Team Members will be sharing their creative projects and ideas to help inspire you to think outside the box.

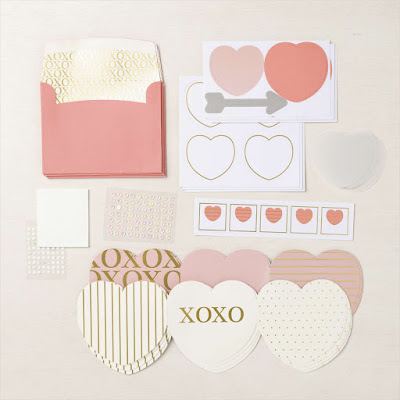
Paper Pumpkin January 2022 Kisses & Hugs Kit
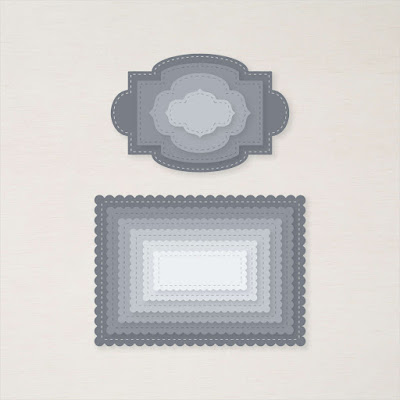
Stitched So Sweetly Dies (item #151690)
Gray Granite Cardstock (item #146983)
Blushing Bride Cardstock (item #131198)
Very Vanilla Cardstock (item #101650)
Versamark Pad (item #102283)
Metallics Embossing Powders (item #155555)
Measurements:
Gray Granite Cardstock
Card Base - 8 1/2" x 5 1/2" (Scored at 4 1/4")
Scalloped Rectangle die cut with Stitched So Sweetly Dies
Strip for sentiment
Blushing Bride Cardstock
Card Front - 5 1/4" x 4"
Very Vanilla Cardstock
Scalloped Rectangle die cut with Stitched So Sweetly Dies
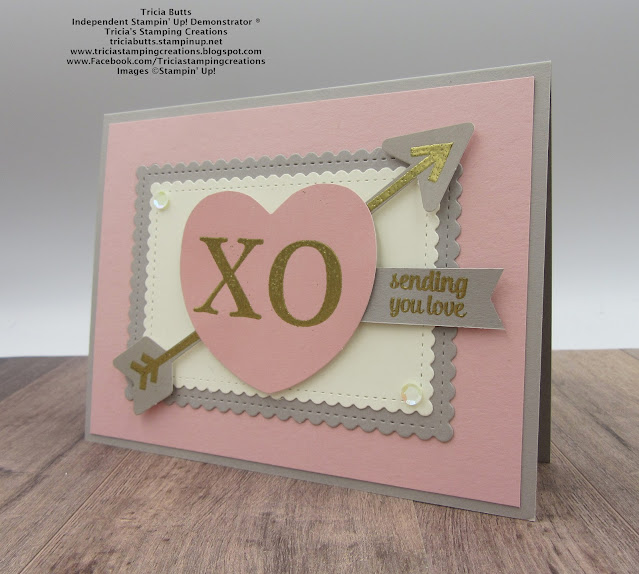
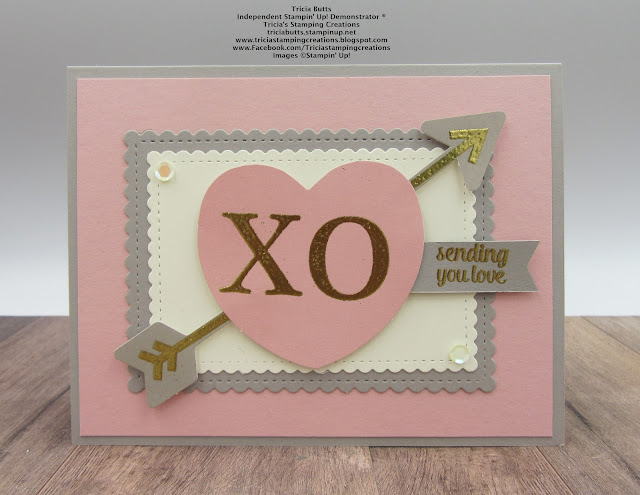
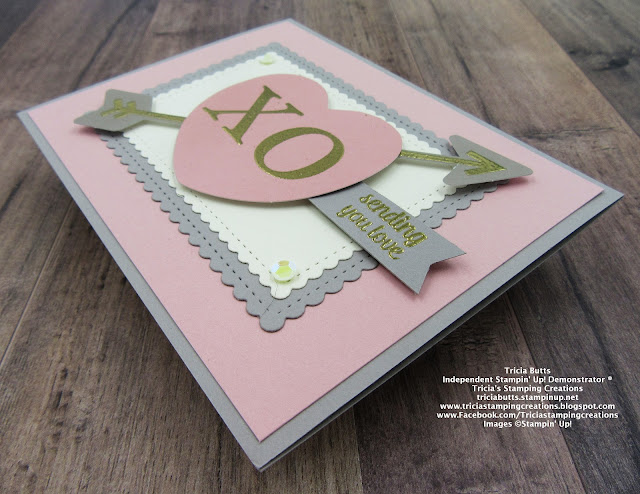
This clean and simple card design would work well for a Valentine's Day card or simply as a card to show someone you care. I embossed the Blushing Bride heart die cut from the kit with the X and O images, heat embossing them with Gold embossing powder and also embossed the Gray Granite arrow die cut from the kit with the arrow image from the stamp set. To extend the length of the arrow, I cut it in half and attach each piece to opposite sides of the heart die cut. For the sentiment label, I heat embossed the sentiment image onto a strip of Gray Granite cardstock and flagged the end to create a banner. The heart and arrow were popped up with Stampin' Dimensionals to give the design some dimension. For a touch of bling, I added two of the sequins from the kit to the Very Vanilla cardstock layer. I love how this card turned out and love the look of this color combination.
Thank you for taking the time to visit my blog. I hope that my card design will help inspire you to create your own beautiful projects with this wonderful kit. This card kit works for a variety of occasions beyond Valentine's Day.
Now it's time to visit June's wonderful blog and see what she has created with this month's kit. Just click the Next button below to visit her blog. We would love it if you would leave us a comment and share what you liked about our projects. I hope that you enjoy the rest of our blog hop.

If you live in the U.S. and do not have a Stampin' Up! Demonstrator, please contact me and I would be happy to help you with your creative projects. You may also visit my Online Store to place your order and have it shipped to you.
Until Next
Time
Happy
Stamping,
Tricia Butts
Independent Stampin' Up!
Demonstrator
Like What You
See? Visit My Online Store Here
Visit My Facebook Business Page for Updates & Ideas
Click here to Contact Me
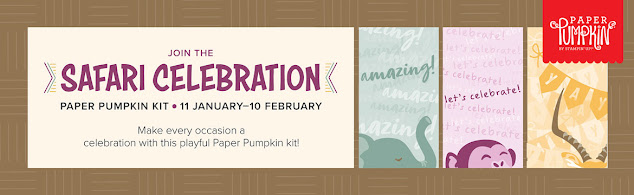
Make Every Occasion A Celebration
With The February Paper Pumpkin Kit
Click Below To Subscribe By February 10th
Earn Exclusive Free Products
During Sale-a-bration
Click Below For More Details

Explore Your Creativity
With The January-June 2022 Mini Catalog
Click Below To Visit My Online Store

Beautiful card! The embossing really pops!
ReplyDeleteThank you Dana. I love the way the gold embossing steps up the design.
DeleteGorgeous card. I love Gold heat embossing!
ReplyDeleteThank you Mary. It's one of my favorite embossing colors.
DeleteI love your idea of the gold embossing on the arrow!
ReplyDeleteThank you Elizabeth. It was a fun way to tie it in with the rest of the card design.
DeletePretty I love the gold embossed arrow!
ReplyDeleteThank you Deb. I love that there is a image in the stamp set that coordinates with the die cut.
DeleteSuper cute card!
ReplyDeleteThank you Renee. It was a fun card to design.
DeleteSuch a great card! Love the color combination!
ReplyDeleteThank you Darla. I love this pretty color combination.
DeleteBeautiful colors & embossing!
ReplyDeleteThank you Cheryl. Heat embossing is one of my favorite techniques.
DeleteCute idea for heat embossing the arrow, sentiment, and the XO! I often forget about using those powders!
ReplyDelete